Prepared Housewives

SIMPLIFIED: Food Storage • Emergency Prep • Survival Skills

HOME       ABOUT        >> START HERE <<       CONTACT

  • GET PREPARED
    • New? Start Here!
    • Why Prepare?
    • Lists & Printables
    • Preparedness Q&A
    • Giveaways & Freebies
    • Resources & Spotlights
  • FOOD STORAGE
    • Food Storage in 5 Steps
    • 1 – PLAN Food Storage
    • 2 – BUY Food Storage
      • Food Storage Distributors
      • Kitchen Tools & Gadgets
      • Survival Gear
      • DIY Projects
    • 3 – PRESERVE Food Storage
    • 4 – ORGANIZE Food Storage
    • 5 – EAT Food Storage
      • Recipes
      • Off-Grid & Alternative Cooking
    • Water Storage
  • RECIPES
    • Breakfast
    • Main Meals
    • Side Dishes
    • From the Garden
    • Dessert & Snacks
    • Bread
    • Food Storage Basics
    • From Scratch
    • Substitutions
  • EMERGENCY PREP
    • Disaster Planning
    • Emergency Kits & Bags
    • Prep for Babies & Kids
    • Survival Skills
    • 1st Aid & Medicine
    • Dental Prep
    • Weapons & Defense
    • Off-Grid & Alternative Cooking
    • Sanitation & Hygiene
    • Fire, Heat, & Light
    • Shelter & Clothing
  • SIMPLY SURVIVING
    • Family & Home
    • Garden & Homestead
    • Hunting & Fishing
    • Money & Finances
    • Beauty & Fashion
    • Fun & Games
  • FAVORITE THINGS
    • Food Storage Distributors
    • Kitchen Tools & Gadgets
    • Survival Gear
    • Preparedness Books & Media
    • REVIEWS of Products
    • DIY Projects
  • TMI ;)
    • About Me…
    • Contact Me
    • As Seen In…
    • Currently Stalking :)
    • Best of Prepared Housewives
    • Disclaimers

Bread Kindergarten: Reliable Pizza Dough

IMG_1860

Technically you could call this Remedial Pizza Dough because I’ve yet to be able to mess it up, even when throwing ingredients at the mixing bowl from halfway across the room and letting my KitchenAid do just about everything but roll it out and add the toppings. Once my five year-old used my solid wood rolling pin to hammer his over-floured dough mound into a circle-blob and it still cooked up looking brick-fired, rustic and delicious. (At least he ate it!)

The only thing cooler than knowing how to make your own pizza dough is knowing how to make your own sweet tomato sauce so we’re going to include a recipe for both. And considering the dough is nothing more than flour, yeast, salt, sugar and water, its 100% food storage-friendly!

Reliable Pizza Dough

1½ cups warm water

1 tbsp sugar

1 tbsp yeast

½ tsp salt

4 cups flour (white, wheat or any combination of both – dough shown is 100% fresh ground hard white wheat)

Combine water, yeast & sugar and let proof for 10 minutes. Add salt and flour, stirring until dough pulls away from the side of the bowl cleanly and barely sticks to your finger. Cover mixing bowl full of dough and let rise 45 minutes or until doubled in size. (This recipe produces enough dough to easily cover 2 pizza stones. At this point dough may be halved and one portion refrigerated for use the next day if only making one pizza.)

Meanwhile, you can start on the pizza sauce:

IMG_1853

Food Storage Sweet Tomato Sauce

¼ cup Thrive tomato powder OR one 6 oz can tomato paste

¾ cup water

½ tsp onion powder

½ tsp oregano

¼ tsp garlic powder

1 tsp basil

1 tsp sugar

Salt to taste (optional)

Combine ingredients in a small saucepan and whisk over medium-low heat until the sauce begins to bubble. Lower the heat and cook for 1-2 minutes if you prefer a thinner sauce, or 3-4 minutes if you prefer a thicker pizza sauce. Remove from heat and let sit.

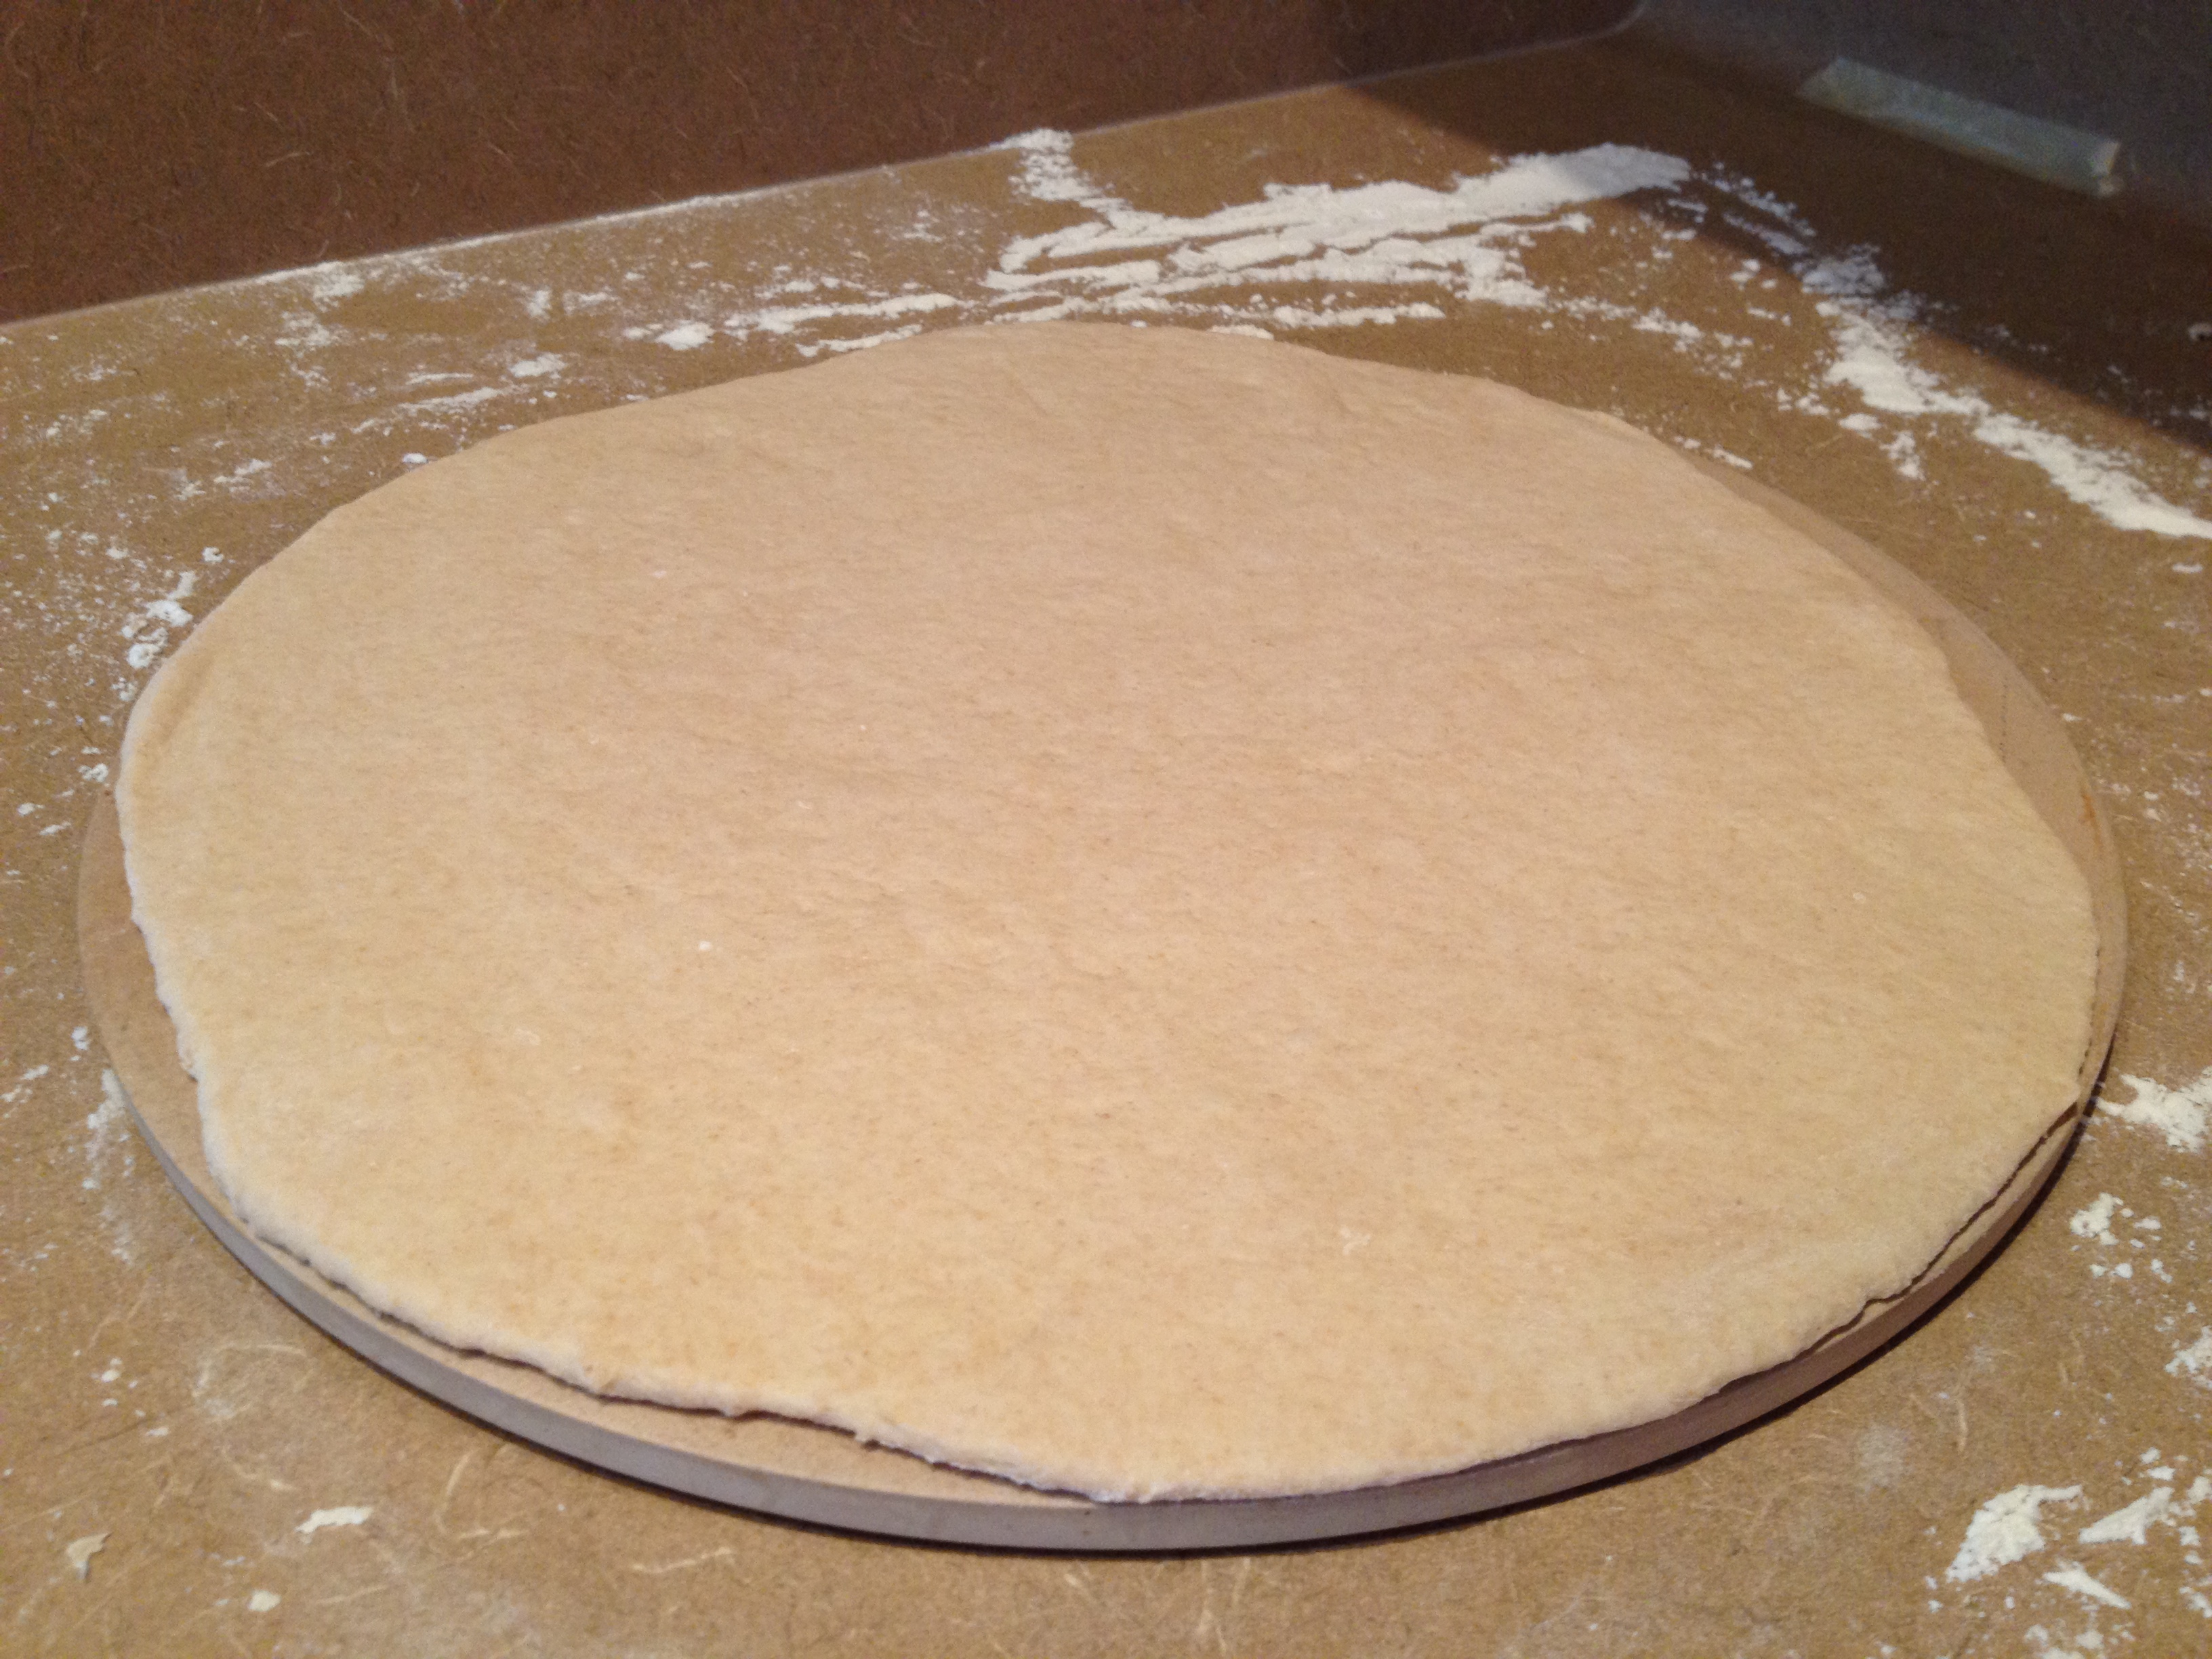
By now your dough may have doubled in size, especially if you used plain white flour. (100% whole wheat flour will require slightly longer to rise.) Scoop out half of the dough and roll it out on a floured surface in a circular shape the size of your pizza stone. Seriously, don’t waste your time on making it look perfect or your husband won’t believe that you made it yourself!

IMG_1813

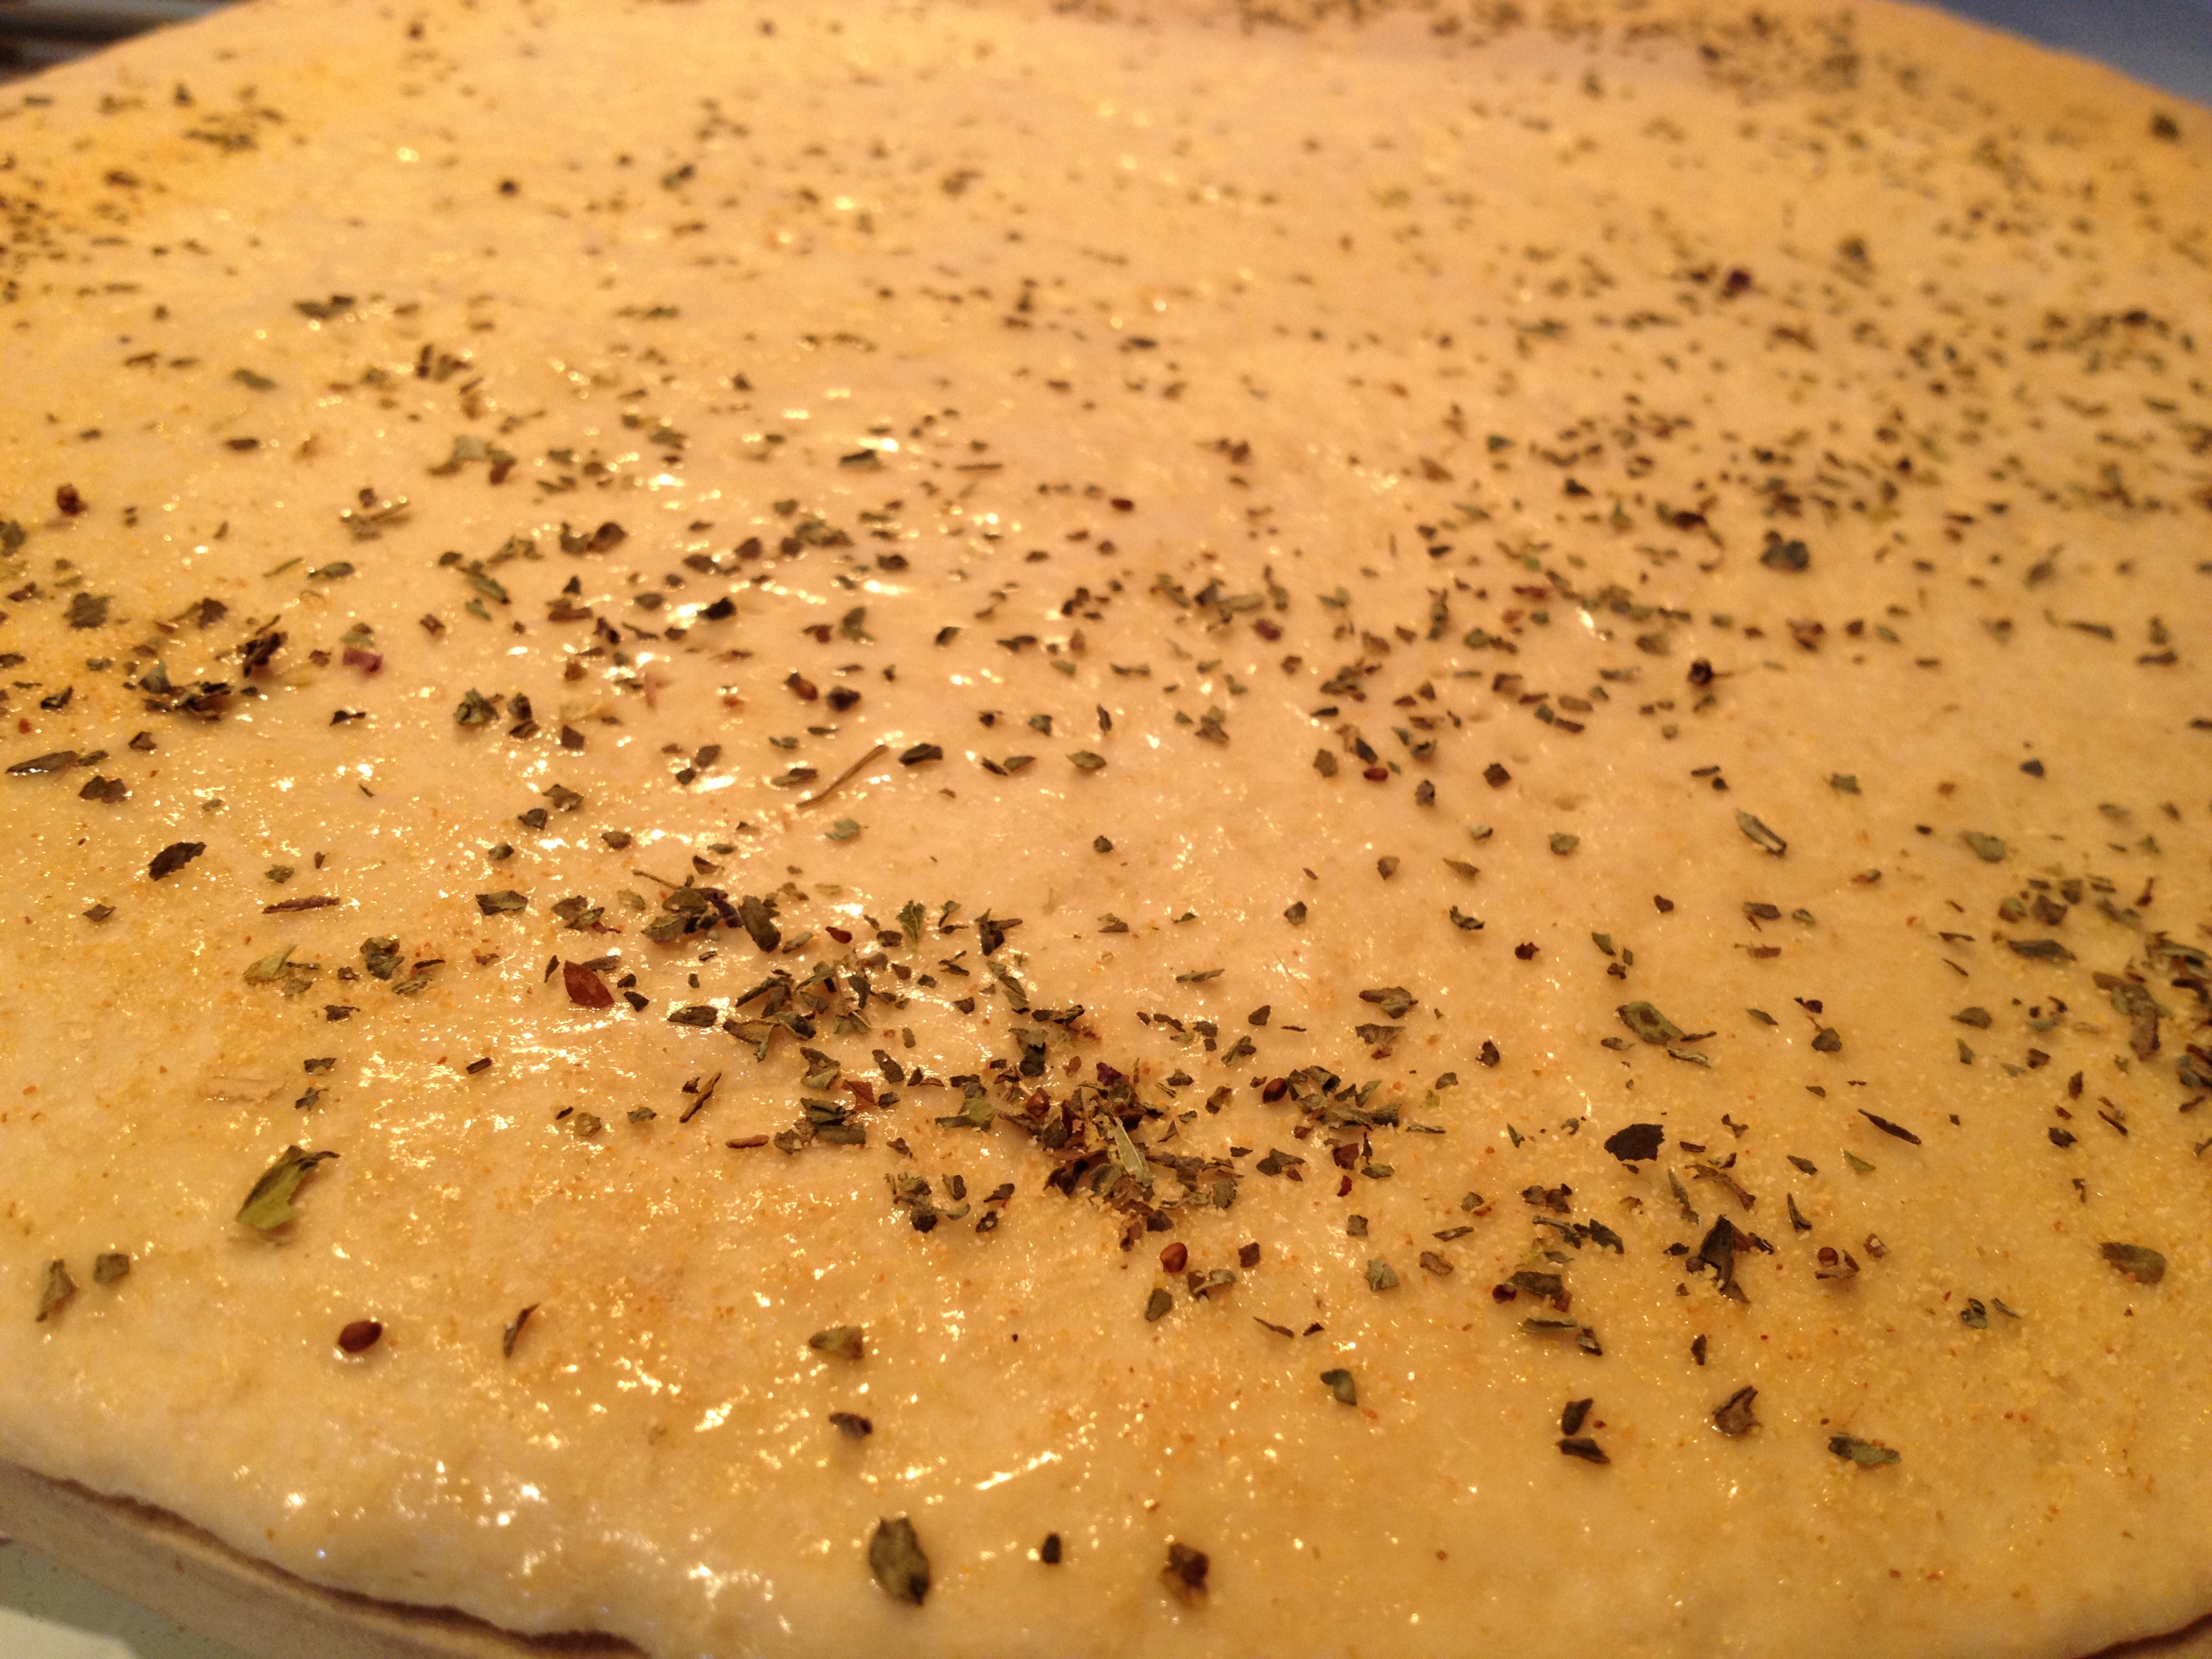
Using a fork, puncture the center of the pizza to ensure the dough will cook all the way through and result in a deliciously crispy crust. Brush the entire surface of the dough with melted butter, heavily coating the crust edge, then sprinkle dried basil flakes and garlic powder lightly along the outer edge of the crust to give the dough some flavor.

IMG_1845

Bake the crust by itself at 425° for 8-10 minutes to cook the dough before adding tomato sauce, cheese and toppings.

IMG_1854

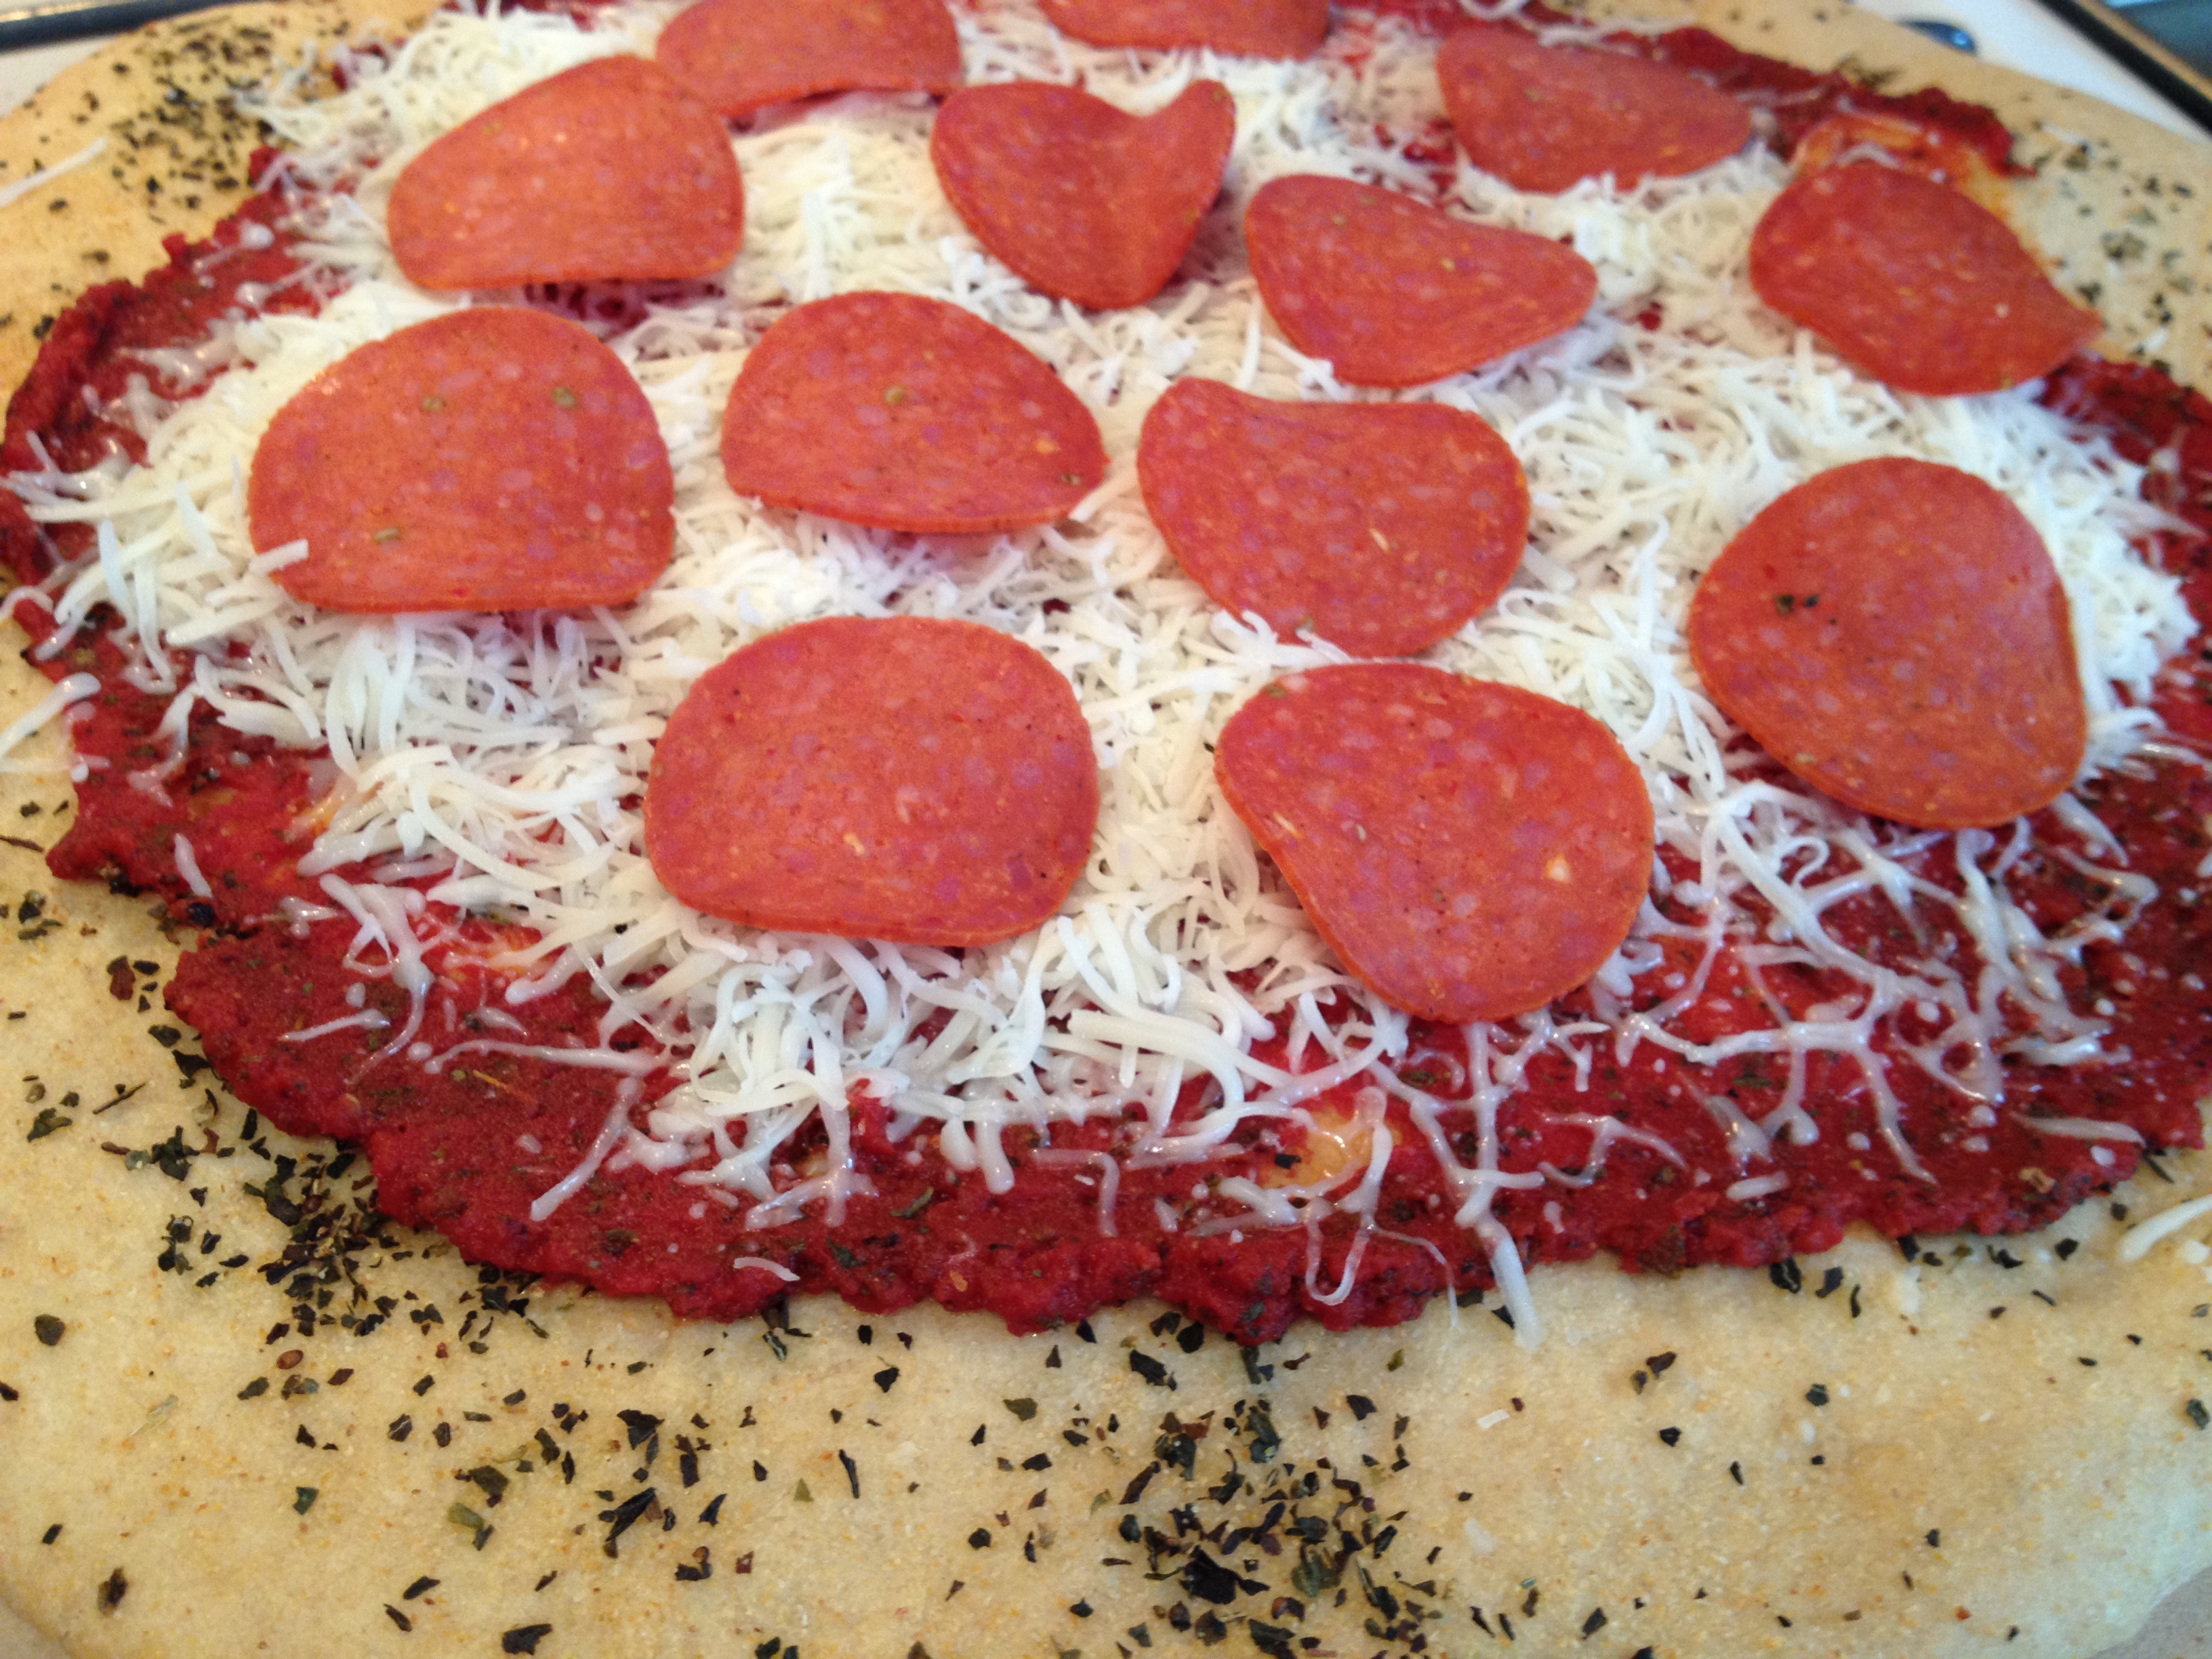
After adding the toppings, return the pizza to the oven and continue baking for another 6-8 minutes until the cheese is melted and the crust turns golden brown.

This recipe does double-duty as an emergency appetizer and easy kid-pleaser when used to make pizza rolls. Here’s how to do it:

Pizza Rolls

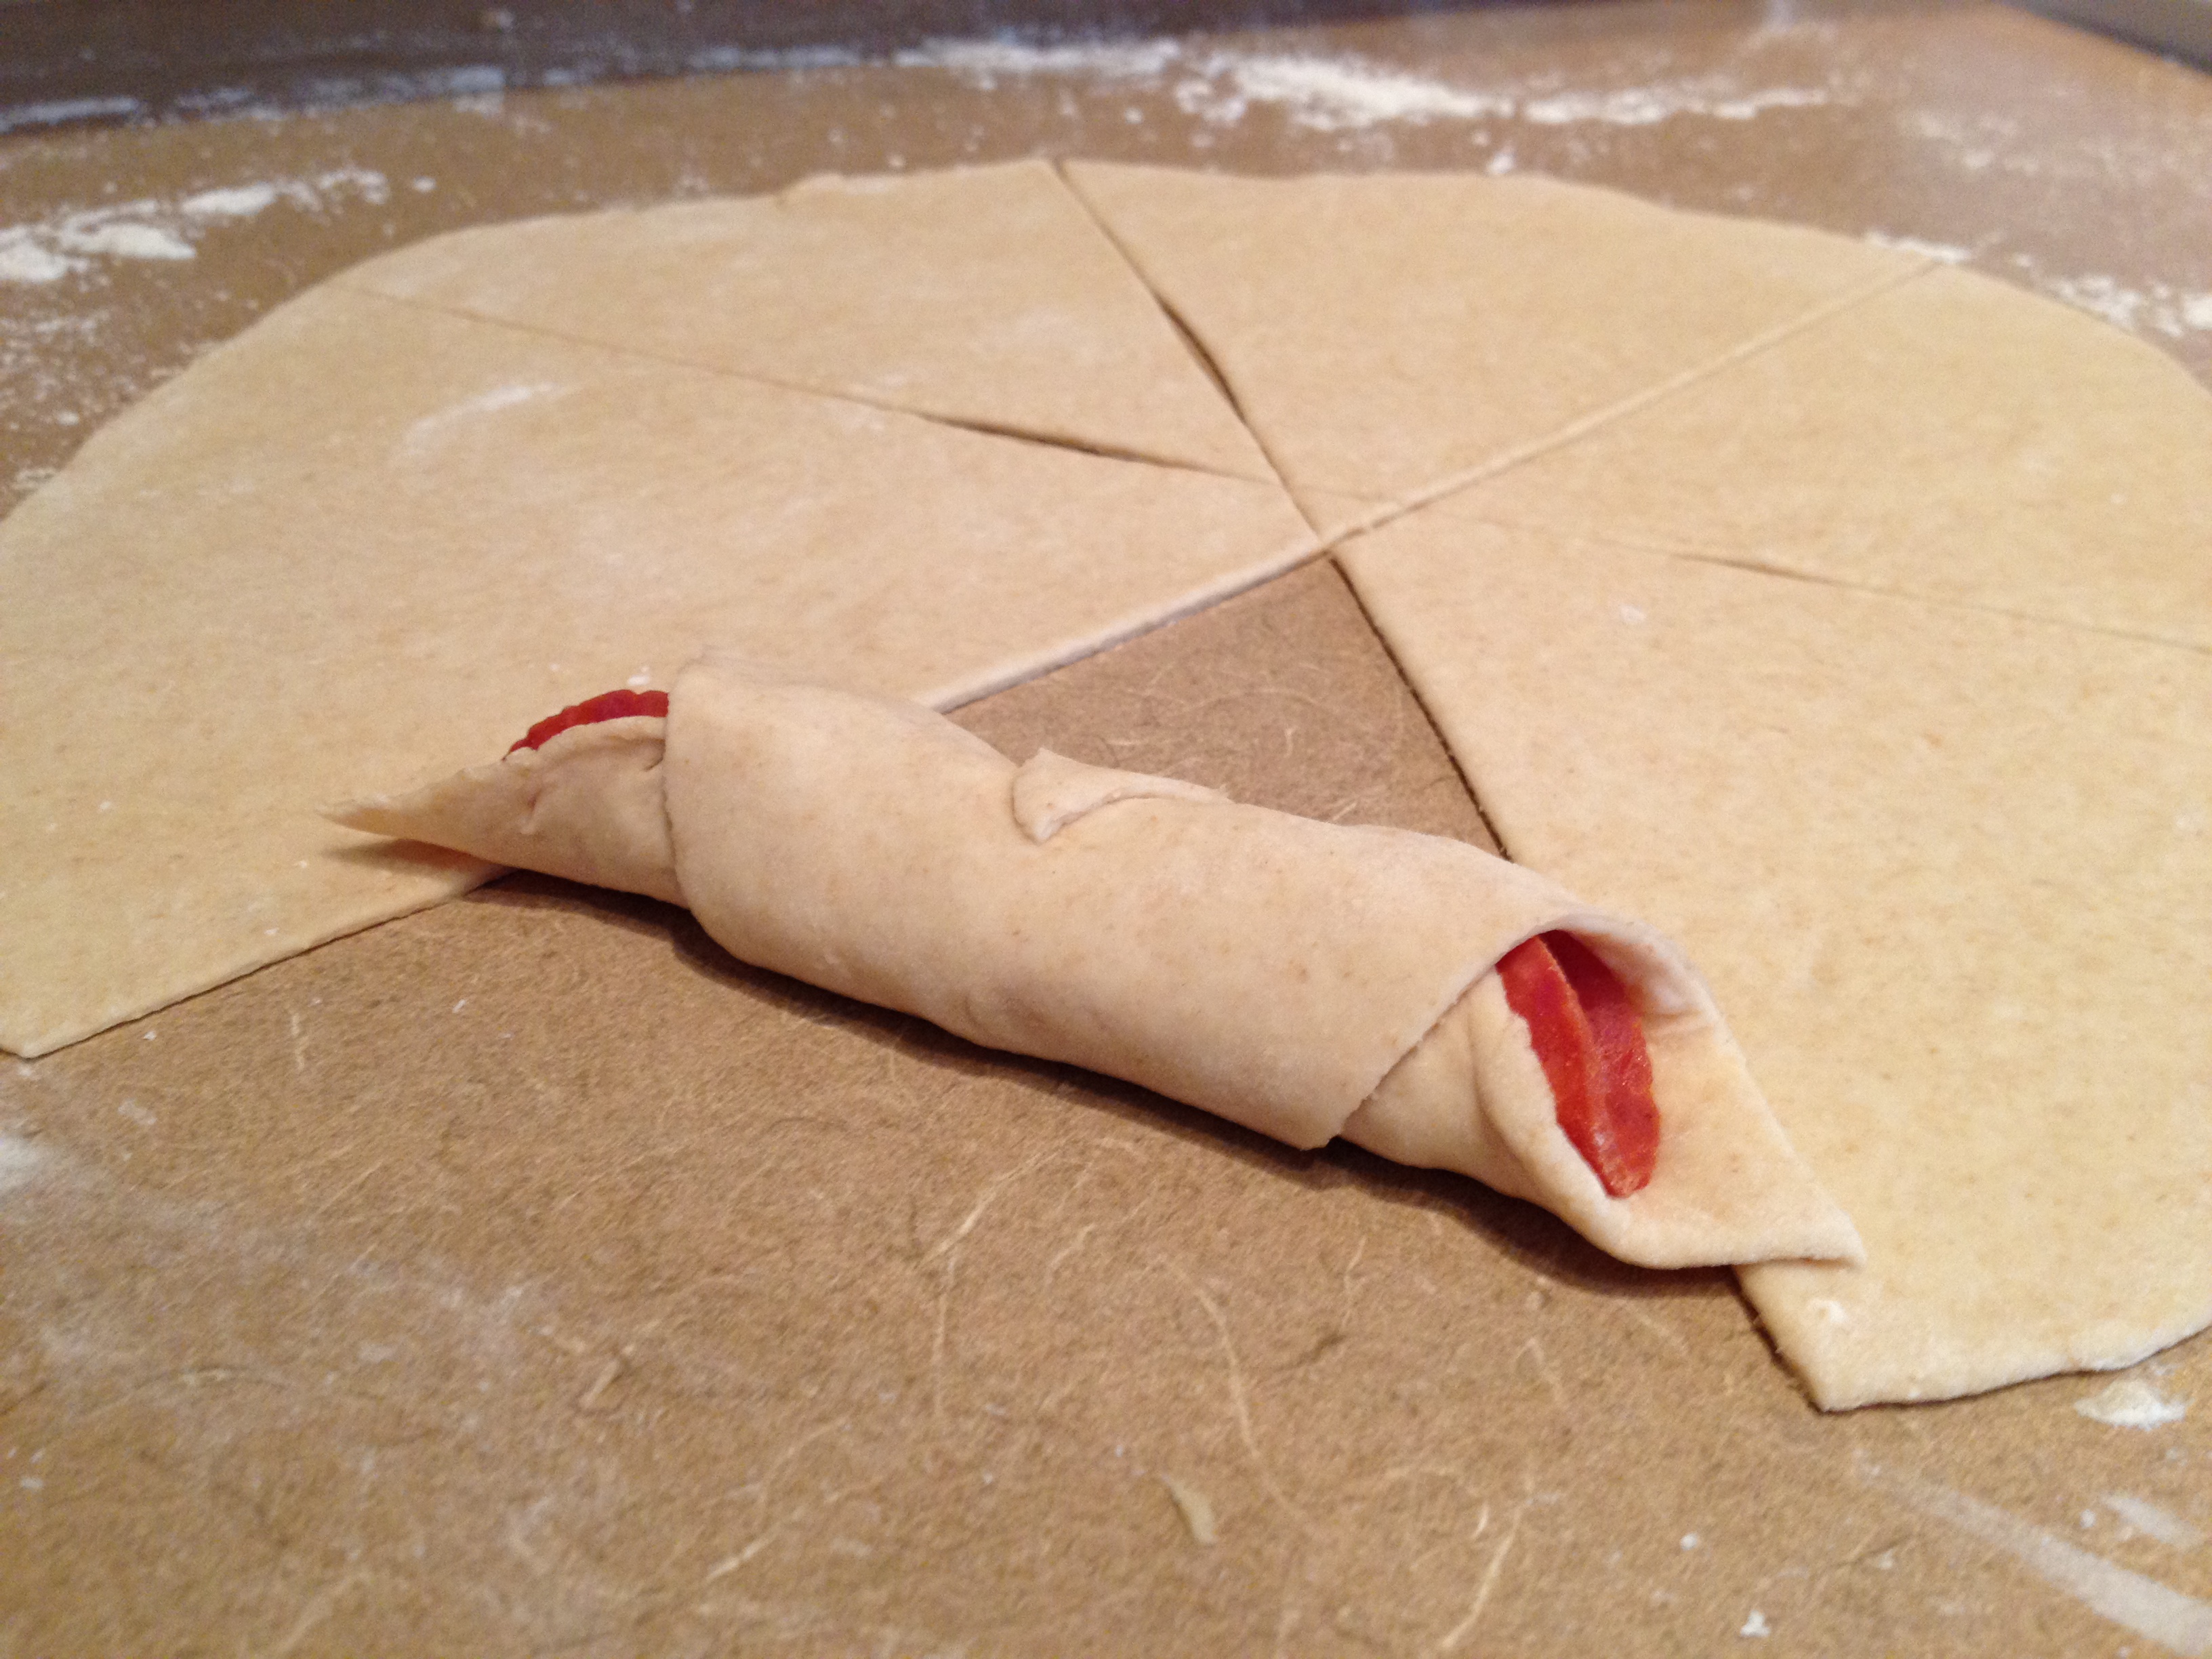
Roll out the dough into a circle as if preparing it for a pizza stone but use a pizza cutter to slice the dough into 8-10 pizza slice wedges.

IMG_1818

Take 3-4 pepperoni slices (and a pinch of mozzarella if desired) and place it towards the large, broad end of the triangle – where the “crust” of the pizza slice would be.

IMG_1827

Holding the pepperoni in place, roll the triangle up crescent roll style.

IMG_1830

IMG_1835

Place on a greased baking sheet and let rise for 30 minutes before baking. Bake at 425° for 8-10 minutes until the pizza rolls are golden brown and cooked through when broken open.

That’s all there is to easy, delicious pizza at home! Enjoy!

ENJOY THIS POST? NEVER MISS ANOTHER!

Leave a Reply Cancel reply

Your email address will not be published.

Hi! I’m Jamie!

I'm a Texas wife & mom of 4. I believe everyone can be prepared for the little & big emergencies in life; the hardest part is Just Getting Started...

What Are You Waiting For?

GET PREPARED

Readers Favorites…

  • Build a #10 Can ROCKET STOVE: It Cooks an Entire Meal With Twigs! Build a #10 Can ROCKET STOVE: It Cooks an Entire Meal With Twigs!
  • Food Storage Inventory Spreadsheets You Can Download For Free Food Storage Inventory Spreadsheets You Can Download For Free
  • SWISS CHEESE CHICKEN: A Must-Have Meal for Your Freezer & Food Storage! SWISS CHEESE CHICKEN: A Must-Have Meal for Your Freezer & Food St...
  • LDS Cannery (aka Home Storage Center): What You Need to Know Before Going LDS Cannery (aka Home Storage Center): What You Need to Know Before Go...
  • How to Preserve Eggs With Mineral Oil How to Preserve Eggs With Mineral Oil
  • The Wonder Oven: Works Like a Powerless Crock-Pot The Wonder Oven: Works Like a Powerless Crock-Pot
  • Using the LDS Cannery (aka Home Storage Centers) Using the LDS Cannery (aka Home Storage Centers)
  • What is Natural Yeast & 3 Health Benefits No One Tells You About! What is Natural Yeast & 3 Health Benefits No One Tells You About!
  • Entertaining Kids Without Electronics: 8 Games They Will Love Entertaining Kids Without Electronics: 8 Games They Will Love
  • EASY Country Biscuits from Scratch EASY Country Biscuits from Scratch

Instagram

No images found!
Try some other hashtag or username

Facebook Friends Rock!

Let’s Be ‘PIN’ Pals!

Find a Circle to Put Me In : )

Join & Vote:

What Do You Need Help With?

Main Categories

Pin With Me…

Visit Prepared Housewives profile on Pinterest.

What Are You Waiting For?

GET PREPARED

  • Bloglovin
  • Facebook
  • Google+
  • Instagram
  • Pinterest
  • Twitter
  • YouTube

Copyright © 2023 Prepared Housewives

WANT TO BE PREPARED, BUT DON'T KNOW WHERE TO START? 

You are NOT Alone!

Enter your email below to stay updated on the latest tips and ideas to help you get started... or just keep going!

x