I am not much of a sewing person – straight lines are about all I can handle. Which is good, because that’s all this project requires! Making your own washable hankies is a simple project that doesn’t take much time or money and they are sooooo soft on your nose! Plus they never rip so your toddler can’t blow all the way through them to slime up your hand.
I began with a yard of printed cotton flannel. This cute eco print came from JoAnn’s. I cut the fabric into 7 inch squares using a rotary cutter, mat and ruler. Each single ply square will be a hankie, giving you around 30 per yard. Depending on your family’s size and usage, a yard or two of fabric should provide ample hankies, even for colds.

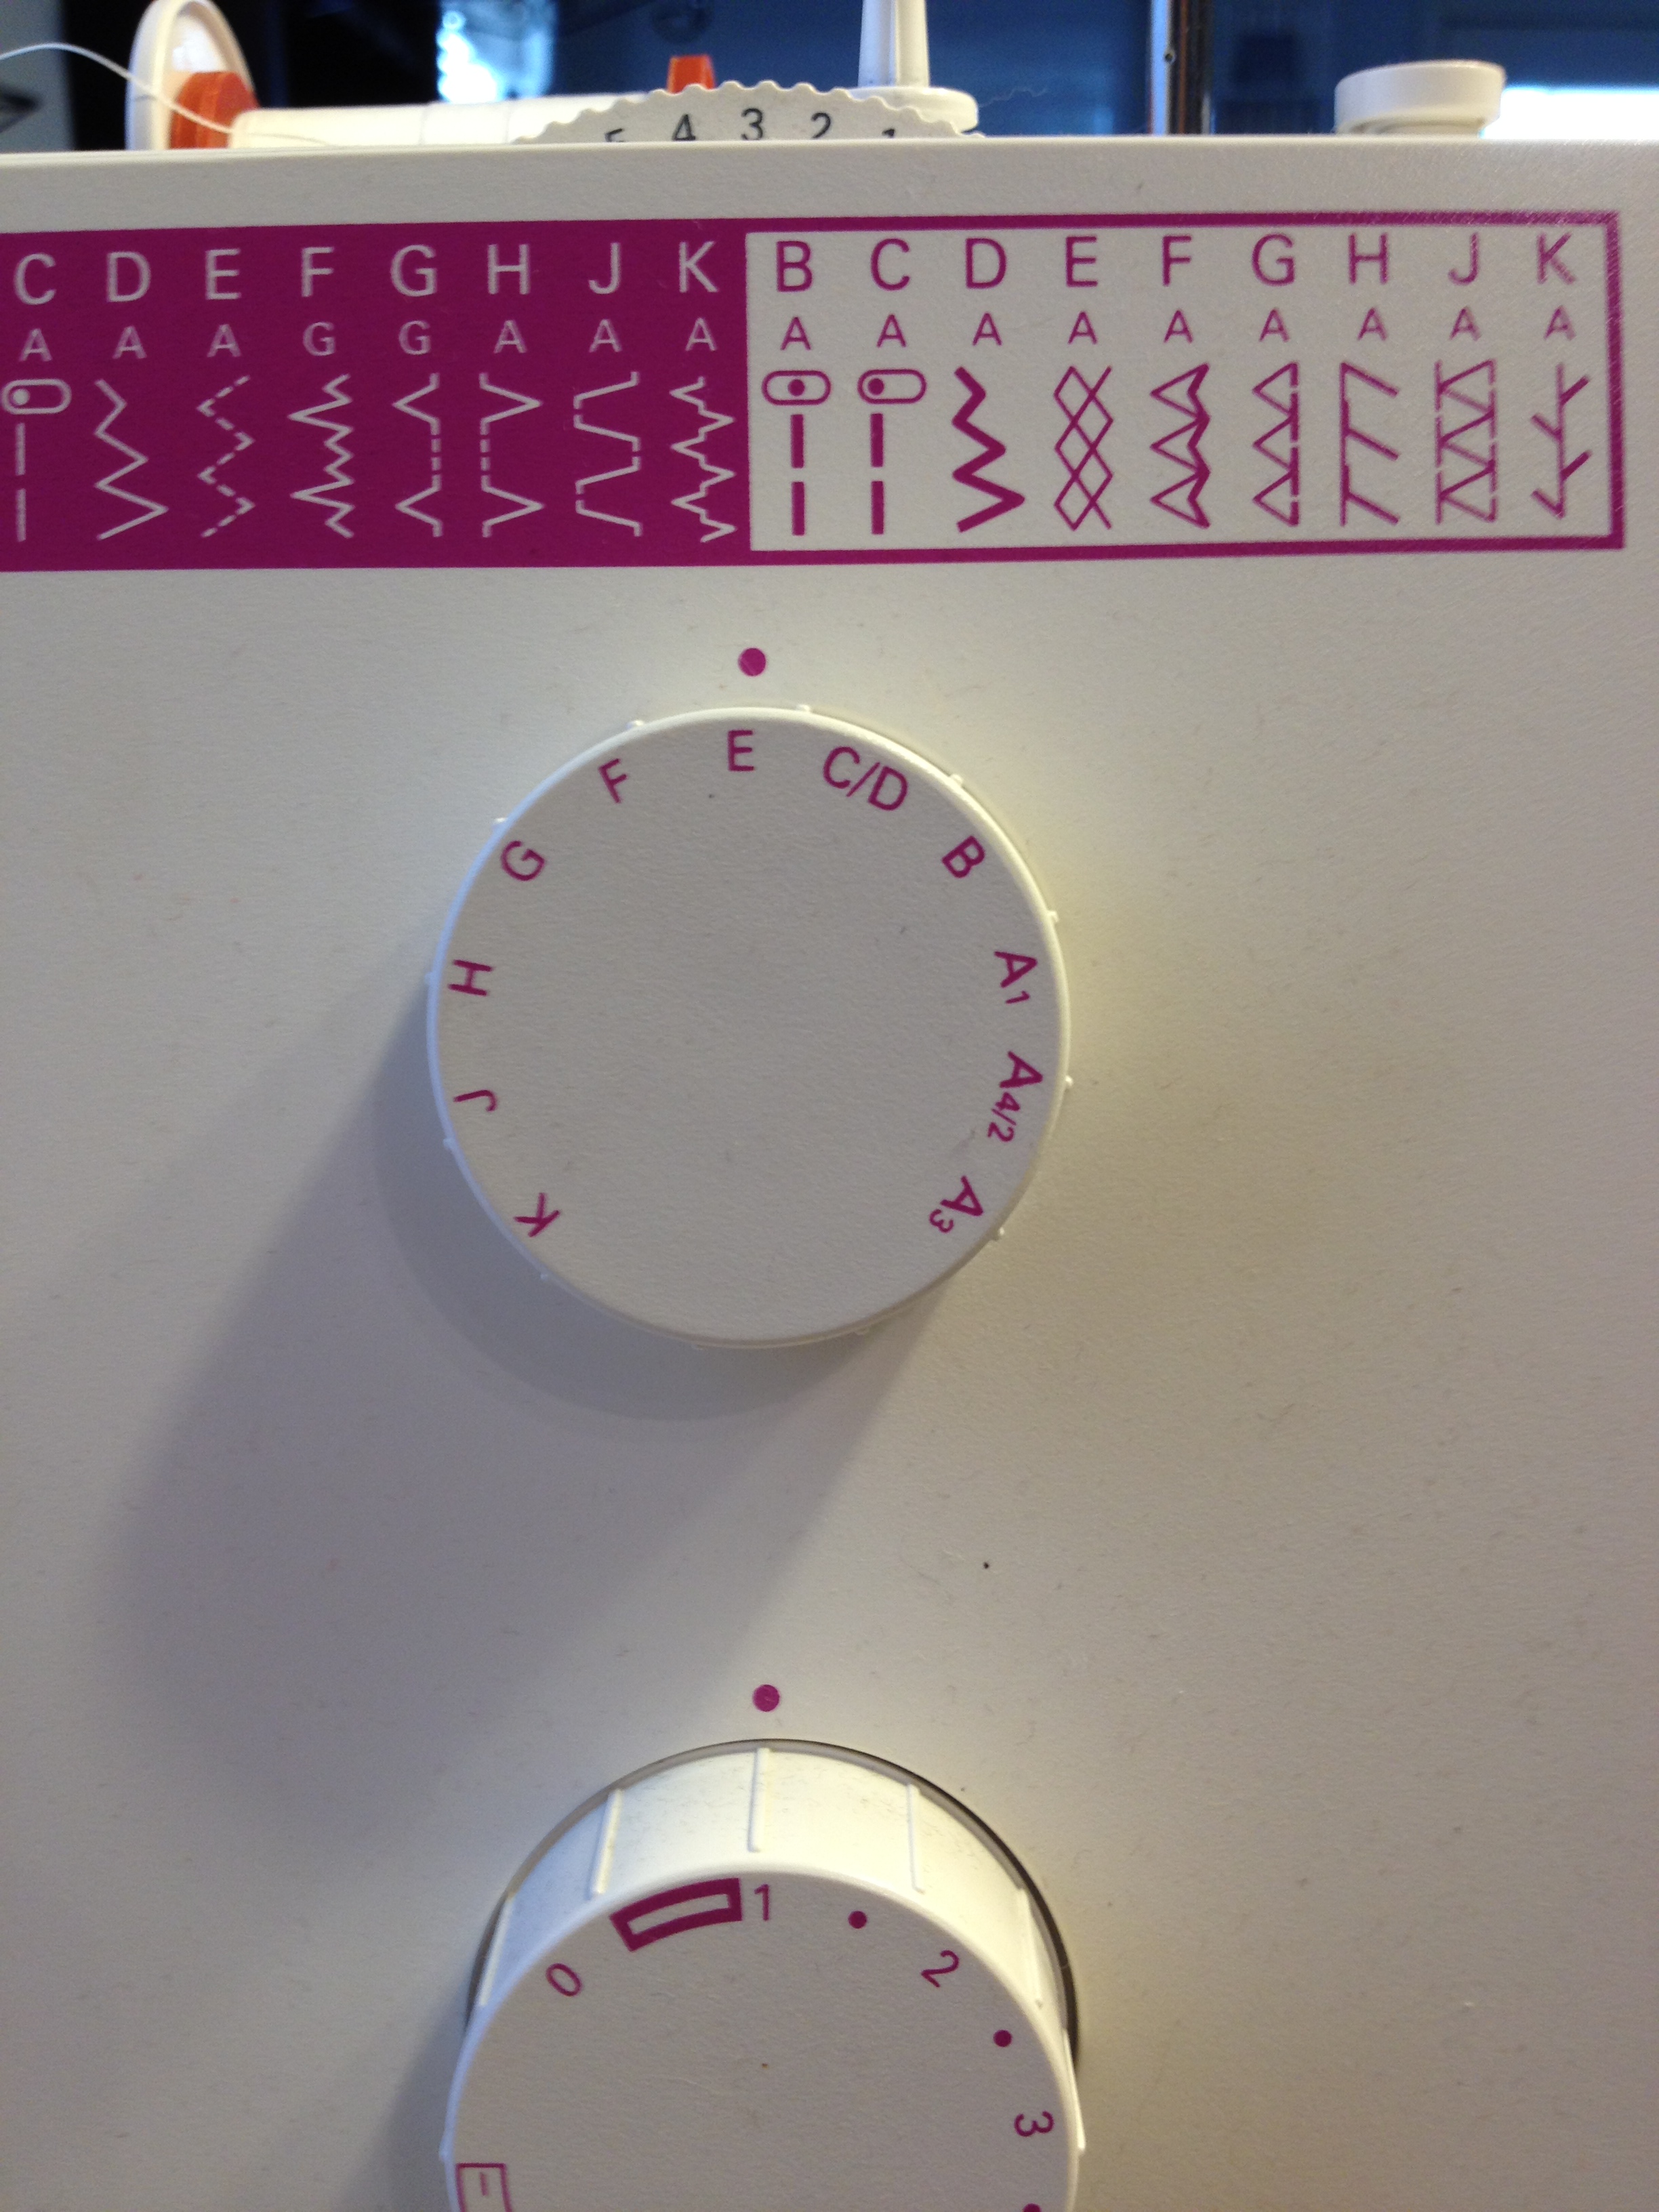
Now, flannel frays REALLY BAD when you wash it so you need some way to finish the edges to keep them from falling apart. A surger would be ideal for this but a sewing machine works just as well. We’re going to use a zigzag stitch and since my machine had the option, I set it to a triple zigzag stitch for extra durability. (Again, I’m not a sewing person. An overlock stitch may work just as well but I chose a stitch that was easy for me and would provide idiot-proof results. Somehow I still managed to tangle up the thread and break a needle but that’s because my machine is a fellow idiot.)
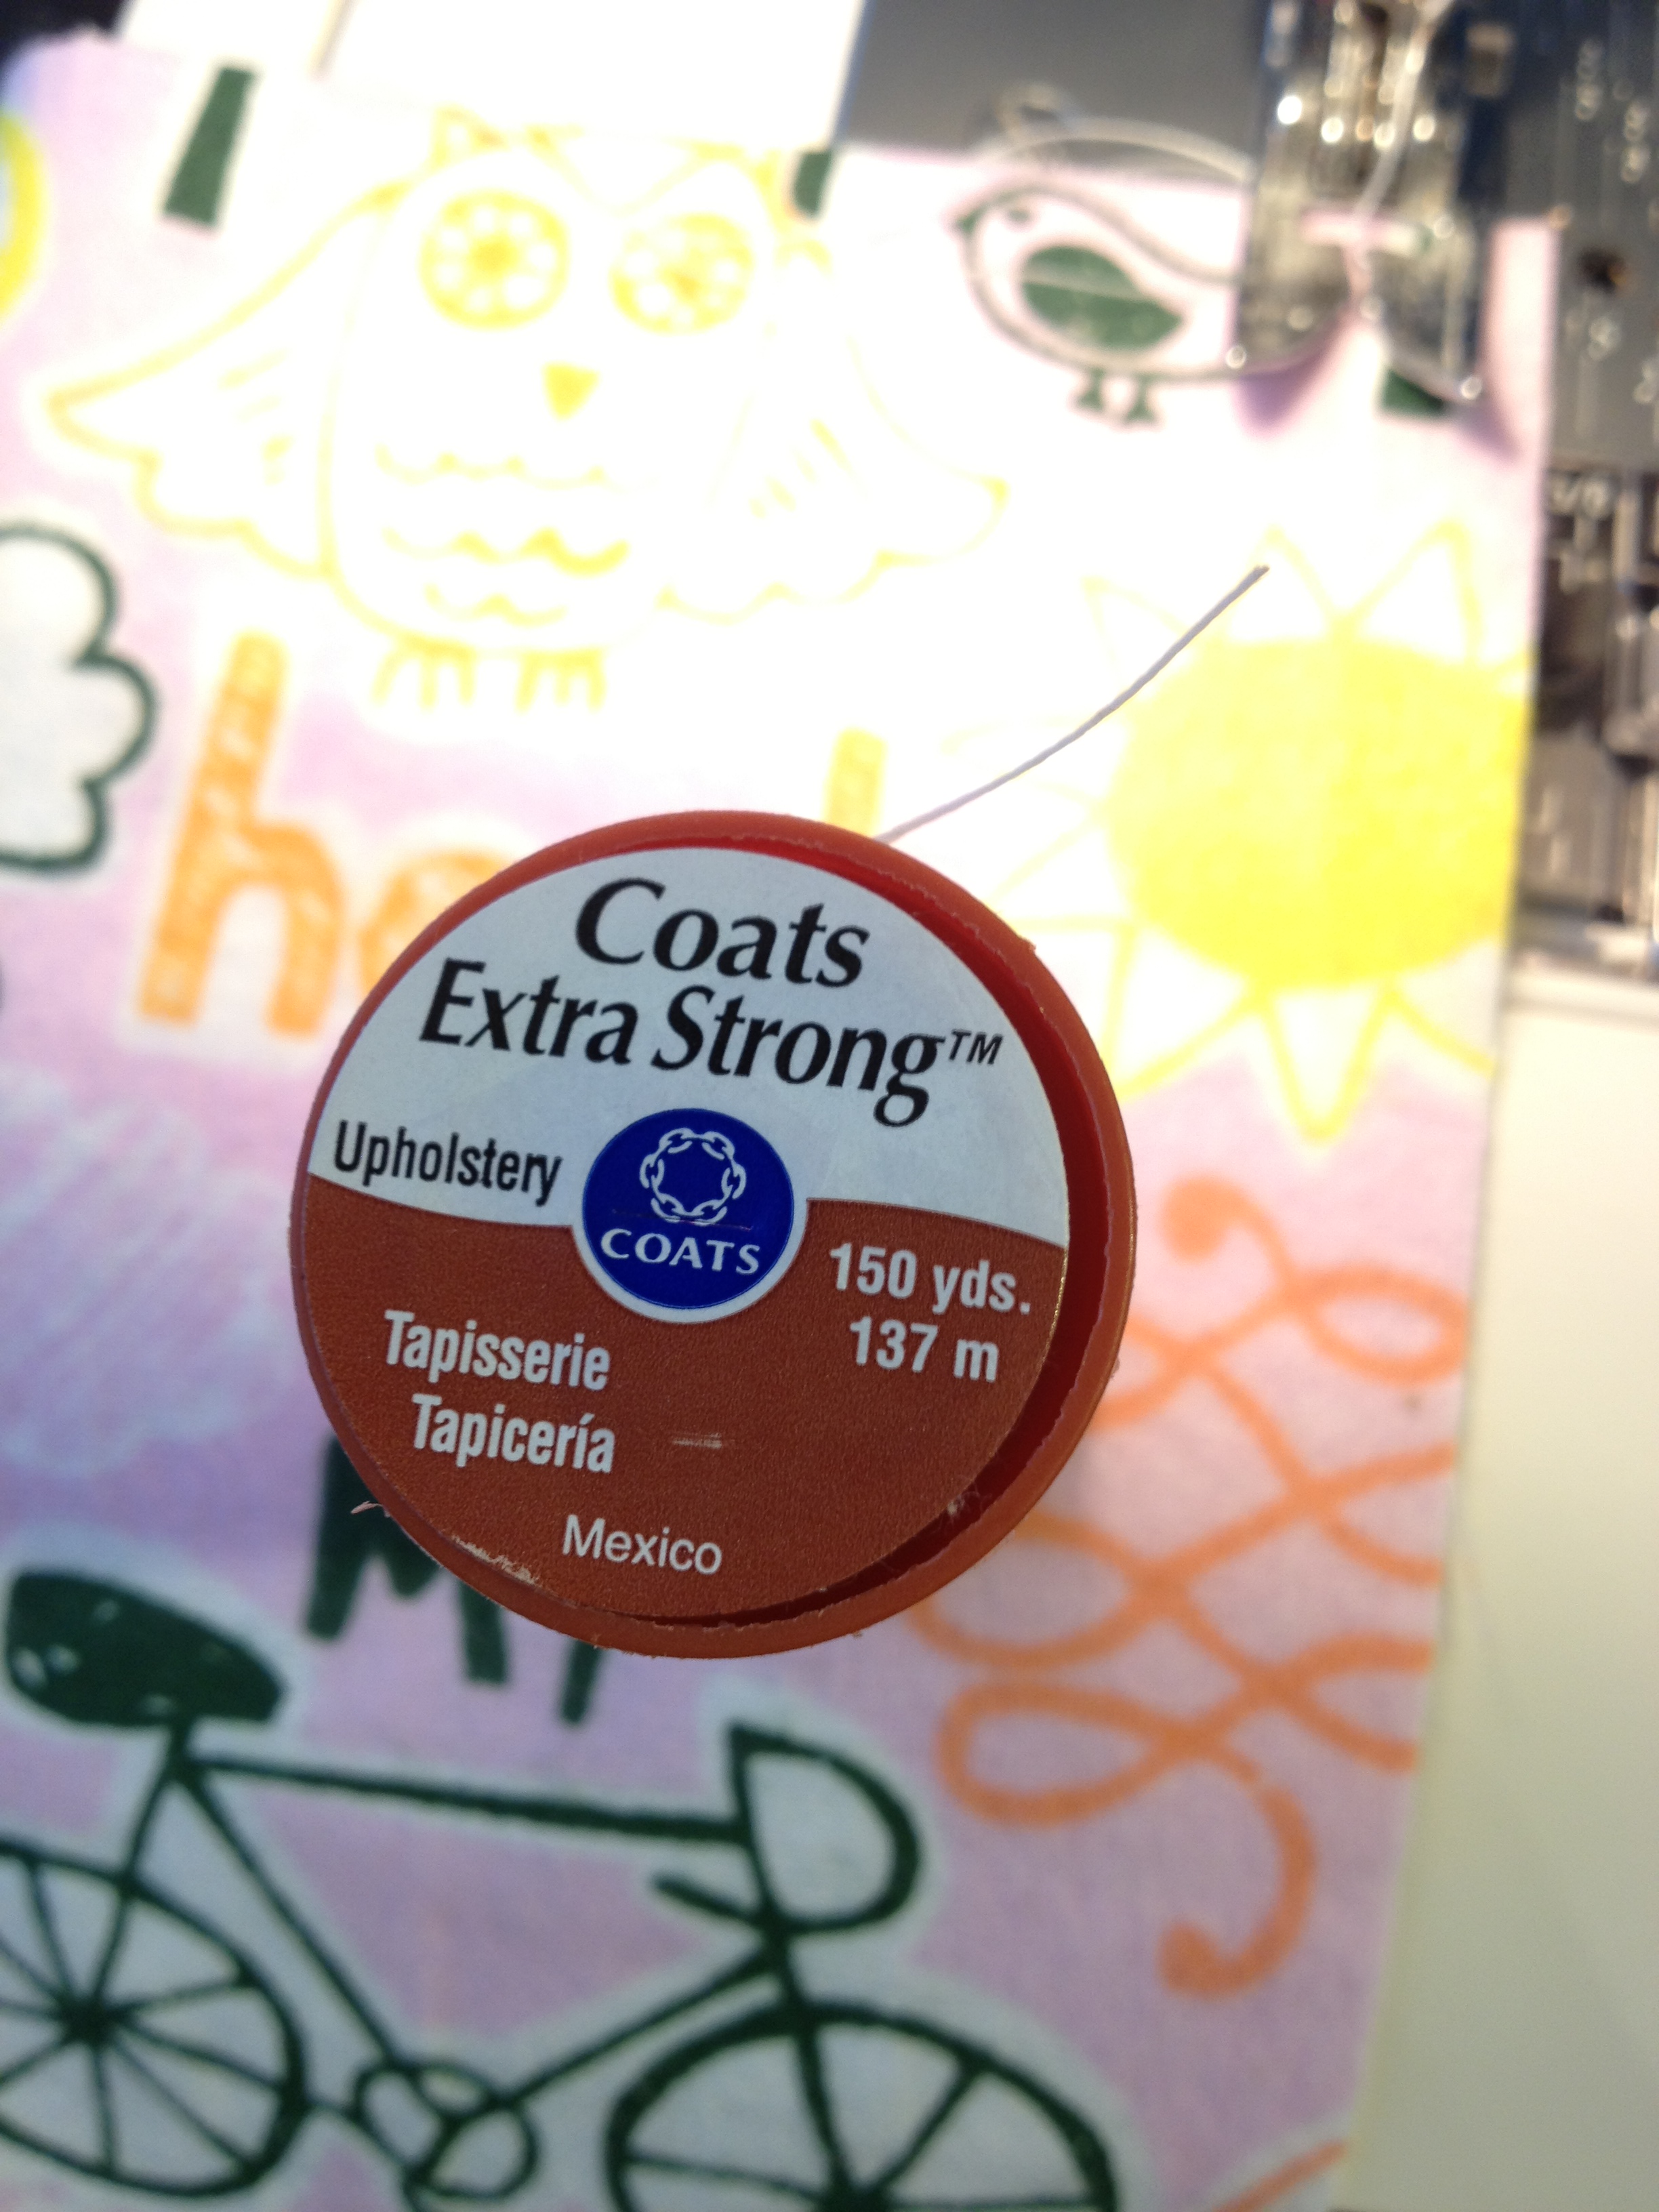
Next I went for the strongest, most durable thread I could find: upholstery thread. Yes, I know it’s overkill but I want these to last a small eternity so I don’t get hit in the face with a broken needle again!
Once your machine is threaded and set, you’re ready to sew!

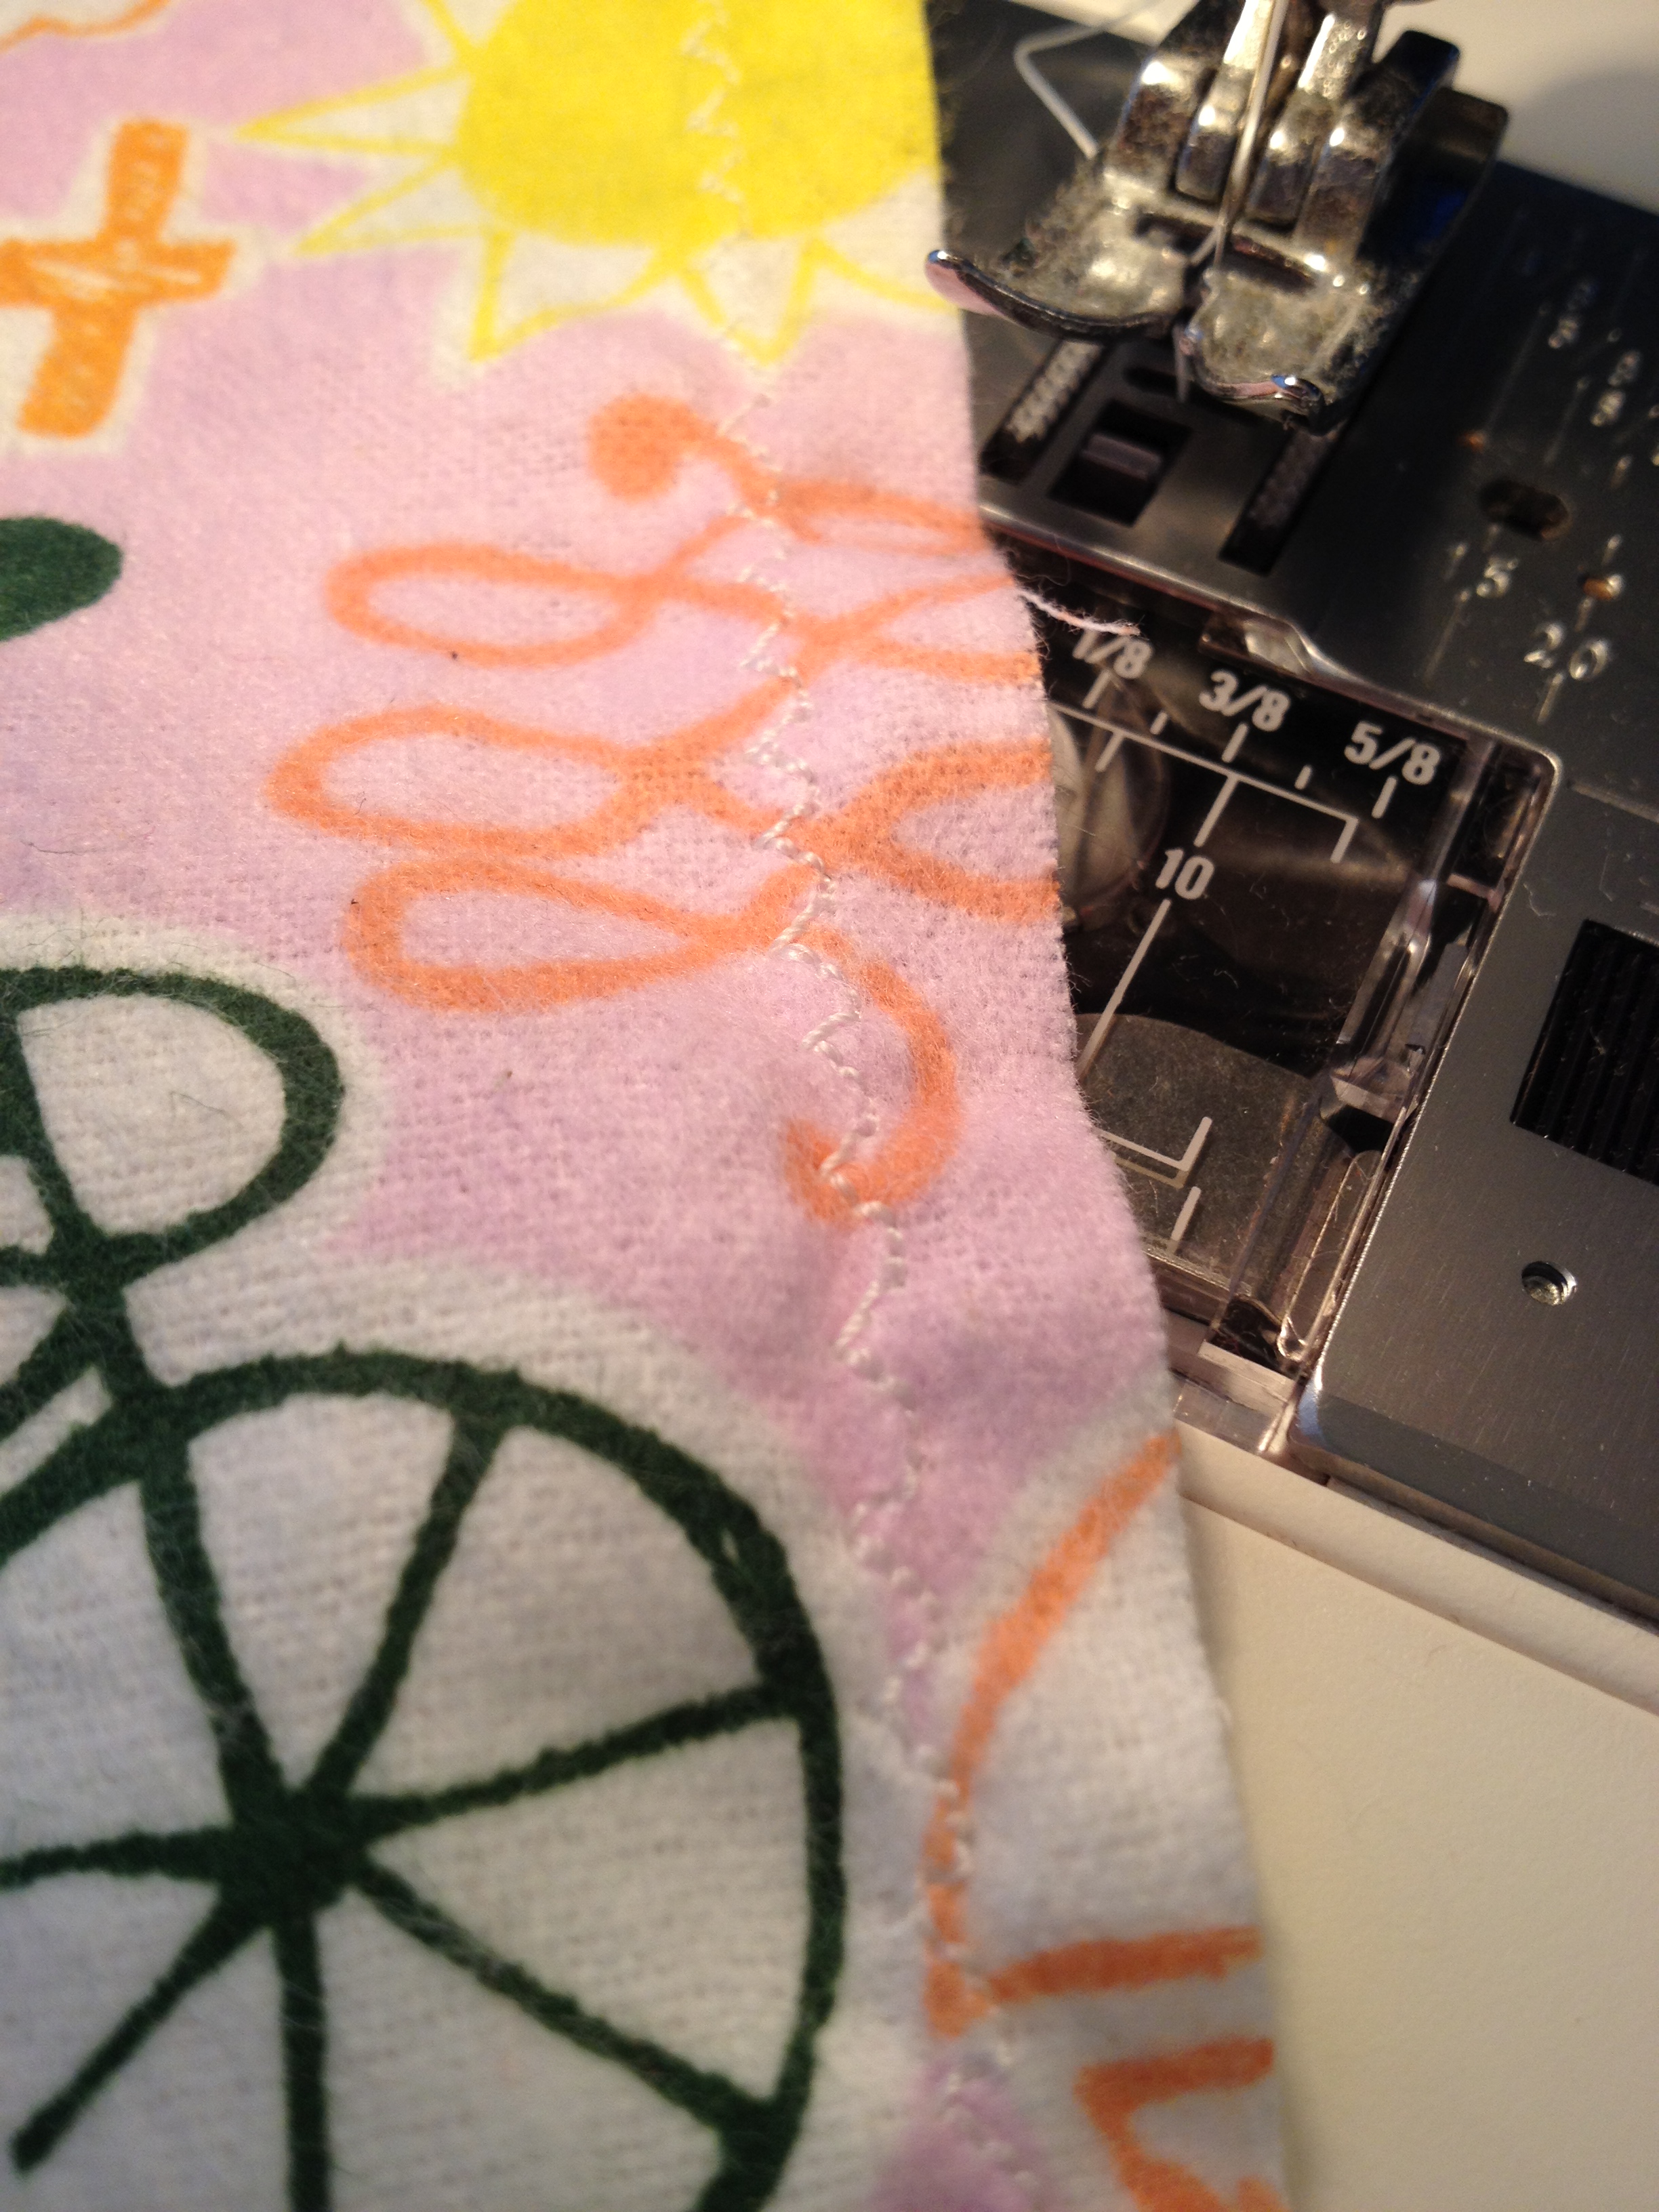
Here is what the triple zigzag stitch looked like when it was complete:
I sewed straight off each edge, as shown, to create durable corners. So far they have held up great in the wash.

It was easier for me to sew each one and toss it in a pile for trim-up later. This is how they look fresh out of the machine:

When I was done with the lot, I sat down with a pair of sharp fabric scissors and trimmed off the threads and trimmed the fabric close to the zigzag edge I’d just sewn. This helps lessen the thread pulling that happens when they’re laundered.

There you have it! Soft new hankies! Enjoy how they look now because they never lay quite that flat again. When you first wash them, they come out of the dryer in a tangled thread mess that looks like its ruined. You’ll need to smooth them out and trim away any shredded thread edges until they fray up to the stitched edge and finally stop. (Notice that any boogers completely wash out without any pre-treating or even unfolding them. I threw them in the washer in a snot-glued wad and they came out perfectly clean!)

They get even softer with use and are a great way to save money. You can make two sets, one to use now and one to put away in your emergency storage, so that you have a lifetime supply for your family. Enjoy!
These also make great baby wipes. I use a spray bottle with water and baby shampoo and spray onto the sharpa fabric and it usually only takes 1 wipe to clean M’s bottom! They are amazing! This is a fantastic option for cloth diaper users like myself because you don’t need to seperate the wipes to the bin and the cloth diaper to the diaper pail…you throw it all in together and easy cleaning!
I’ve been thinking about doing this. Thank goodness we have washing machines. I remember my mom talking about having to hand wash snotty hankies as a kid. Gross.
Question: Why not just zigzag on the edge of the fabric so you don’t have to cut down to the stitching?
You totally can use pinking shears! I just didn’t have any and gave a way to do it that didn’t require buying them. I think it would make the hankies even cuter to have the zigzag edges! If you mean overstitching the edge, I’d never done it before and another lady online said this way worked so I tried it and found it worked, too. But please tell us what settings you use and how to do the edge stitch! I’d love to learn that!
I’ll bet you have an edge stitch on your machine. It just looks like a comb. But even without that, I’ve used the zig zag stitch just right up to the edge of the fabric, and if you use a small, or tight enough stitch, it should keep it from fraying.
Use a regualar zigzag. Use about 8 stitches per inch and a wide stitch if you can adjust that. Let the needle barely go off the edge of the material as you stitch with the zigzag stitch. . . if you cannot find the edge stitch.
i was gifted with 100#s of assorted fabrics & have been finding ways to use it around the house. this & the poo wipes are a GREAT use, thanks.
You can pick up flannel sheets at thrift stores for projects like this one or the poo wipes. Here in FL In the warmer months, I find them for $2-3 each. That’s a lot of inexpensive fabric.
This is such a fantastic idea! I have a lot of flannel pieces left over from various projects that I didn’t have the heart to throw away. I was going to make burp rags, but daughter-in-law got so many because her mom sews at lot, too. I will make some as hankies for our grandson and the rest of us. Thanks for posting this.
Hi Jamie! It’s so fun meeting other Jamie’s, especially ones that know how to spell their names ;) Hope the sewing went well!
My sister introduced me to her family’s brilliant “re-usable” kleenex…and it’s no sew too! They just use an old t-shirt (extra soft that way)! Keeps everyone’s nose from getting chaffed during colds and leaves plenty of usable room! They call it The Snot Rag. :)