As the reigning Queen of Screw-Ups I like recipes that, even in an emergency, I simply can’t screw up! I found this Cornbread recipe on Crystal Godfrey’s EverydayFoodStorage.net blog and adapted it to use ONLY powdered ingredients (although I admit it tastes better when you use real butter).
:: Follow This Link to View The Original Recipe ::
(Scroll down to where it says “Original Cornbread Recipe”)
EverydayFoodStorage.net Cornbread with Powdered Butter
Ingredients & Directions:
- 1 cup water + 3 tablespoons powdered milk + 1 tablespoon vinegar
* Combine these in a glass measuring cup and let sit for 3-4 minutes to make a buttermilk substitute.
Meanwhile, in your mixing bowl combine:
- ½ cup powdered butter
- 1 cup yellow cornmeal
- 1 cup flour (white, wheat or any combination of both)
- 2/3 cup sugar
- 2 tablespoons dry egg powder
- ¼ cup water
- ½ teaspoon baking soda
- ½ teaspoon salt
Do NOT add any extra liquid! Reconstituting the eggs & butter is not necessary. Add them to the mix dry and pour liquids over the top of them. They’ll moisten during mixing.
To the list above add the vinegar milk mixture and beat until well combined. The result should be the consistency of gritty cake batter.

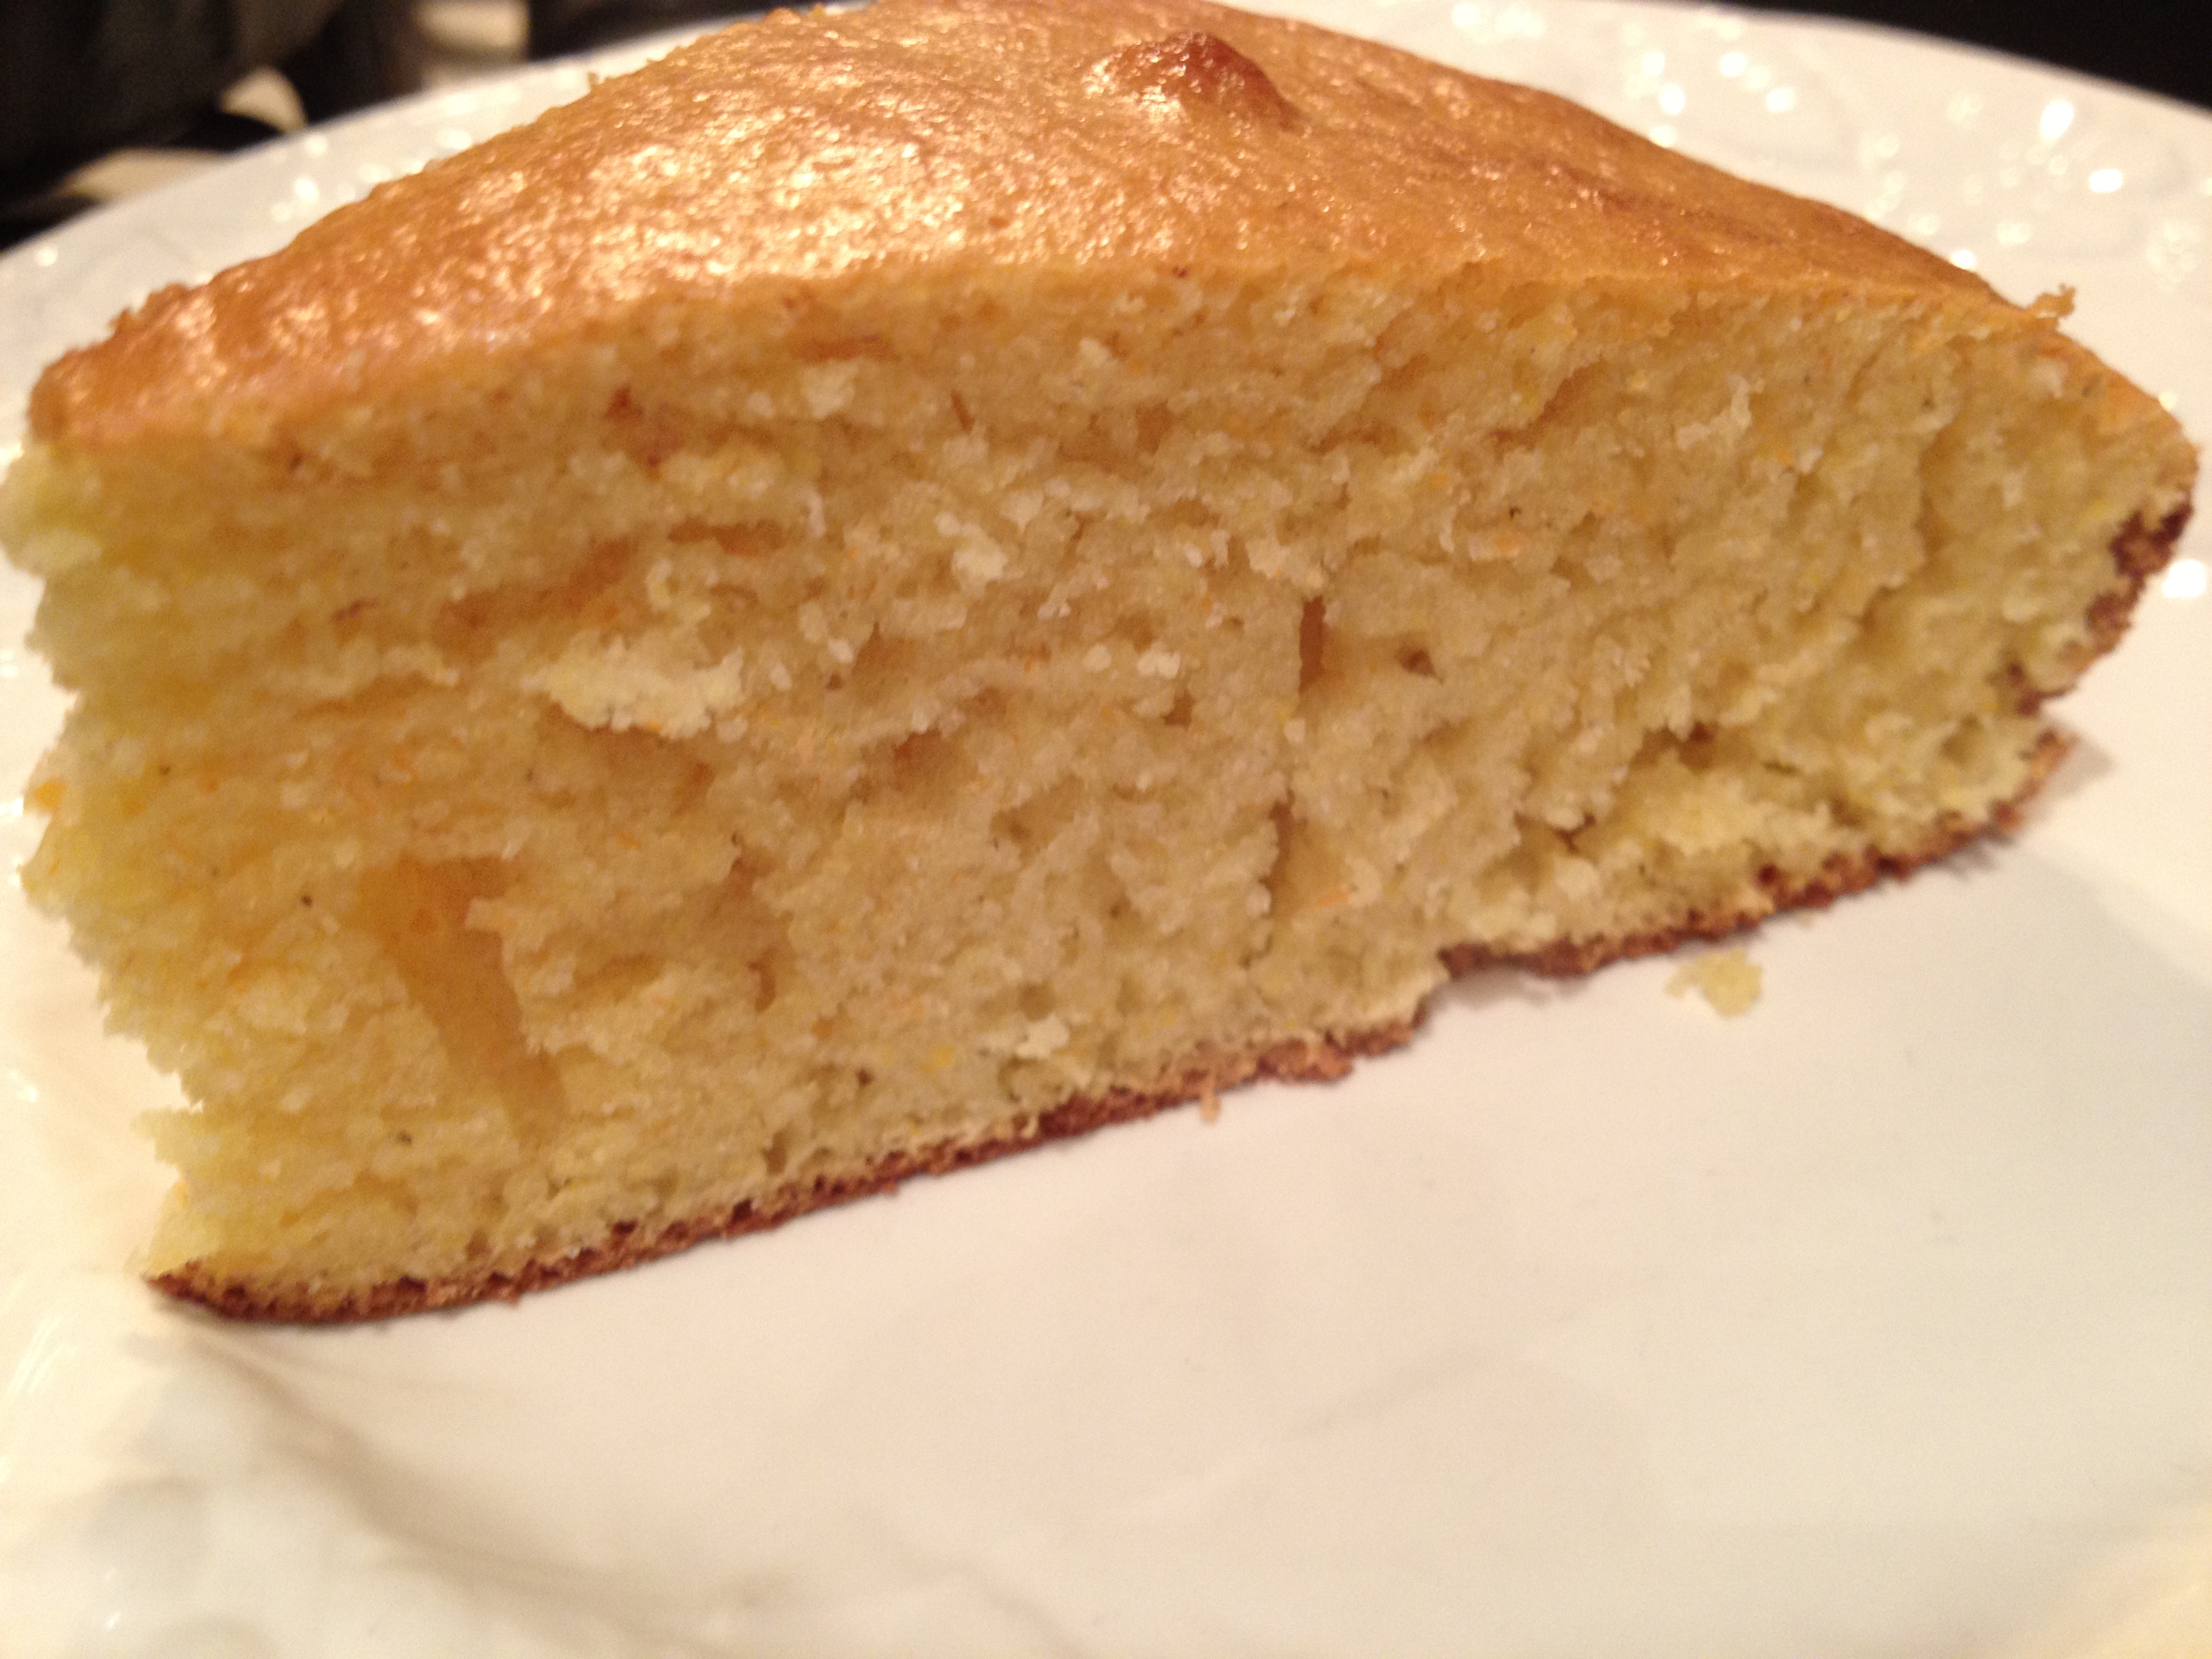
Grease an 8×8 inch pan (or for even better tasting corn bread, use a well seasoned cast iron pan!) and pour in the batter.
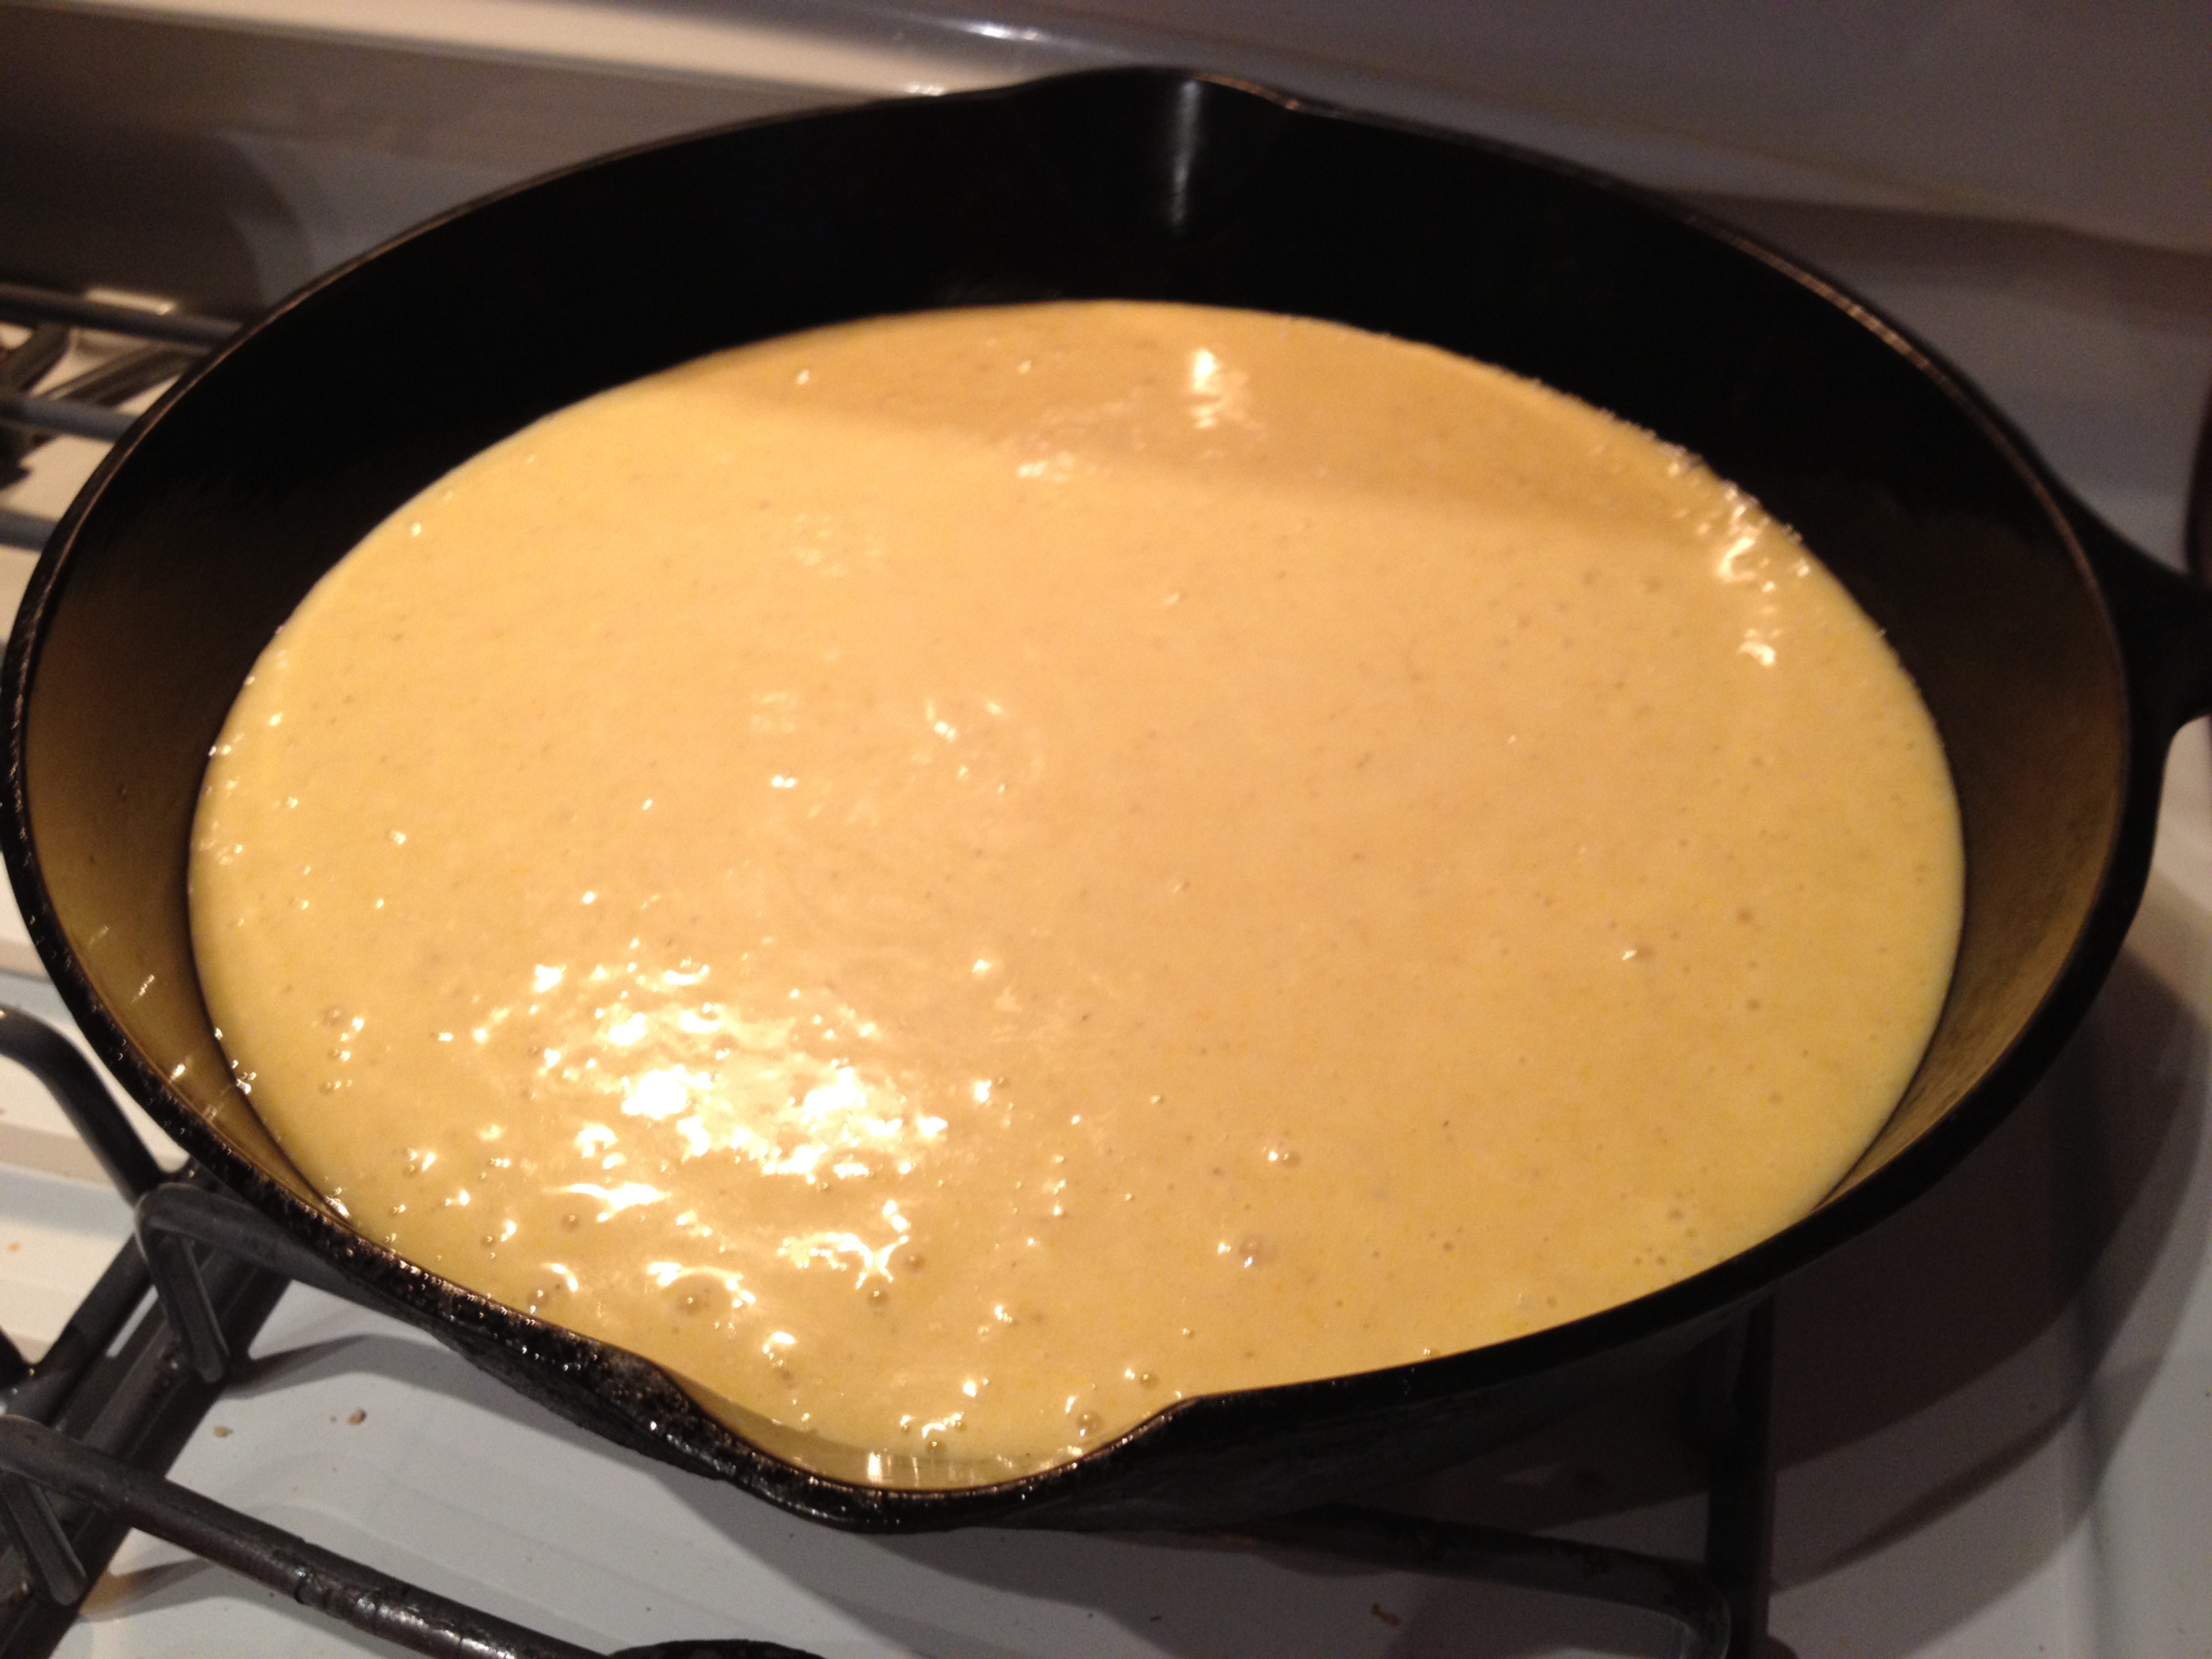
Bake at 350° for 25-30 minutes until the corn bread pulls away from the side of the pan and becomes a golden yellow color. If using cast iron increase oven temperature to 375°.

Enjoy your new creation that uses 100% shelf-stable ingredients!


OK, I’m a man, and cooking is not what I know or do best. I do like cornbread though, so I have found a way to have it when I want it. I use this mix for camping, yes I said camping. Very easy and good. First I buy cornbread mix, (I like Jiffy mix), a box costs about .50 cents. It takes 1 egg and 1/3 cup milk to make at home. To take camping I use powdered egg and milk. Open the box of mix and dump into a ziplock bag, put in dry egg and milk, seal bag. Now you have a ready to go mix and only need water to complete. When ready to make just add water to the bag and mix. I use a canteen cup with aluminum foil pressed into it. fill about 1 inch deep, cover with another piece of foil over the top of the cup,(don’t mash down on top of mix, cover top of cup). Put a couple rocks or metal tent pegs in ground to support the cup about 3to 5 inches above the ground(I use a couple of U or staple shaped pieces of metal cloths-hanger), scrape some coals from the fire around them and set the canteen cup on top. In a few min (10 -20) you’ve got cornbread, all you need is butter to make it perfect. To store the mix, put it together in a paper lunch bag, roll up the bag (don’t fold, roll), put into a vac seal bag with oxy & moisture remover and vac seal. For long term just put into a Mylar bag with another oxy absorber and seal that bag. You could put 2 or more into each Mylar bag(depending on the size of the bag and how often you make). Easy to make and great for camping or hiking.
Thanks for the tips. I think I just need to do a whole post based on your comments! Feel free to send some pics of this!
Ya, right. You can name it the “How Not To Comment On Posts” post. Sooo……do you think it might help me find that worm woman? I’ll try almost anything once or three times. Just in case, a description of myself for your new prep-er dating site would be, “ain’t rich, ain’t pretty, can’t sing, don’t dance, always been a good person but ain’t never laid claim on nice. Evil is all I ever been good at. Just old, not dead”. Glad to hear you won a medal and finished the race. Hubby and kids must be proud. If not, send em to see me, I’ll have a talk with em. After a few seconds with me they’ll be glad to get back to you, and sanity.
Since it’s been snowing some here lately and I haven’t seen dirt in about 4 weeks I’m not sending any pics of me making any of this. I did forget to mention that you should put something in the bottom of the cup to keep your foil cup off the bottom of the canteen cup, (small rocks work for me) and add a little water in the canteen cup. If you type canteen cup baking into the you-tube search you can see several vids of others doing this, that’s where I got the idea. Vids are better than still pics anyway. The complete process is in a vid.