
There are about a billion flour tortilla recipes out there. You may have a favorite or you may be lost when it comes to trying to make them like I was. In hunting for a recipe, I had some pretty picky criteria:
1. The recipe could only use the most shelf-stable ingredients: flour, water, salt, baking powder and Crisco. No milk. No eggs. No oil.
2. The tortillas had to taste good. Like restaurant GOOD!
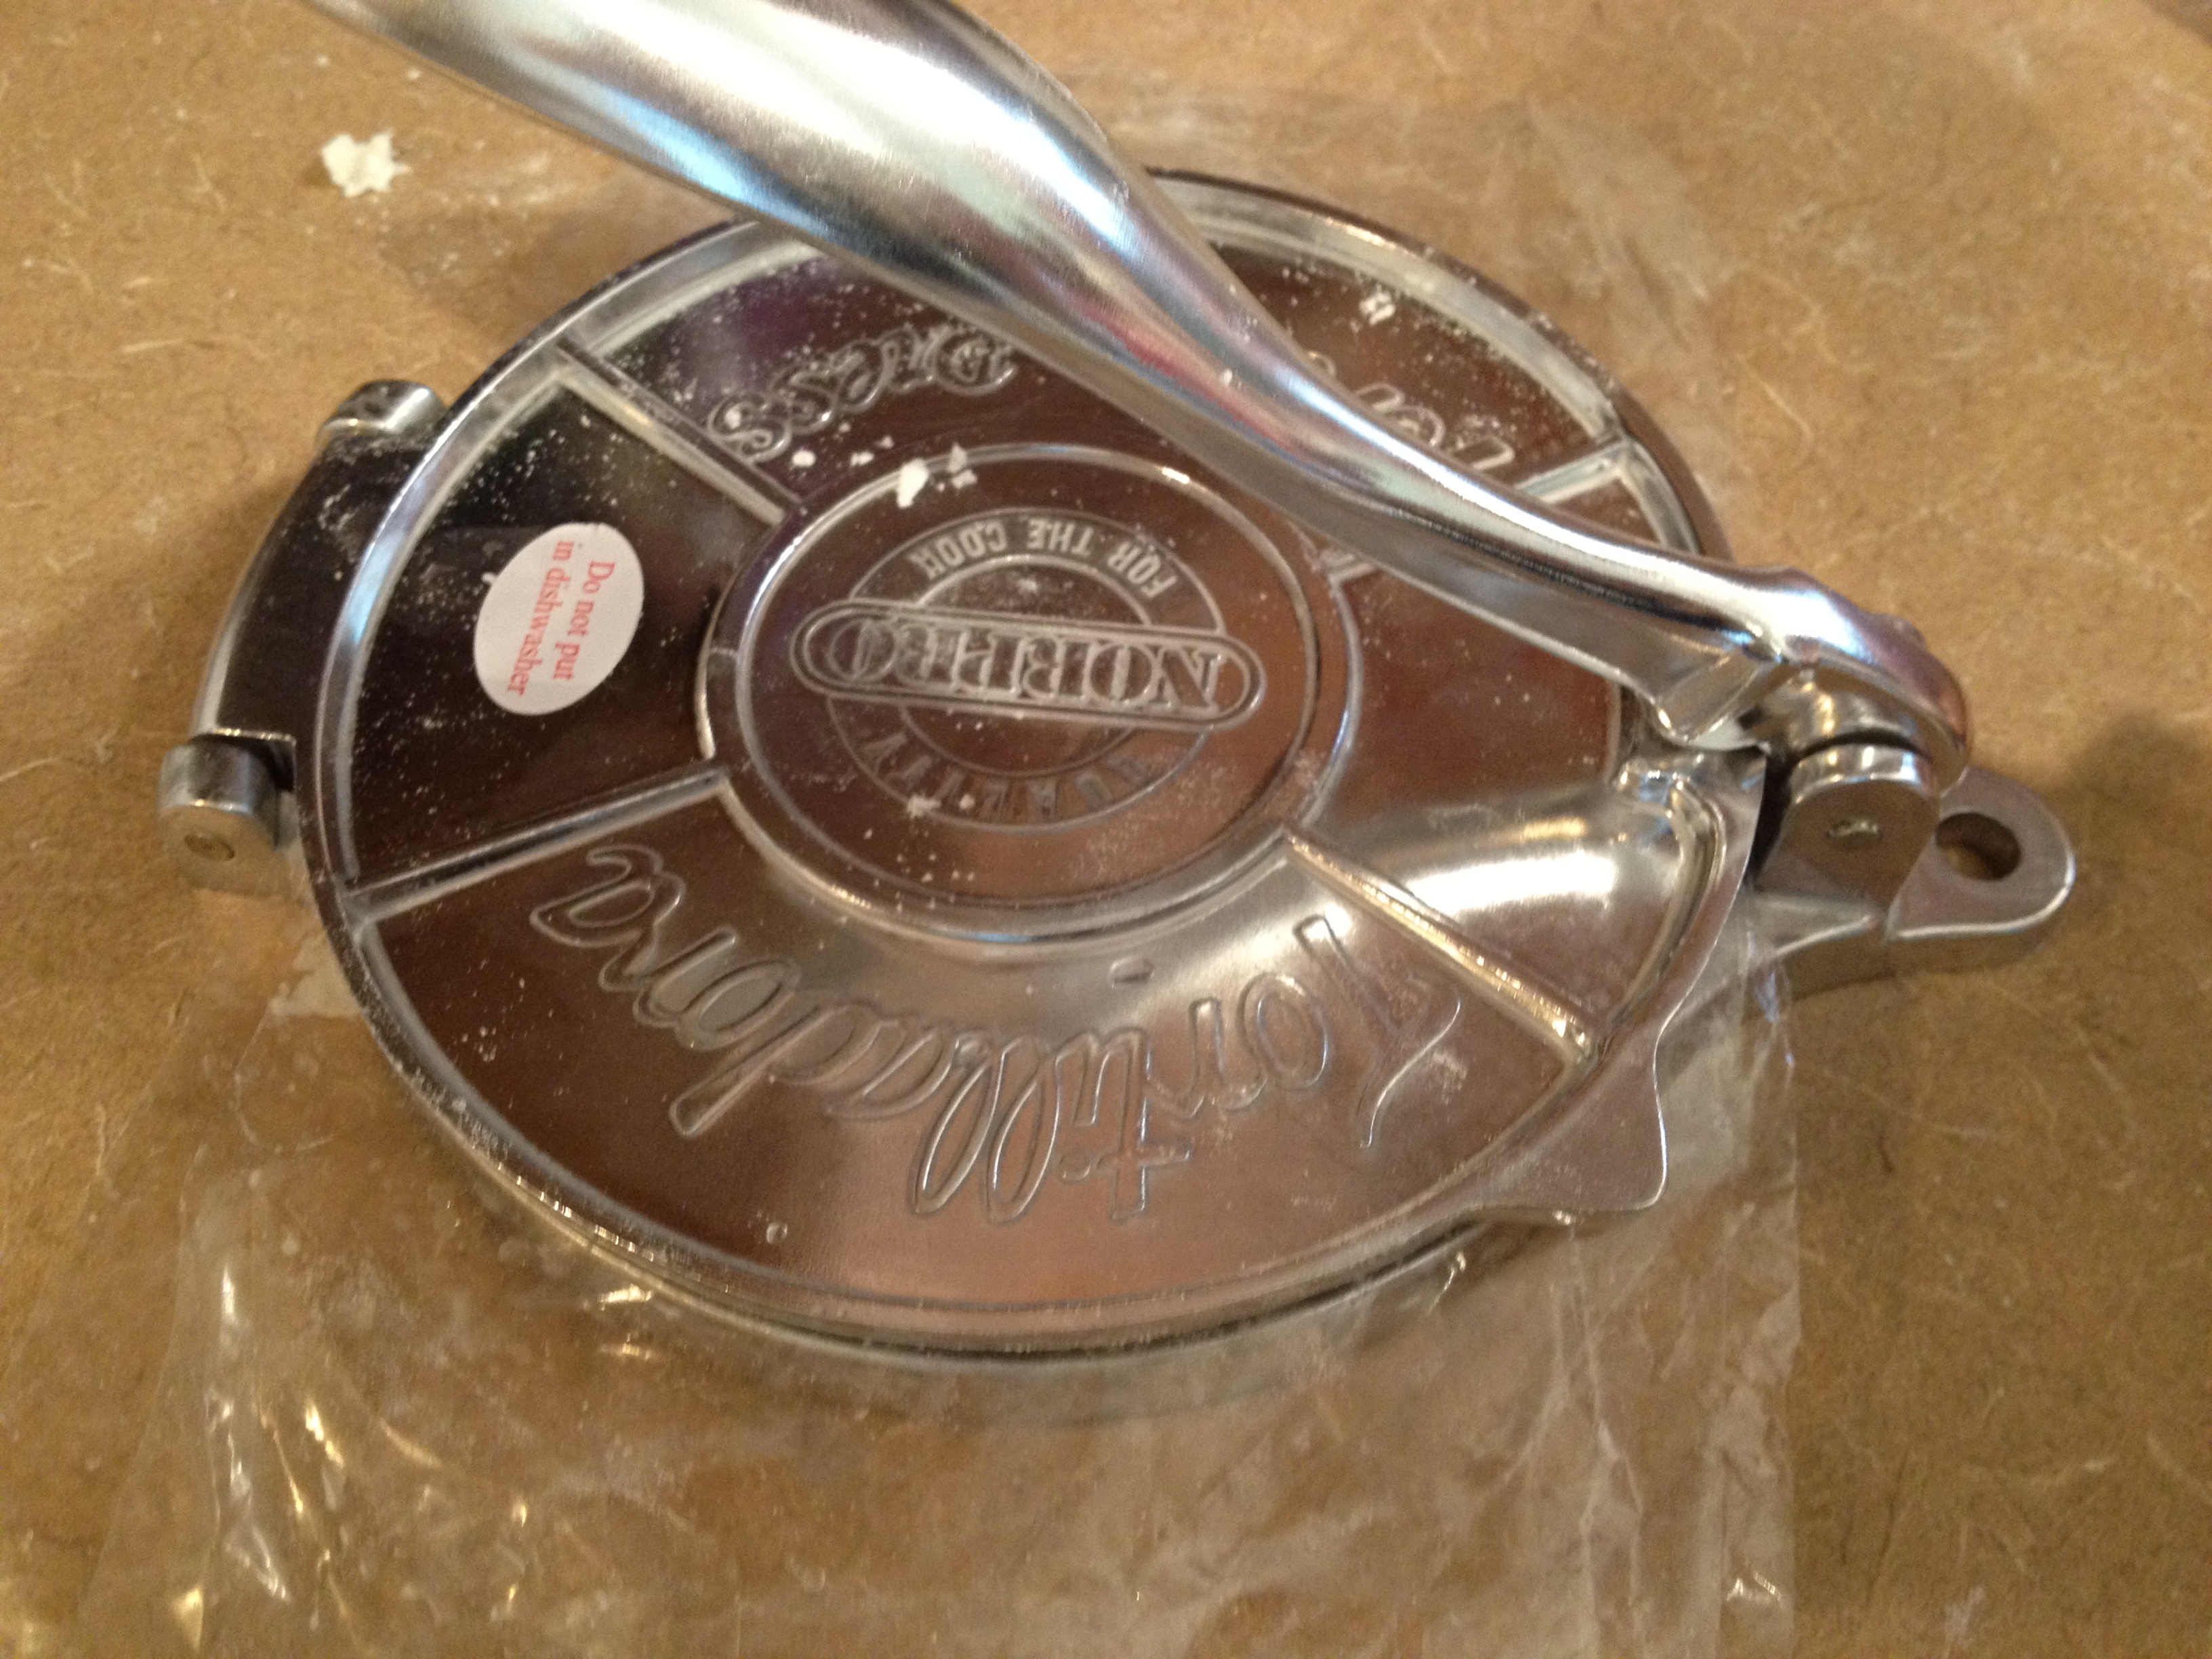
I tried a couple mediocre recipes which were made worse by the fact that I had to hand-roll each tortilla, adding an extra 45 minutes of work. I wasn’t doing that again. Instead I opted for a , which are amazingly inexpensive for how much time they save you. Here is the one I got off Amazon which typically runs under $15: Tortilla Press. Next I tried out a few recipes which all promised they produced delicious tortillas but in practice they fell flat on their face. See, I’m not a gourmet chef so I want a recipe that churns out warm, chewy tortillas every single time I make them, no matter what. I even tried a tortilla recipe that called for oil, thinking I was being too picky. That one was by far the worst tasting. Then one day I meandered across a friendly-looking recipe that met every criteria…and even included a slight rest time for the dough, which sounded “right” for making the fluffy-ish Chuy’s-style tortillas I wanted. It’s not exactly like Chuy’s but I was pleased with the results. And not just me – I recruited taste-testers! All four chose the same recipe as their favorite which makes it a winner in my book!
Food Storage Restaurant-Style Tortillas
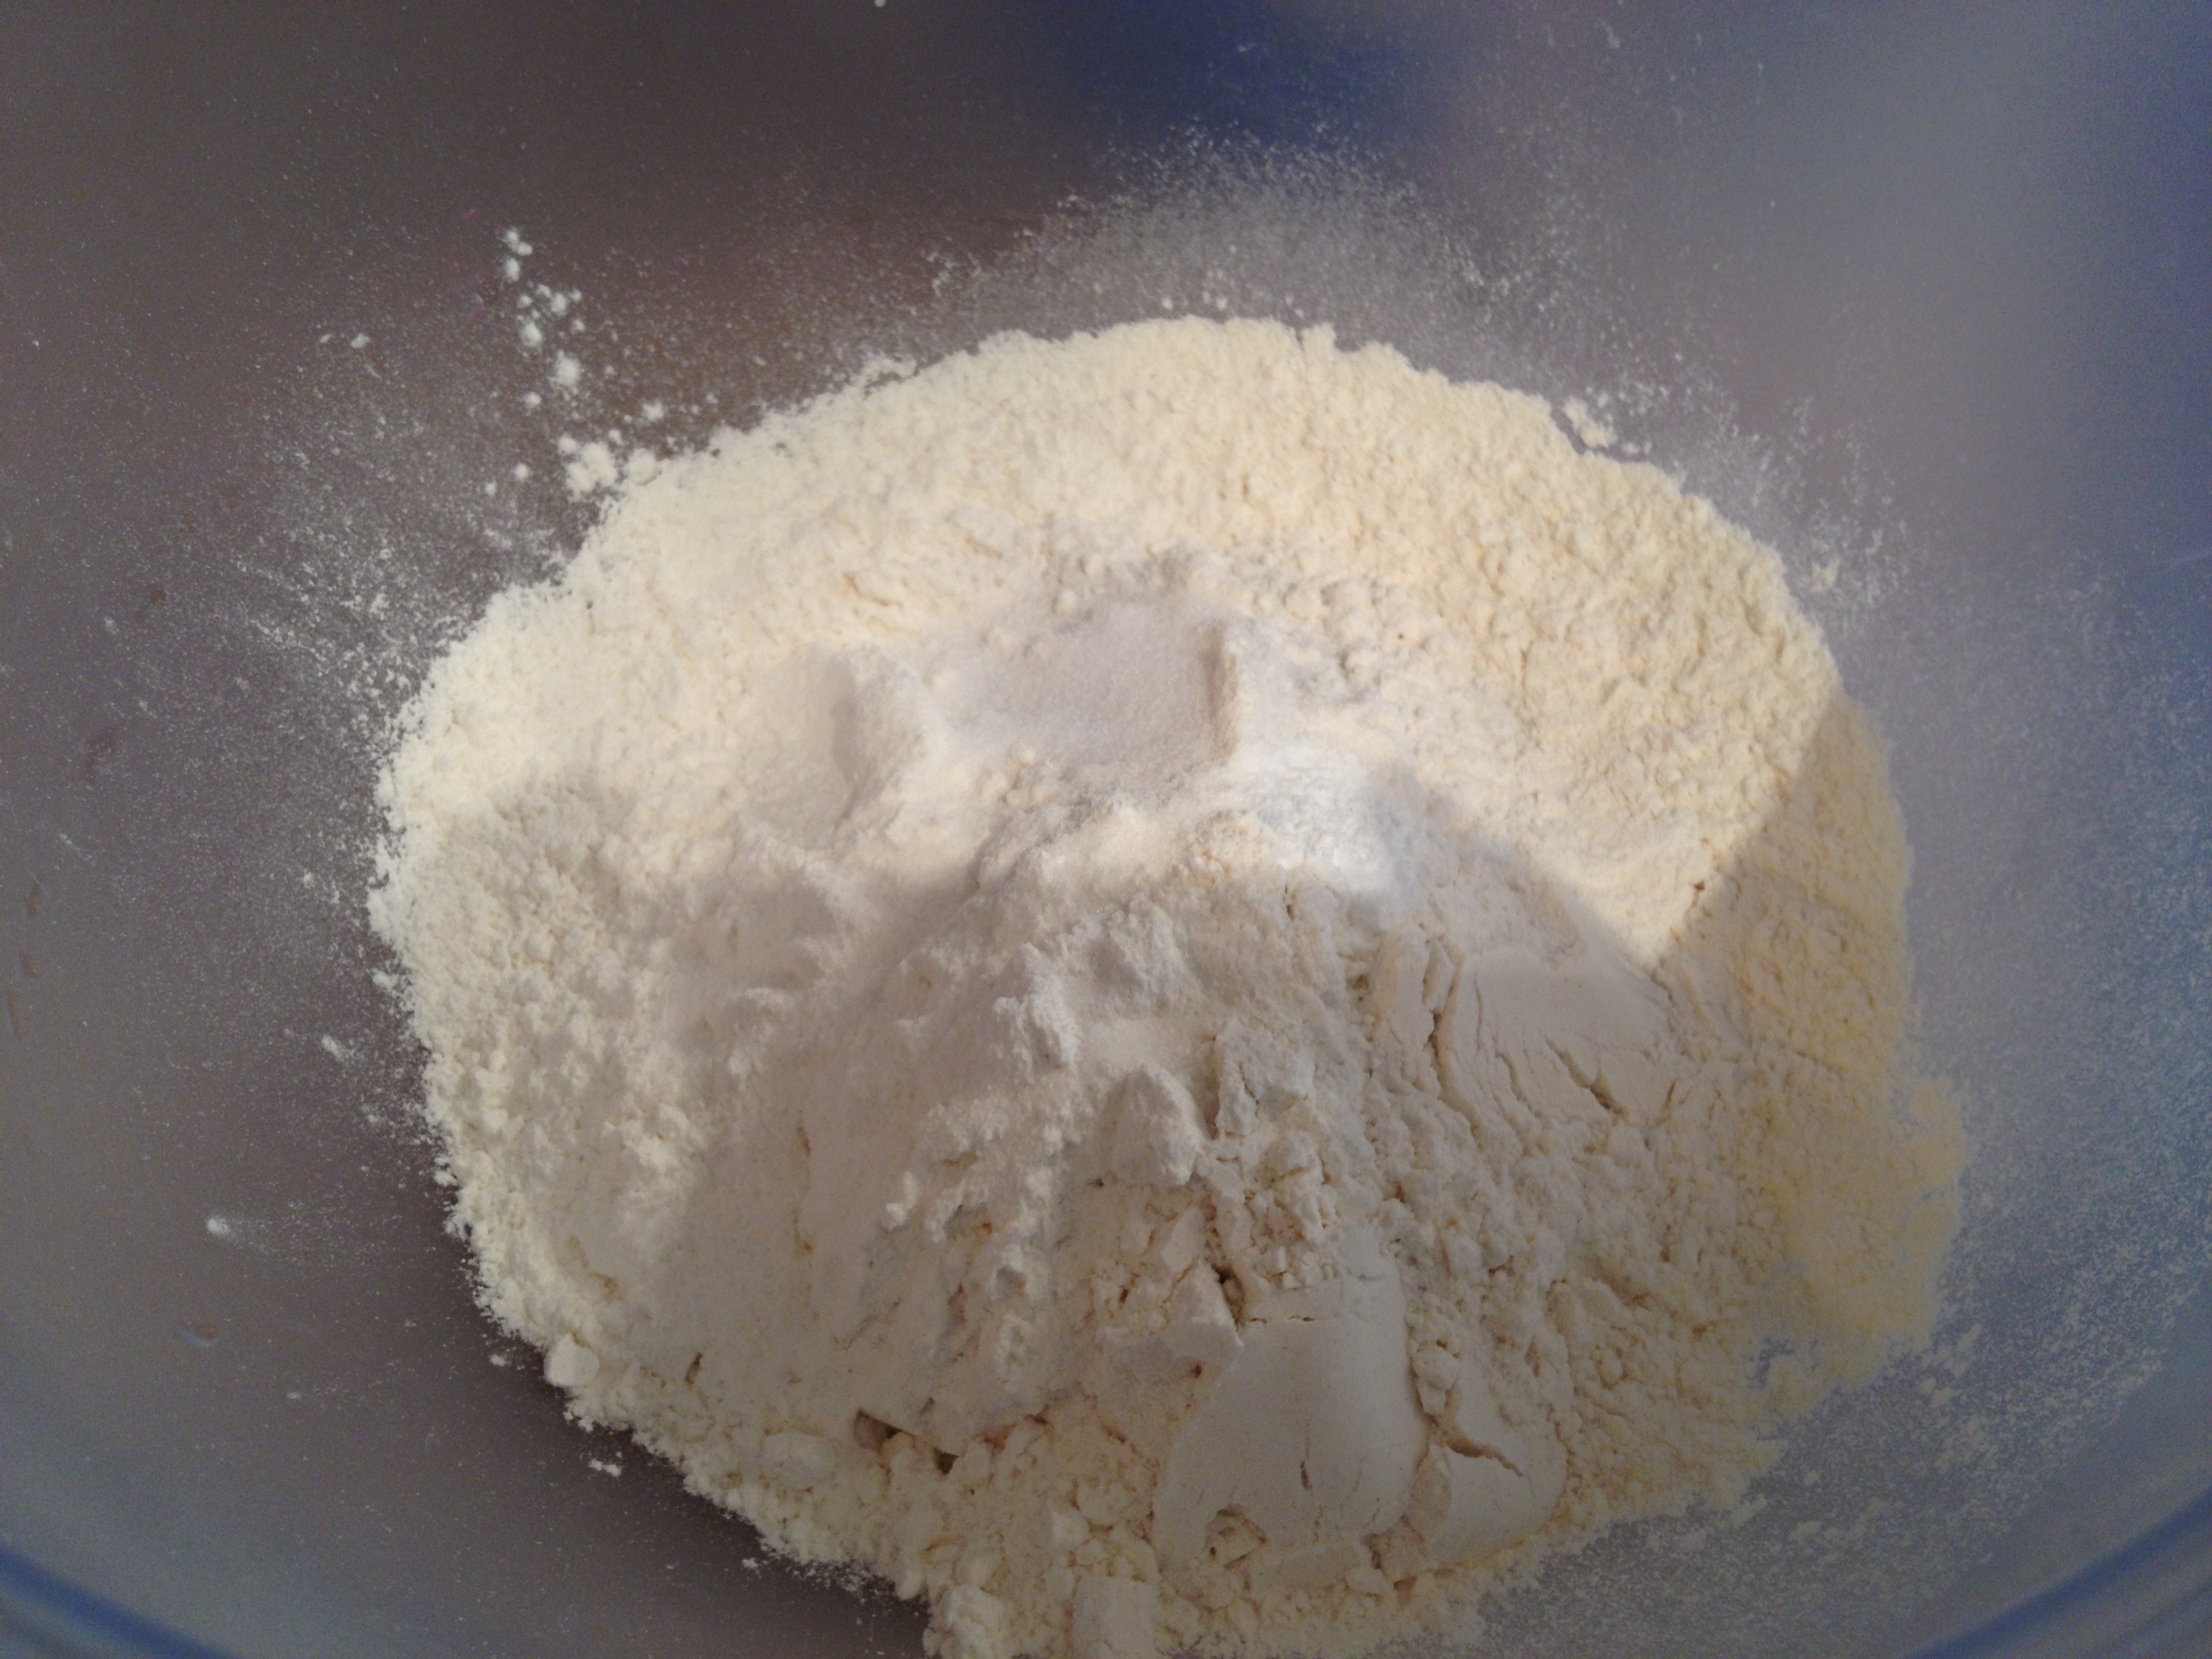
1 and 3/4 cups flour
3/4 teaspoon salt
1/4 teaspoon baking powder
1/4 cup shortening (Crisco)
1/2 cup hot water
In a mixing bowl, combine the dry ingredients, whisking them together to ensure a uniform mix.
Add shortening and work it into the flour mixture with a fork, breaking up any large chunks until the mixture resembles coarse crumbs. Form a well in the center & pour in the hot water. Stir in with your fork.
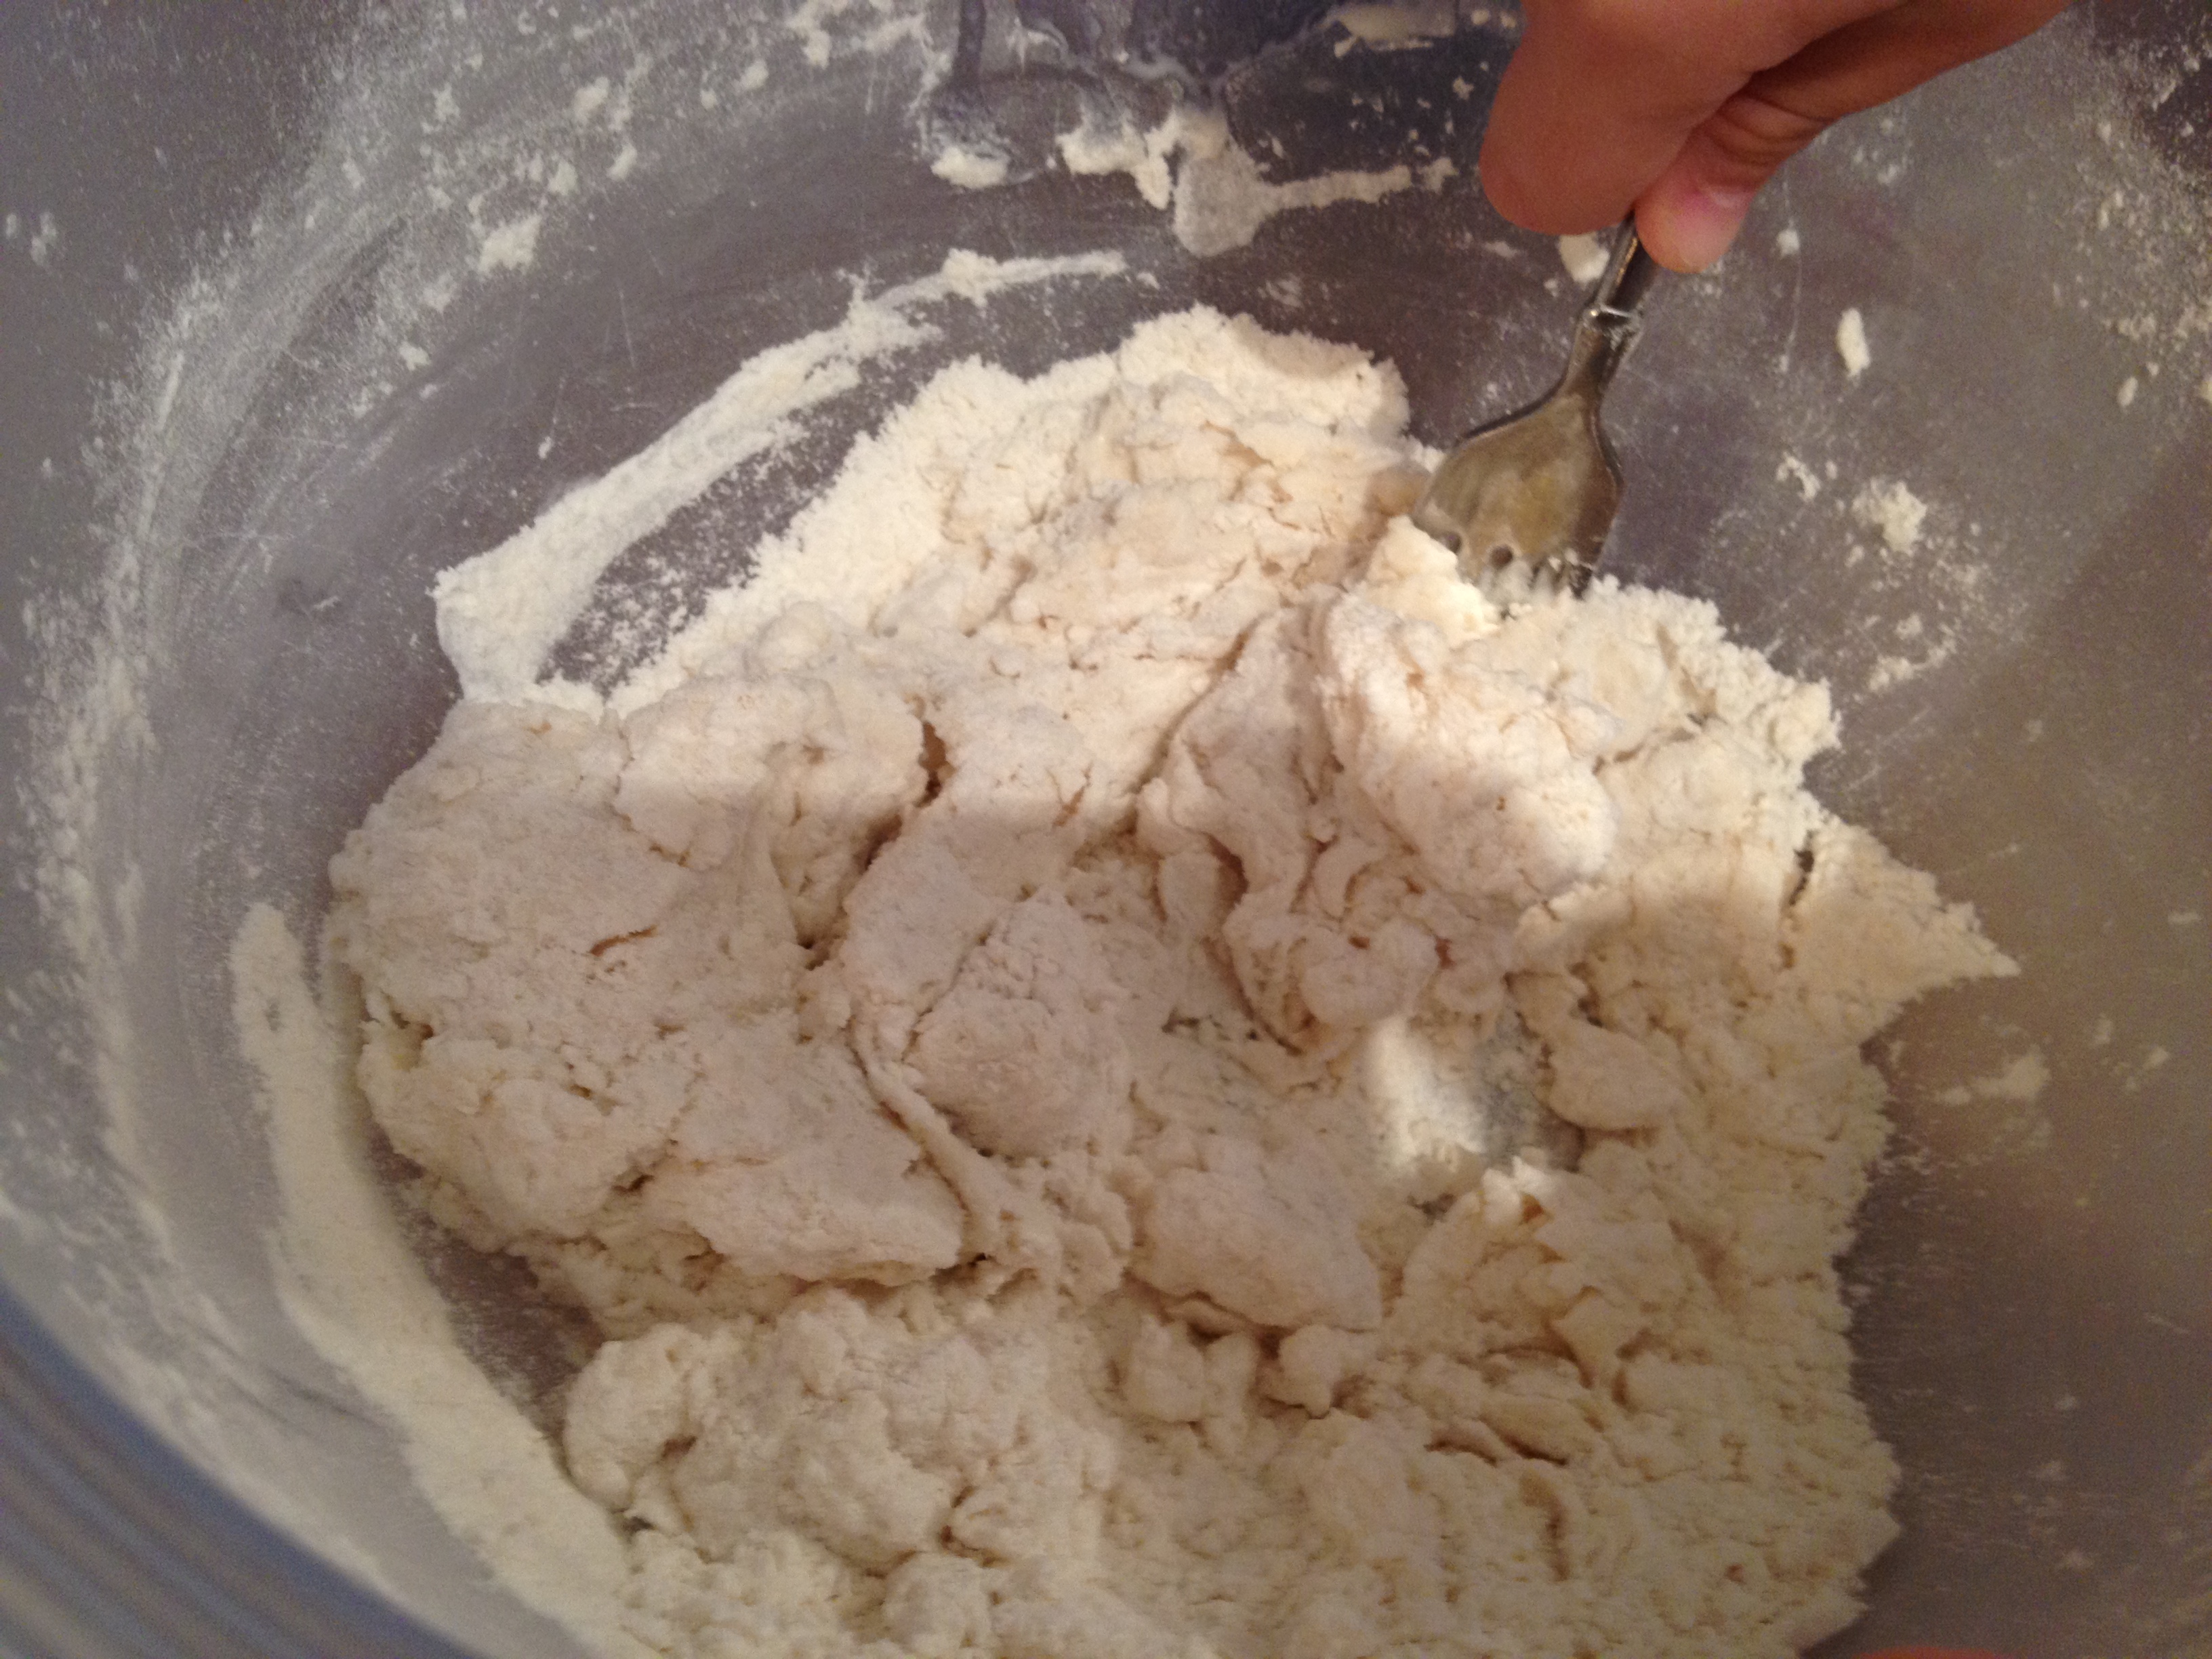
You should have a shaggy dough ball beginning to form. Transfer the entire pile to a clean, well-floured surface.
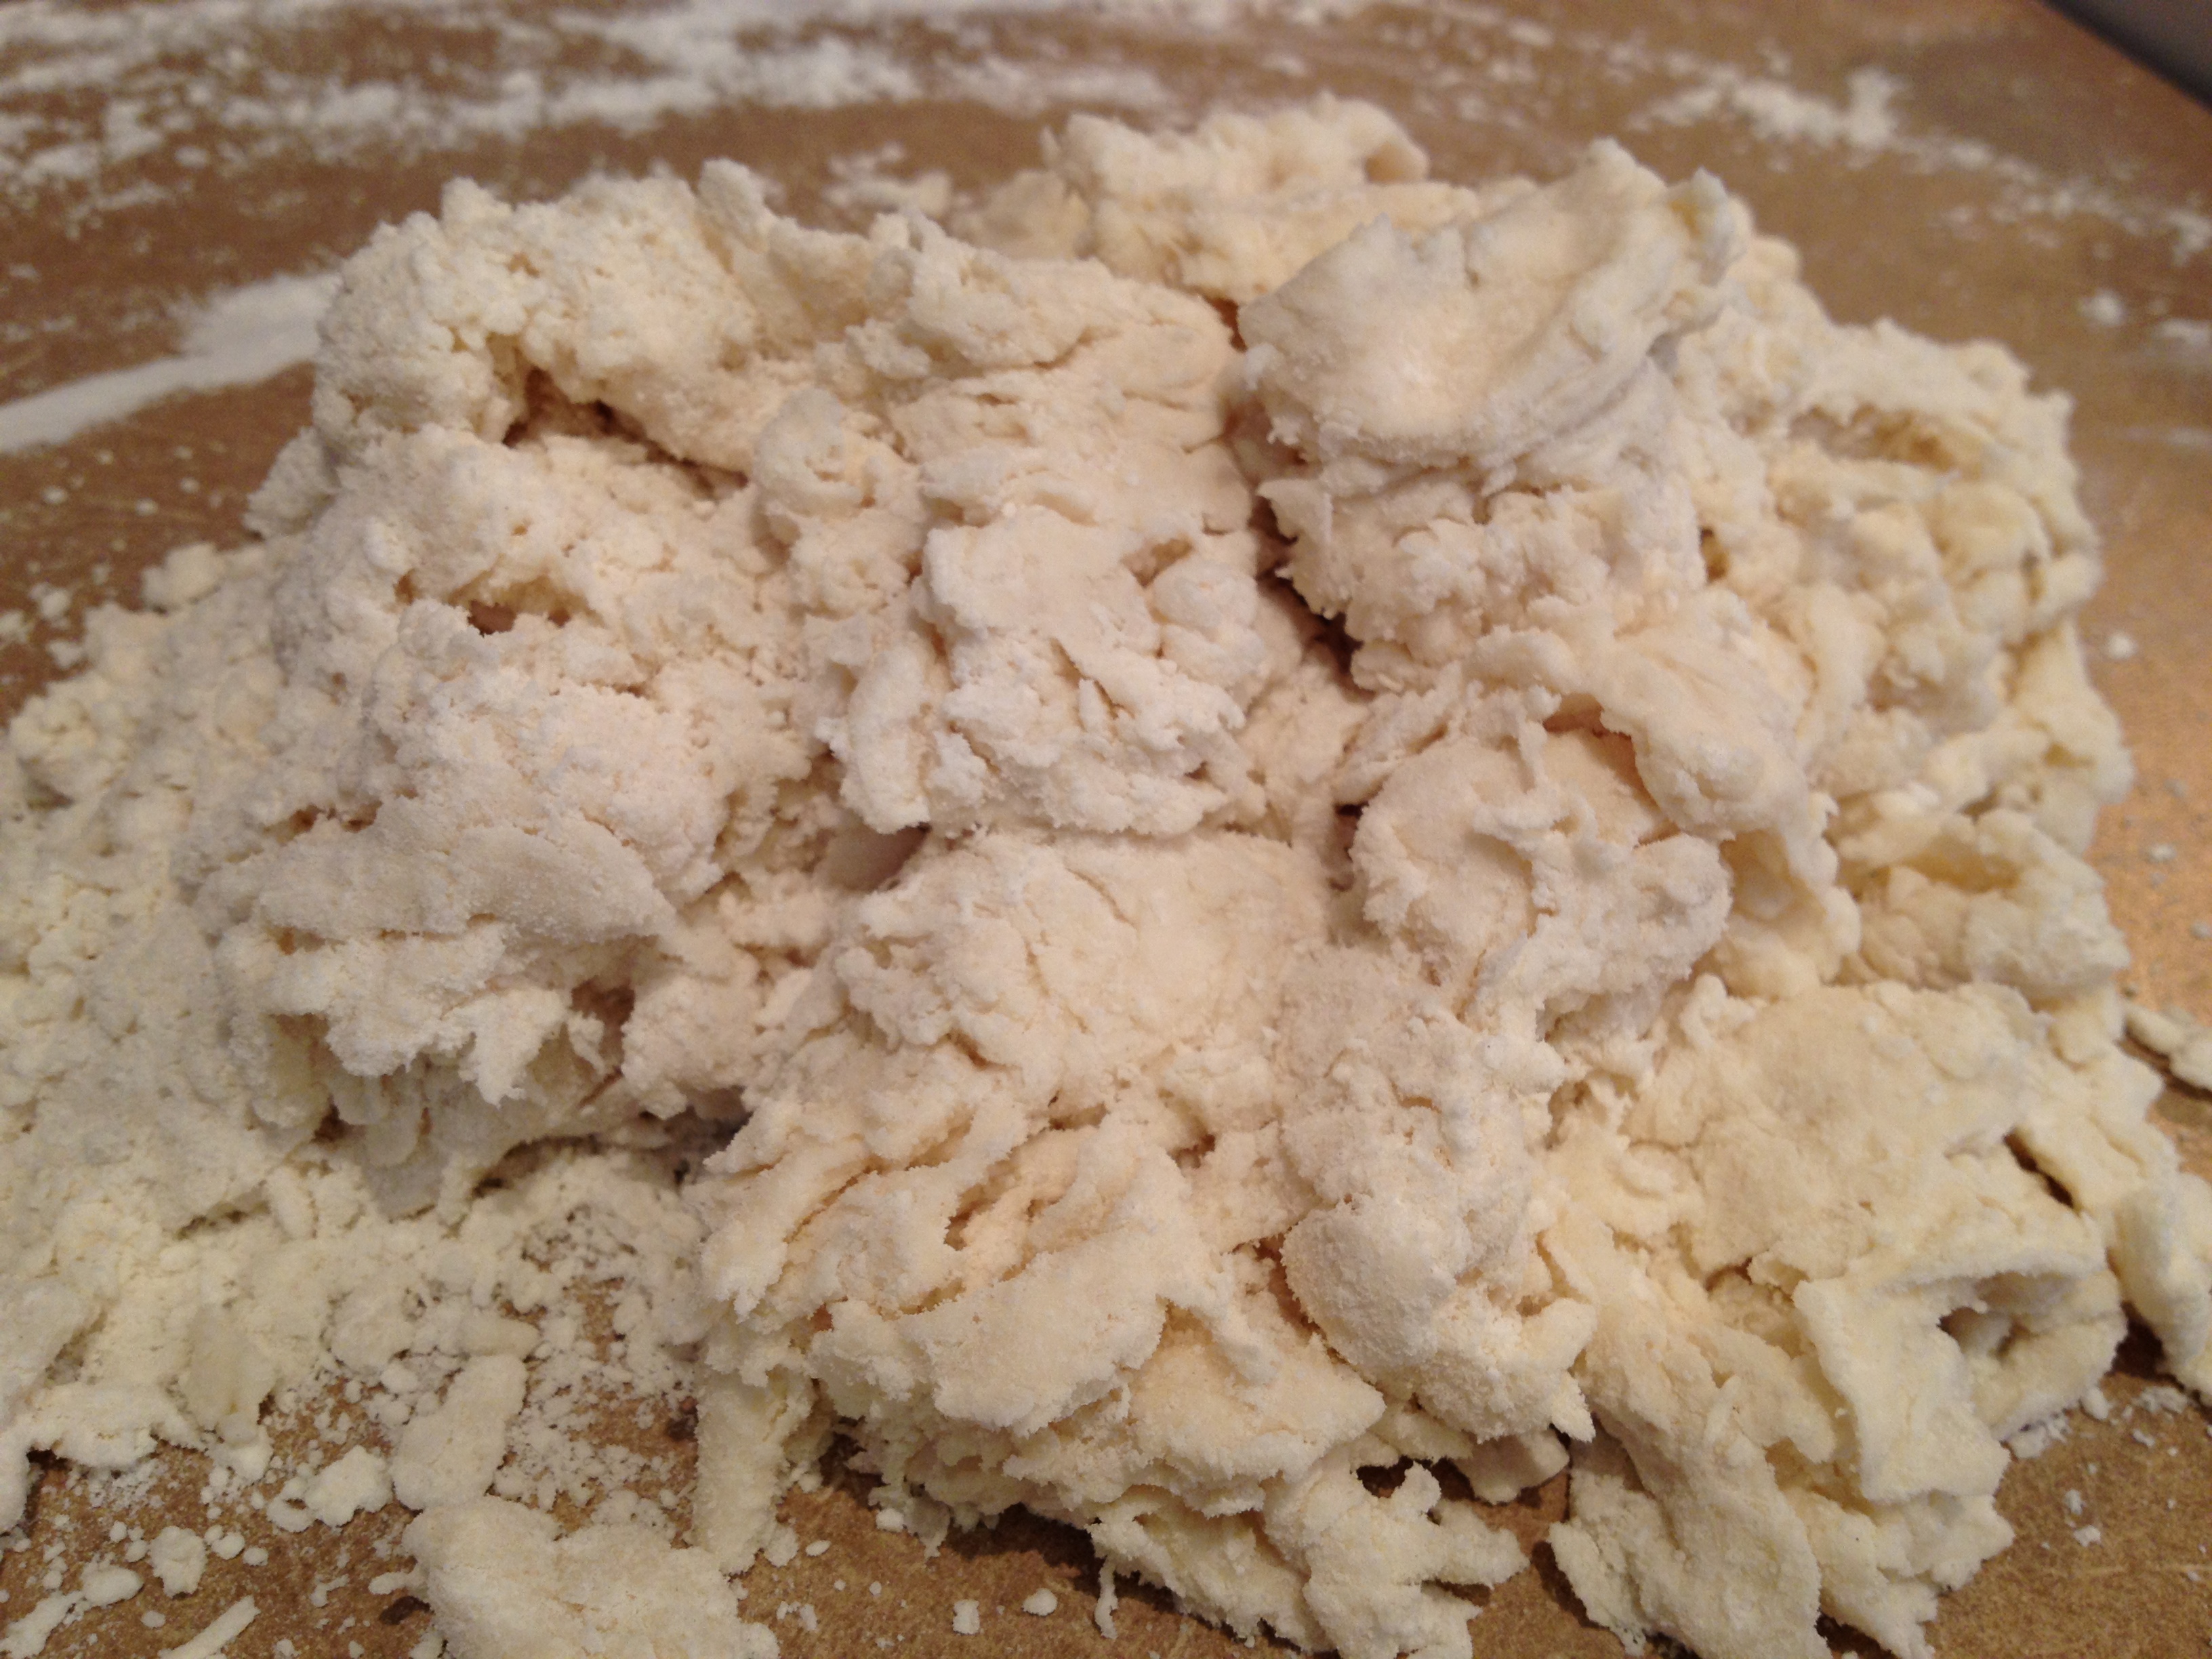
Knead together until a smooth dough ball forms. (Use a bit of extra flour if needed.)
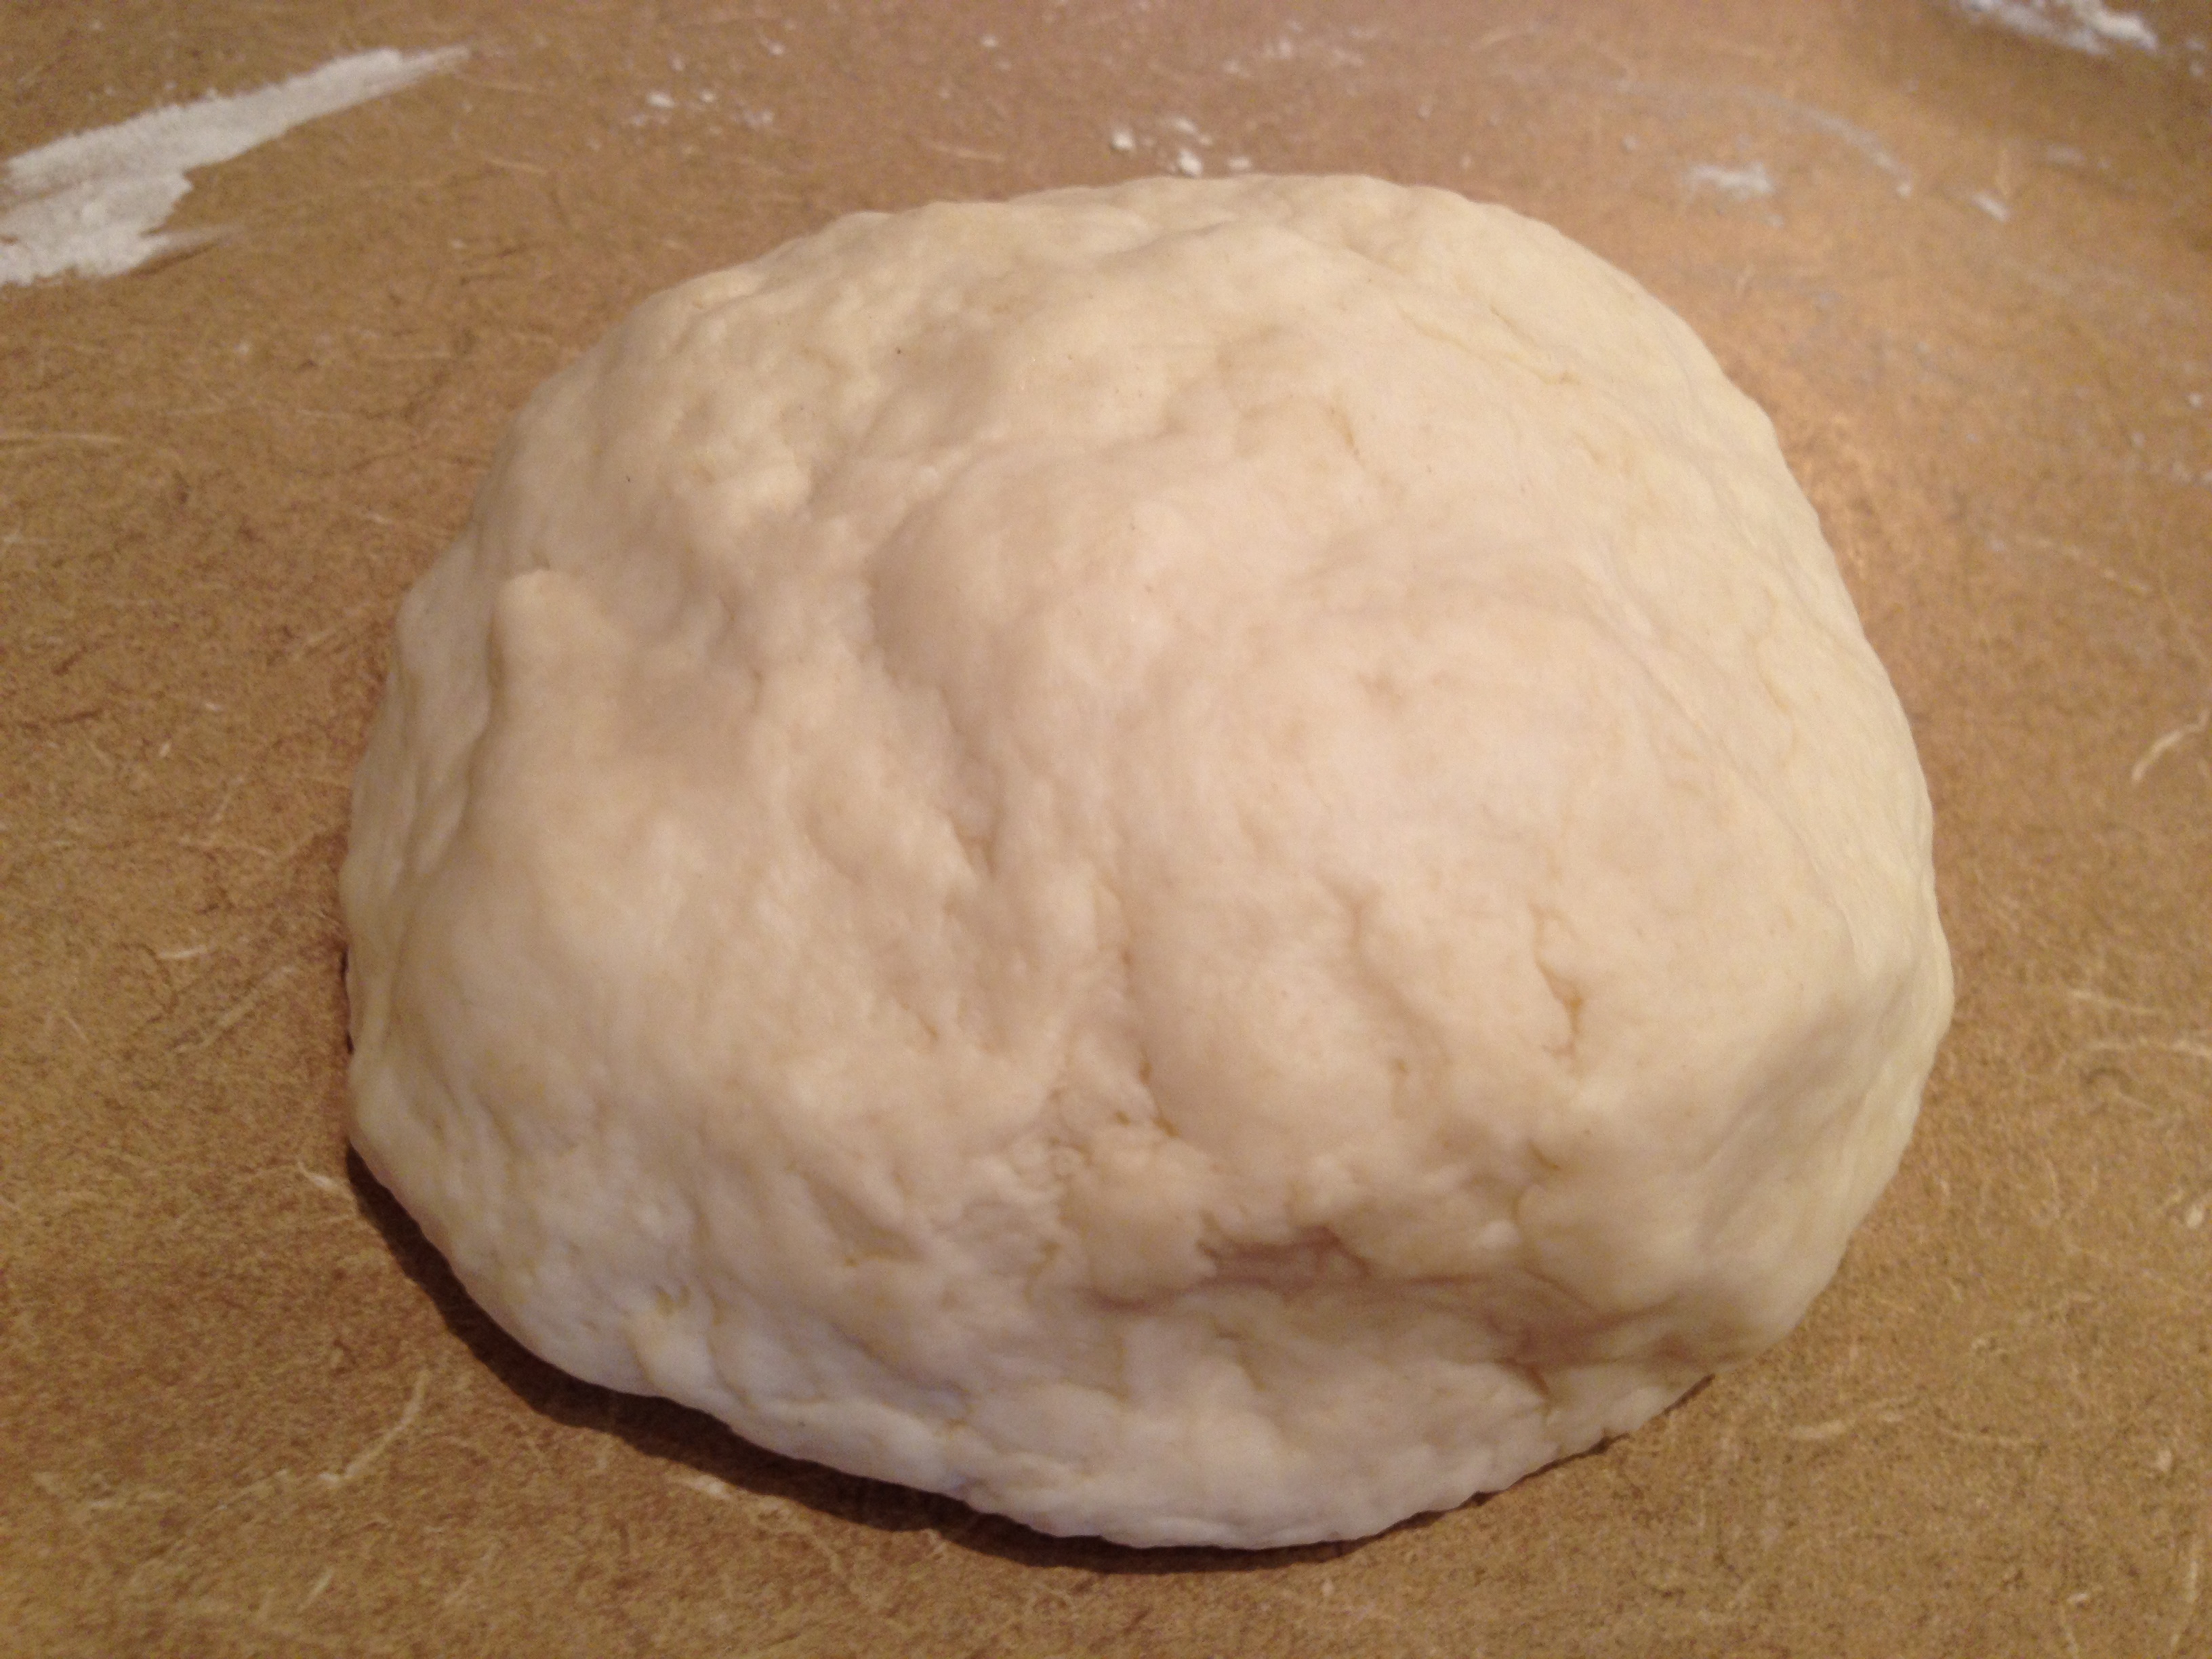
Invert your mixing bowl to cover the dough ball and let rest for 15 minutes.

Meanwhile, prep your tortilla press. We used a simple water spray bottle to moisten the inside of the aluminum plates and stuck plastic to it (A cut up ziplock back is perfect for this.) This prevents the smashed tortilla dough from sticking. It will stick to the plastic but it is easy to peel off, maintaining the flat, round shape.
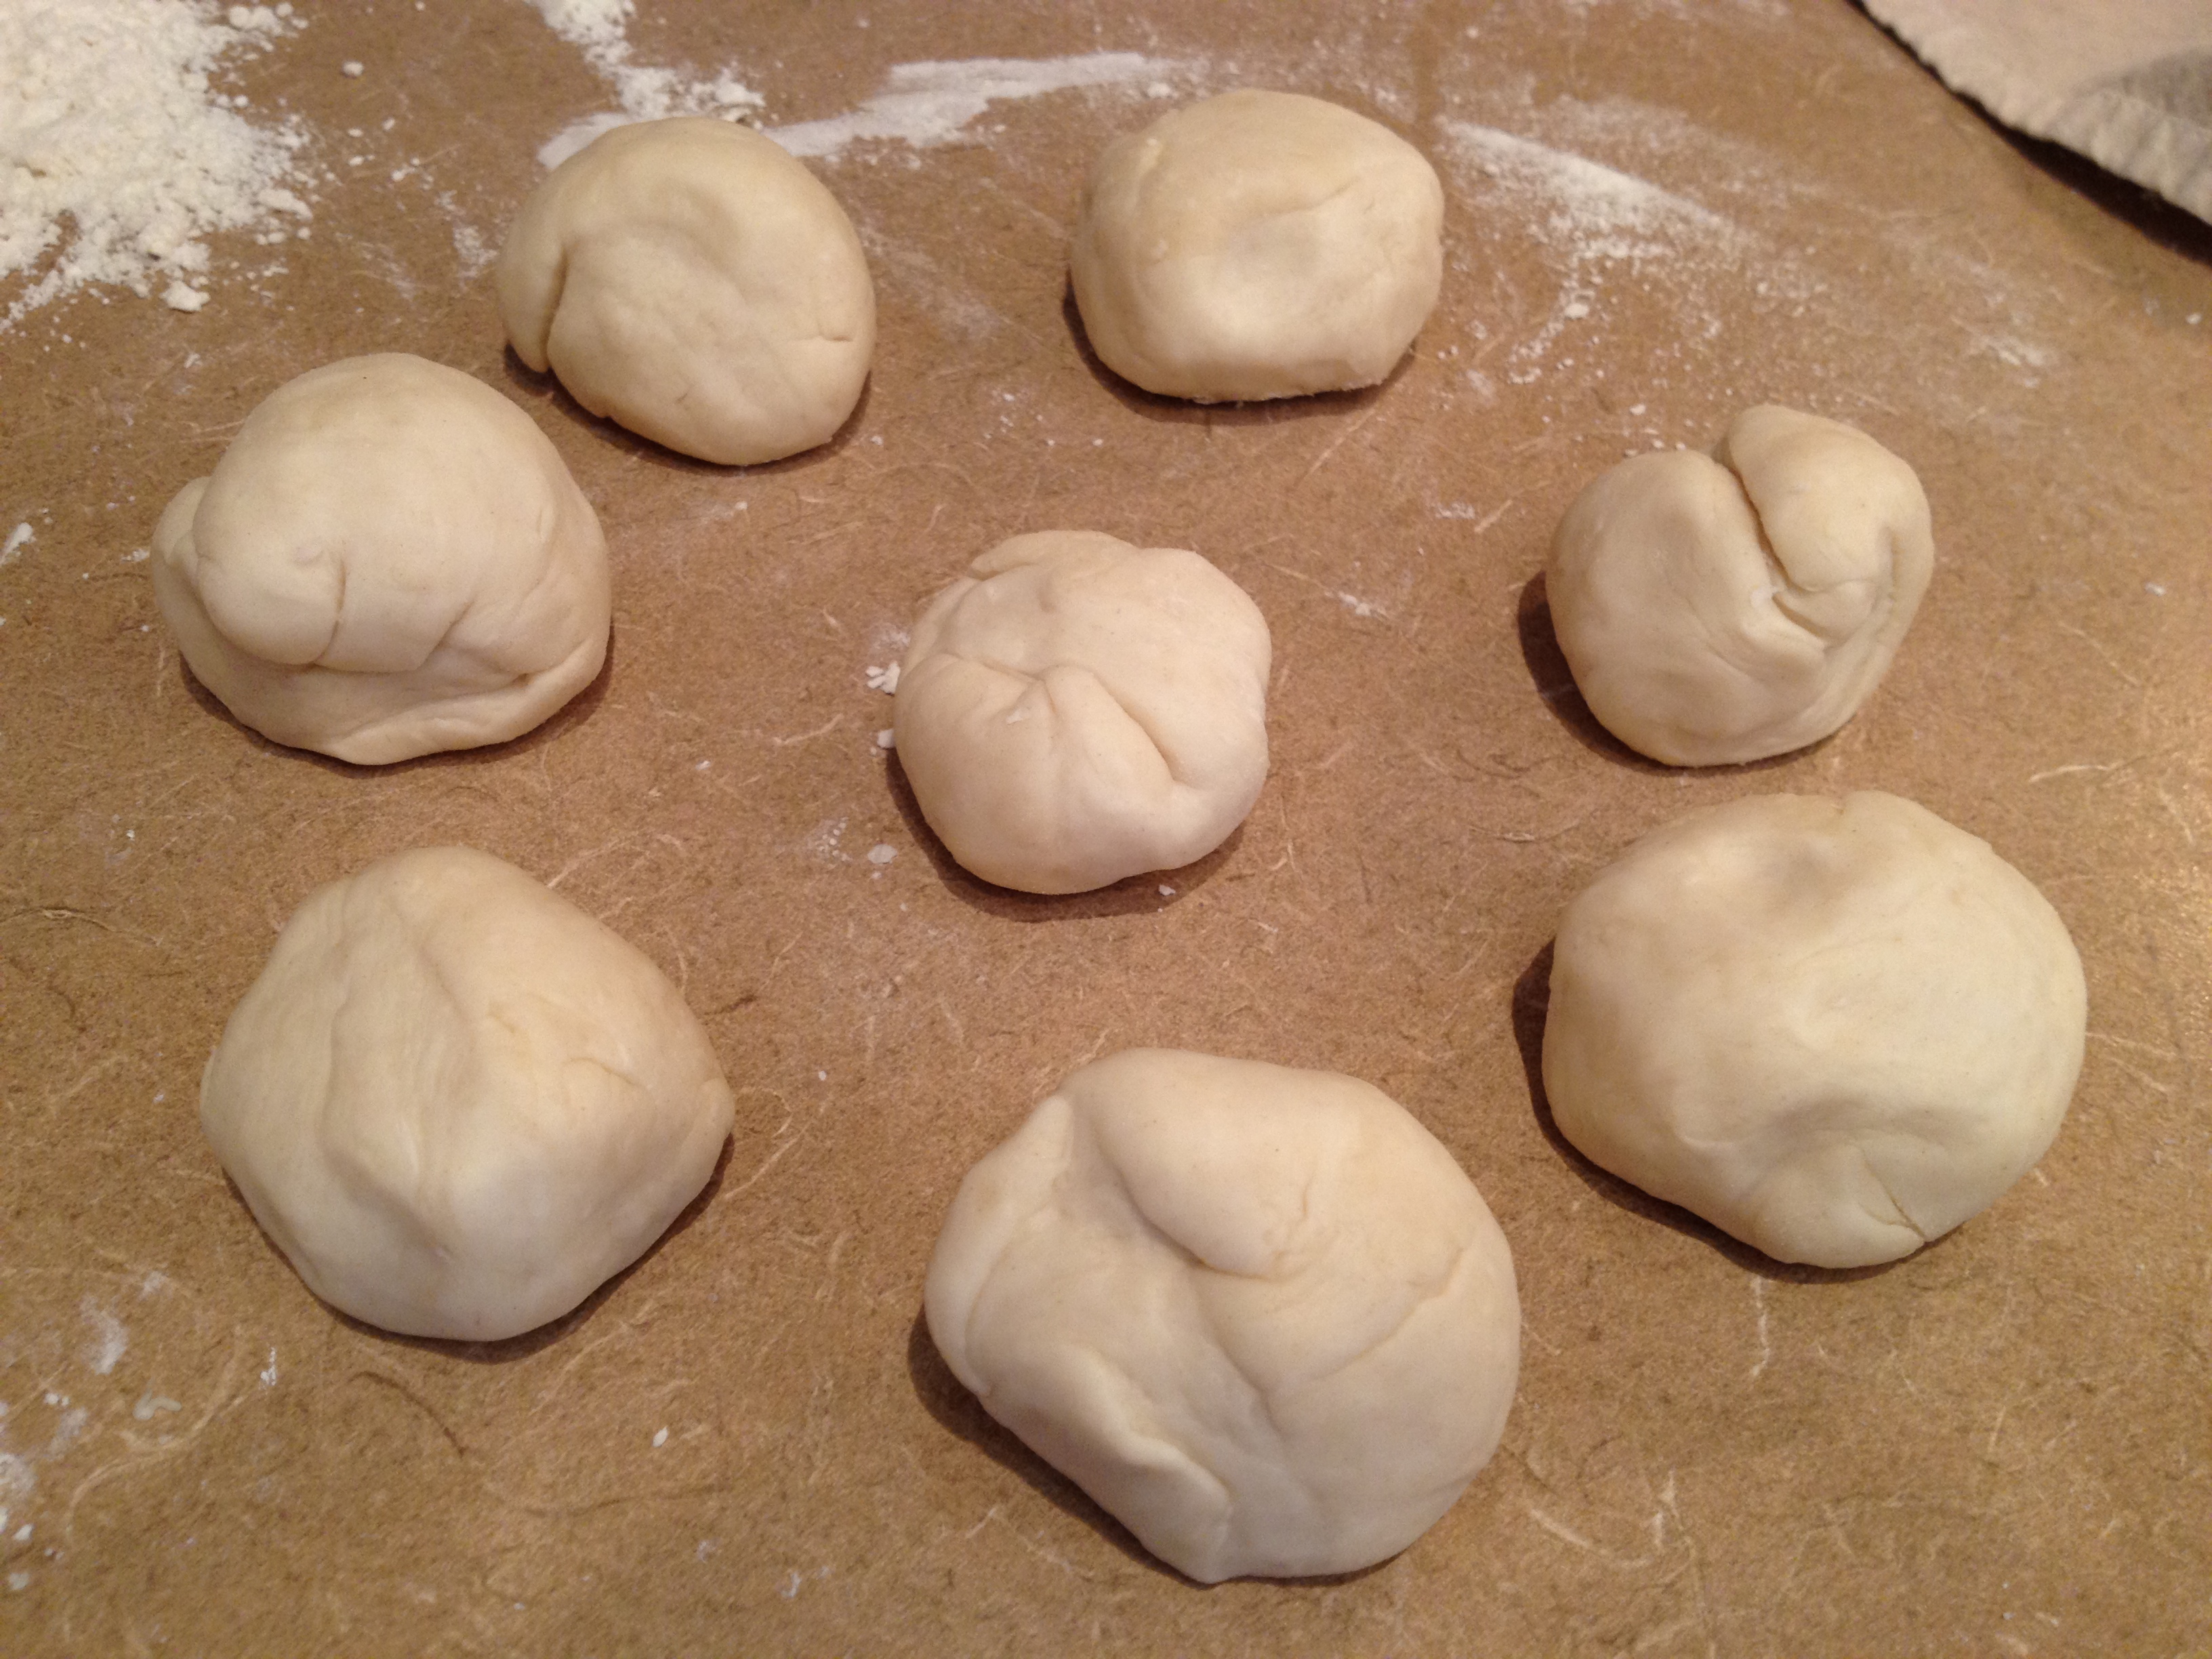
After 15 minutes, it was time to divide the dough into 8 pieces. You do this by dividing the big dough ball in half. Take one half and divide it in half again. Cut each of those in half againto create four pieces. Repeat with the other large dough ball half for a total of 8 pieces.

With floured hands, roll each piece into a ball.
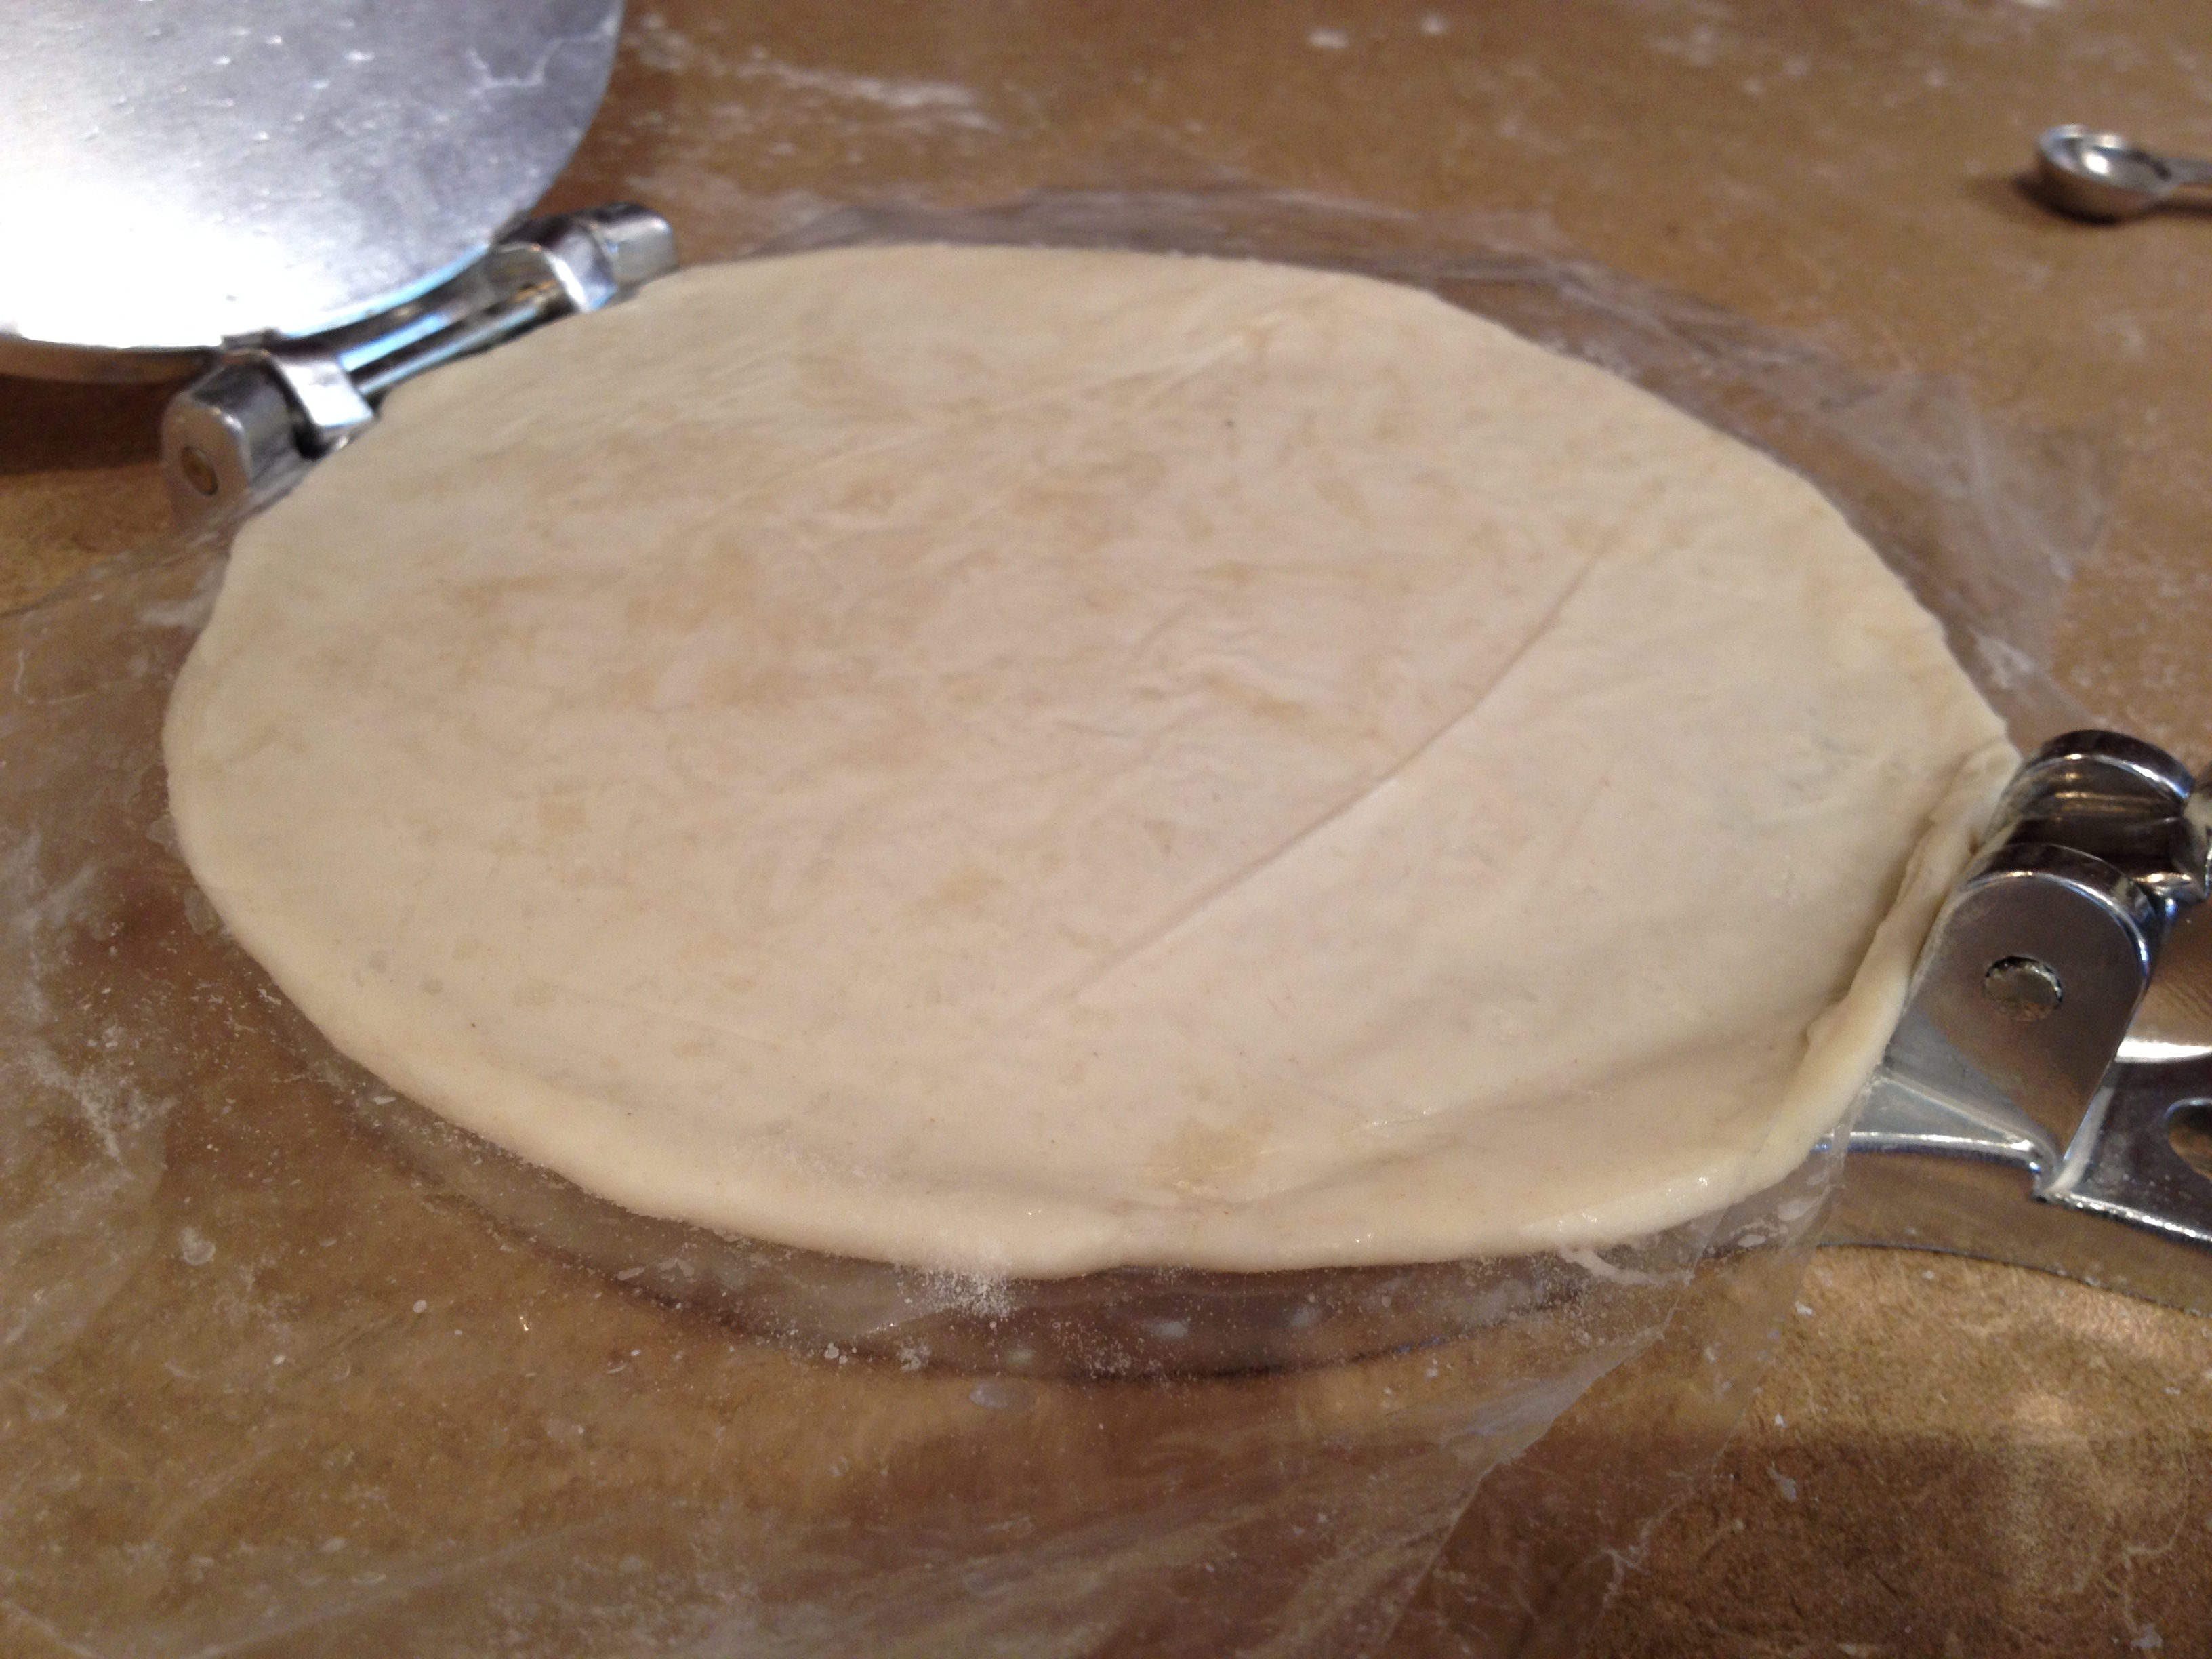
Place the ball in the tortilla press, towards the back hinge, and close the press to form the tortilla, applying enough pressure that the tortilla dough squeezes out from the sides of the plates. (It takes about 3 seconds total to press 1 tortilla.)
Peel the tortilla away from the plastic and toss it on a comal or a skillet over medium-high heat. Here I am using my Lodge cast iron reversible grill and griddle to cook my tortillas over 2 burners. It was a lucky HomeGoods find for $19.99. You don’t need any cooking spray – just throw them on, cooking for about a minute per side but being careful to not burn them.

As each one comes hot off the stove, wrap them in a cloth napkin to keep them warm. Parchment paper works well if you’re transporting them somewhere.
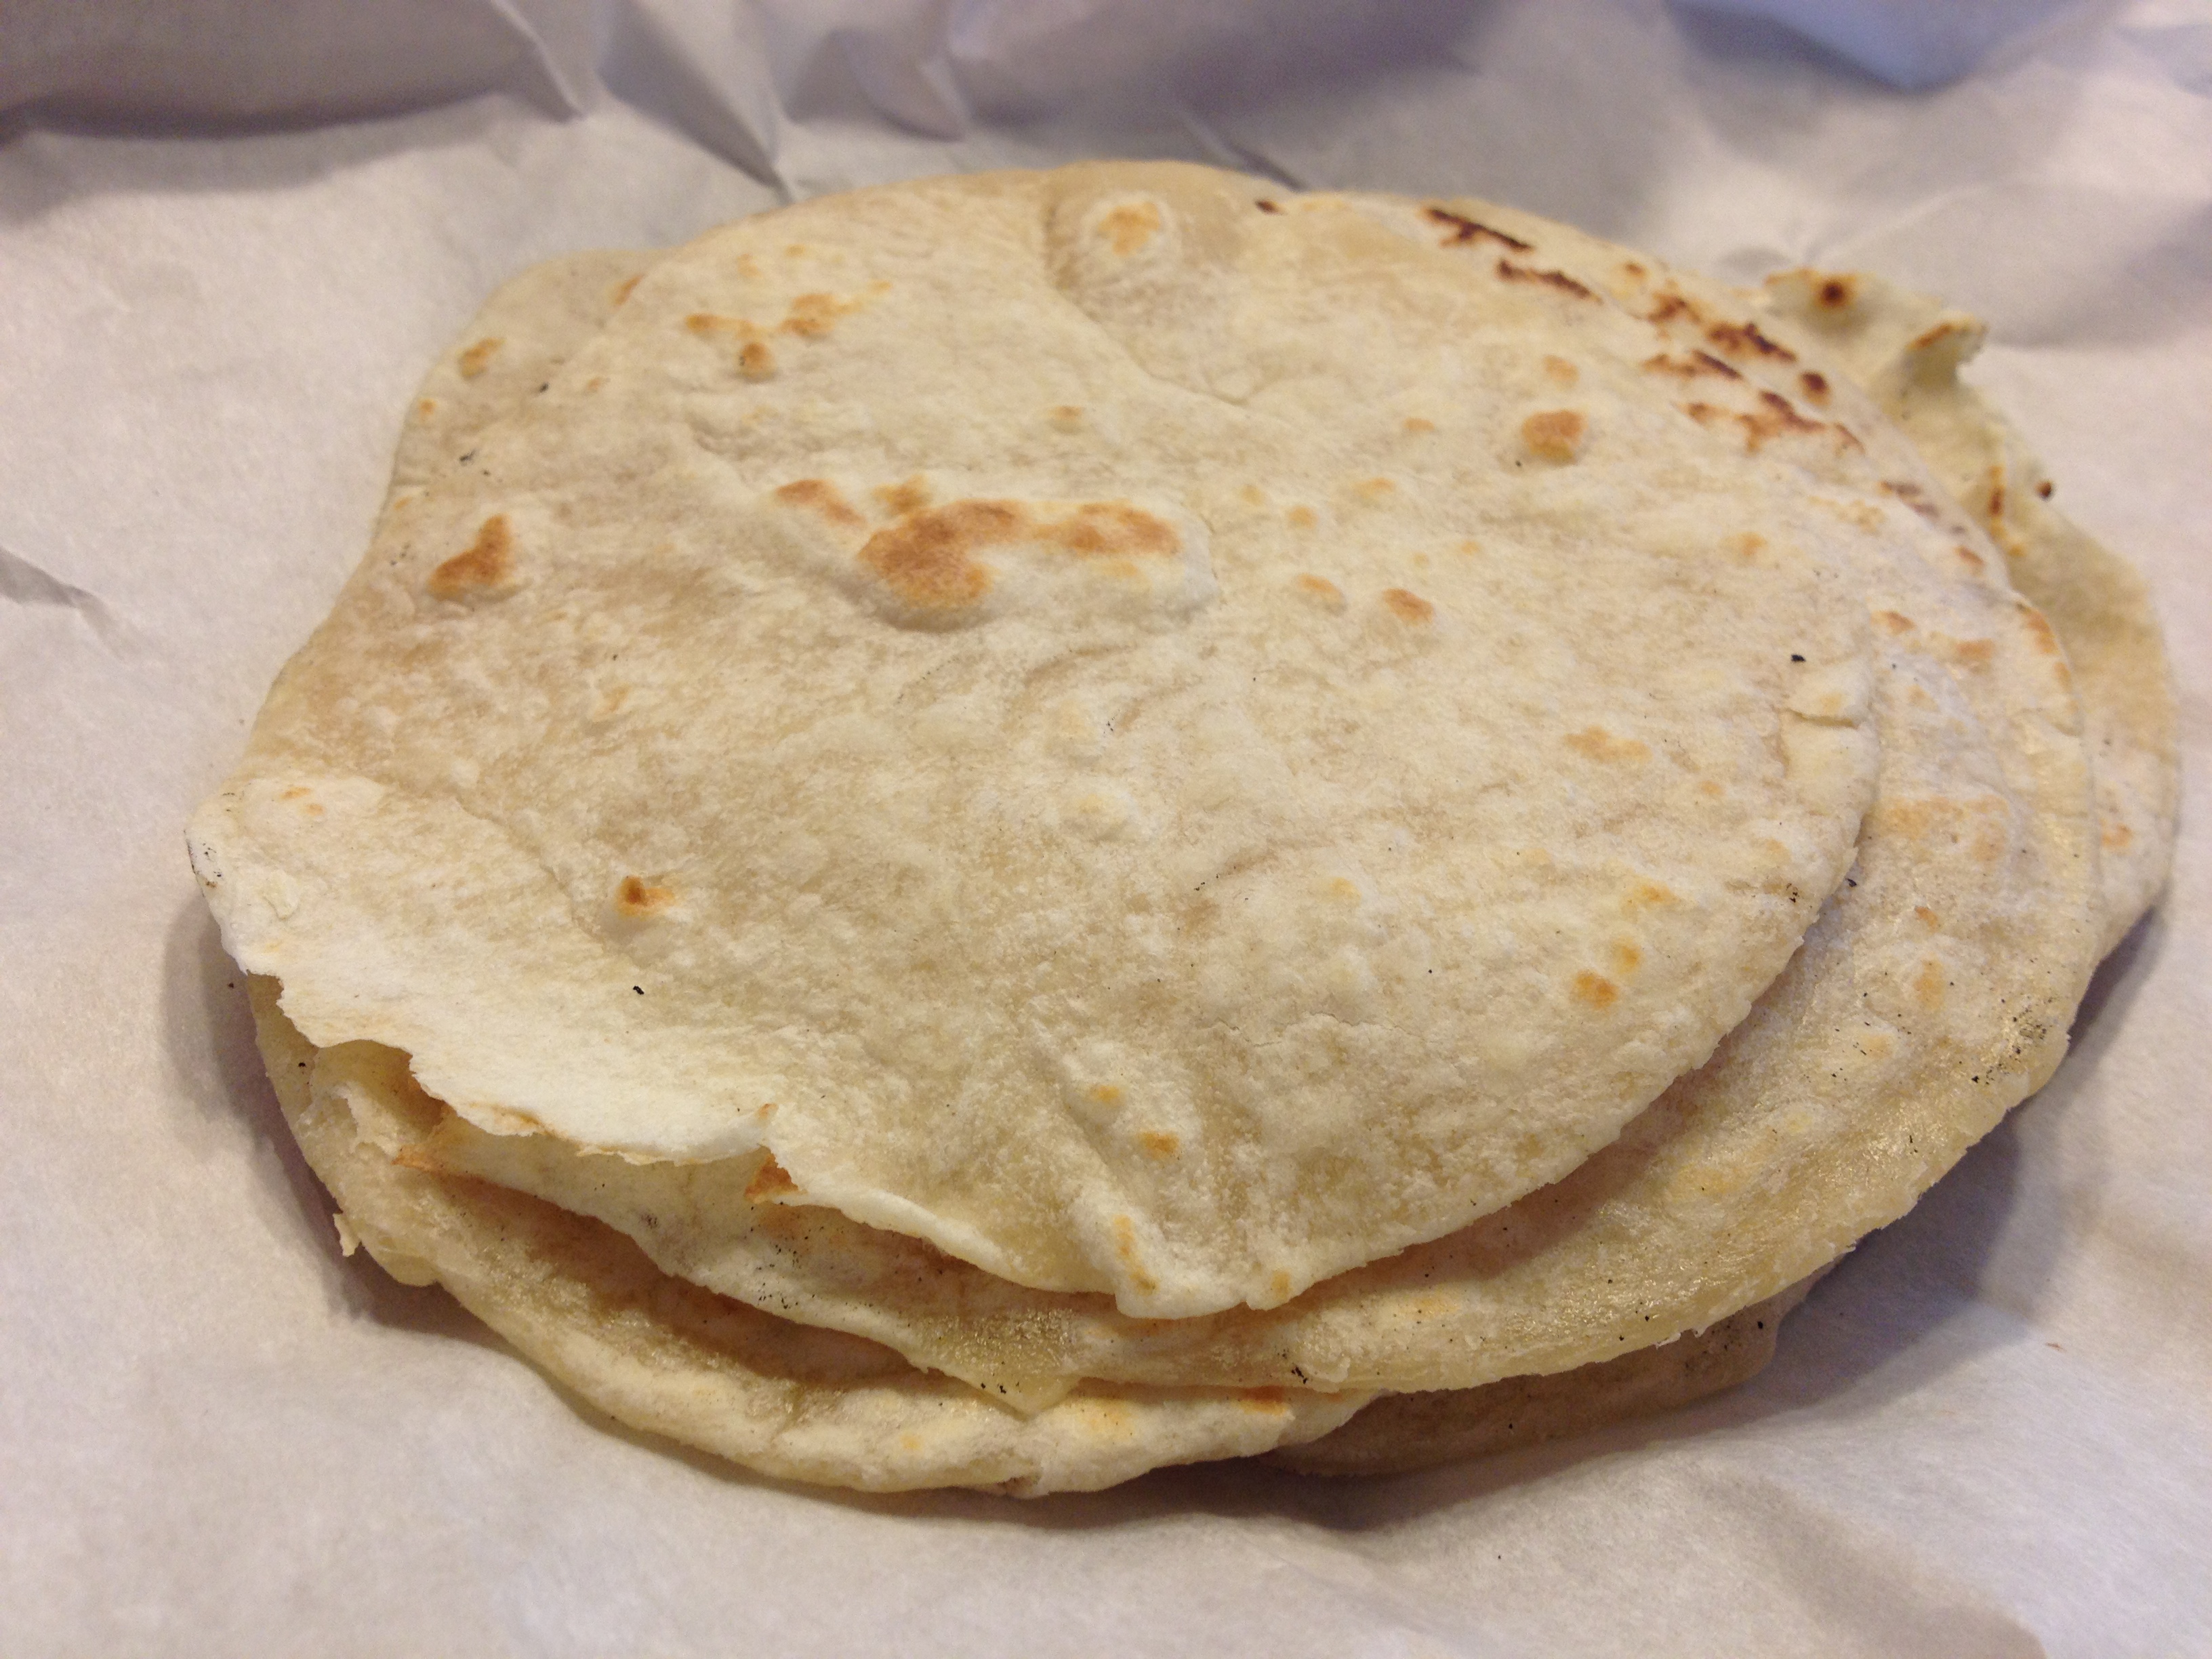
Tortillas are typically cooked last so they are served warm but we found these tasted better after they had been sitting for 10 minutes so don’t worry too much about the timing. I promise your family will enjoy them!

Have you tried this as a make-ahead mix? You know, like homemade bisquick, just scoop out “x” cups of mix, add the water and proceed? Just wondering if that would work. Haven’t had sufficient oompf to try tortillas myself. Your post is enticing me to try though…
Not yet, but a good idea. Something I’ll have to try!
been looking for this, thanks!
Glad you found it! Tortillas for me is a MUST :)
so good! i used a cast iron pan to flatten then a rolling pin to finish. we don’t have a press & not an option to get one just now. but, mother of invention & all that. it worked great, thank you!