
MAKING BABY FOOD
Fun ● Easy ● Cost Effective ● Healthy
We are on a tight budget so along with making my own cloth wipes, I decided to learn how to make baby food. In doing so, I have found it’s not only cost-effective, but also fun, easy and healthy. When I started I did not have to buy a single thing to make baby food.
I was able to use the things I already had (the food in my refrigerator and my cooking dishes). I have since bought glass storage containers and a manual baby food grinder so I can make baby food without electricity.
Where to Start
Before I started making baby food for my son I watched this video that helped explain how to make and store baby food. The first food I made for my son was a pear and he LOVED it! I was surprised how easy it was.
I peeled and diced the pear and put it in my steamer for 3-4 minutes. Once it was cooked, I pureed it with some of the water from the steamer and served it with a little breast milk. My son slicked it up! (I have a Tupperware Stack Cooker that is awesome to steam cook my baby’s food.)
Turn Anything into Baby Food
General Steps for Making Fruits/Veggies:
- PICK the fruit/veggie you want to make.
- WASH food before cutting/cooking to remove all bacteria. Bacteria can spread when cutting from the outer layer to the inner layer.
- PEEL if it’s a new food or might be too much fiber.
- CUT the fruit/veggie into smaller pieces.
- COOK (boil, steam or bake) until food is tender. I like to steam food to preserve the nutrients because the longer food is in water, the more nutrients comes out. If you choose to boil, wait until the water is boiling before adding the food.
- PUREE – Try to puree with the water used to cook the food. During the cooking process vitamins and minerals seep from the food into the water. Using this water helps restore the leaked nutrition. Make sure to puree food to the consistency that is right for your baby’s current eating habits to prevent choking. When babies are ready for food with a little thicker consistency you can also mash the food with a fork instead of having to puree it.
- SERVE or Store.
Turn Leftovers into Baby Food:
You can even turn what you had for dinner into baby food. Just puree it until it reaches the desired consistency.
Baby Food Recipes:
For some easy to make baby food recipes take a look at Wholesome Baby food.
Making Brown Rice Cereal
I really wanted to learn how to make homemade brown rice cereal and I found this blog very helpful.
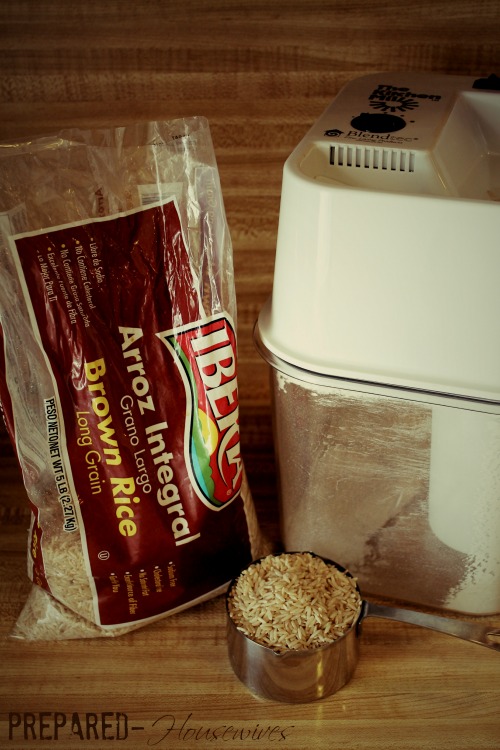
I have a very cheap blender, but luckily I have a grinder so I was able to grind my brown rice. I have seen baby products, such as a baby bullet and different munchkin products, which I am sure are great, but you can use what you already have. If you have a nice blender that can grind wheat as well as puree food that would be ideal! I like to grind at least enough brown rice to make 1-2 cups of grounded brown rice and store in an airtight container in the refrigerator.
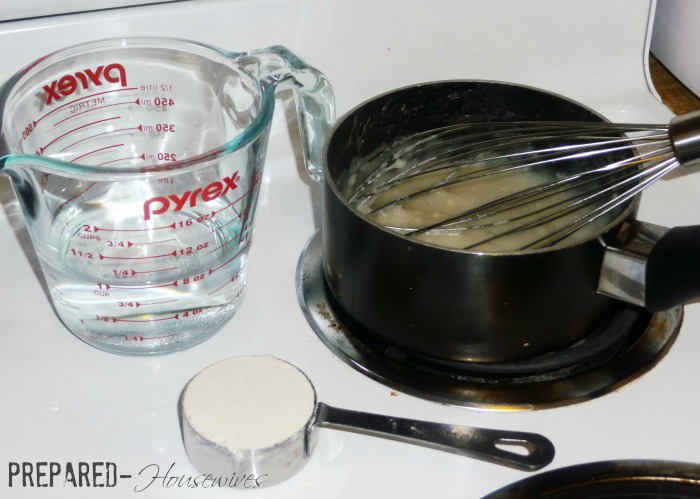
I use the ratio: 1 cup water to ¼ cup grounded brown rice. Boil the water, slowly add the rice and stir frequently until thickened to the consistency you like (usually 10-15 minutes). I like to mix mine with breast milk, a veggie, a fruit, or a meat.
INGREDIENTS: INSTRUCTIONS:
http://prepared-housewives.com/make-baby-food/
Storing the Baby Food

Different Storage Methods:
- Ice Cube Trays
- Small Glass Jars
- Ziplock or Breast Milk Bags
Here is a great blog that shows different storage methods. Ziploc bags and breast milk bags to me are the most costly and least economic. I prefer to use reusable glass containers. A friend gave me baby food that she no longer needed…Sweet!…free food and free containers. Old baby food containers are great for storage as long as the seal is good.
Bulk vs Smaller Portions
When I make baby food in bulk I like to store and freeze the food in portion sizes. When I make smaller portions that I will use in the next few days I like to store everything in one reusable container in the fridge. For Example – When I make a smaller portion of brown rice cereal (about 4 servings), I typically separate how much I need at that time to feed my son and store the rest in one reusable container in the fridge. When I need the cereal again, I separate how much I need at that time with a clean, unused spoon, into another container and put the rest back in the fridge.
Labeling Baby Food
If I use a reusable storage container I can write on it with a dry erase marker…but be careful because it can easily wipe off. Wet erase markers are a better option and will wash off when you clean the container. Another option is to use duct tape and a permanent marker to label and then peel off when ready to wash.
Freezing Baby Food:
- Remove as much air as possible when sealing food in plastic bags.
- When freezing I leave about ½ inch of space to allow the food to expand.
- Freeze quickly to preserve nutrients
- If you use an ice tray 1 frozen cube is approximately 1 ounce
- Fruits and vegetables stored properly will last 6-8 months.
- Proteins (beef, chicken, fish) will last 1-2 months.
- For more info on how your baby food will freeze look at this chart.

As mentioned, I prefer to use reusable glass containers and these 4oz jelly jars work great. They are freezer, dishwasher, and microwave safe (microwaved without the metal lid of course). I also like to by the reusable plastic lids that are also freezer safe. A downside to these plastic lids is that they are not watertight, so if a jar gets knocked over it can slowly leak out. If you will be out and about you can always opt to use the metal lid for a more secure airtight seal.
Defrosting Baby Food:
Serve baby food at room temperature. Take the baby food from the freezer and you can either:
- Put it in the refrigerator overnight OR –
- Put it in a bowl of cold water to thaw.
Rotating Baby Food
When I use baby food from the fridge I replace it with one from the freezer. This allows the baby food to thaw and be ready for the next use. If you forget no worries, you can place the container in a bowl of warm water to thaw or you can microwave it.
Reminder – never microwave breast milk, it can alter the composition. Always make sure the baby food is at the right temperature before feeding.
*Reminders on baby food…
Because babies’ immune systems are developing be conscious about:
- Never using expired or questionable food.
- Never re-freeze baby food.
- Use thawed baby food within 24 hours.
- Reheat food only once.
- Avoid adding sugar for the first year and salt for the first 2 years.
- Never put warm food into a refrigerator or freezer.
- Never serve food straight from the jar or food container because any food left over needs to be thrown away. (I separate what I will feed my son and put the rest back in the fridge. That way whatever my son doesn’t eat I can throw away.)
- Always, always, always wash your hands.
- When wondering if food is too old….I like to go by my dad’s motto, “When in doubt, throw it out.”
- For more information on starting babies on solids take a look at the American Academy of Pediatrics.
Enjoy making yummy food for your baby!

Making baby food was easier than I thought, and by choosing to make my own I’ve estimated that I’m saving anywhere between $300-500 a year, and contributing less to the trash. Not only that, but we are both eating healthier since there are more fruits and vegetables around the house. Even if you don’t make your baby food all the time it’s a great skill to know.
If you’re still hesitant on making your own baby food, just start-off with something simple like a pear or avocado. Once you realize how easy it really is, you might decide to ditch the store too.
So have you ever tried making your own baby food before?

I love this post! It is detailed and complete. I would add one thing: another way to store it is freeze it in ice cube trays and pop them into a used bread bag or ziplock bag (maybe the link about storage covered that). If you have a vitamix that works amazingly to purée foods. Also, as baby begins to eat simple meals like spaghetti, the extra from dinner can be puréed and poured into the ice cube trays dinner dinner cleanup – it only takes a minute or two.
Thanks for taking time to write up your extra tips. I need to be more like my sister and try this out. It really does seem so simple, especially when you can just mix-up and pour some leftovers in ice cube trays.
We’re not to keen on giving our baby processed foods when it’s so much easier and better to make it yourself. And at his age we’re slowly introducing him to BLW and he’s loving it! He’s yet to eat anything that isn’t homecooked ;)
Wow, you’re amazing. I wish I could say the same about my babies. Keep it up!