
Nobody can mess up a recipe quite like I can. After growing up in a home where my mother didn’t bake a single batch of cookies EVER, I was determined to be the baking Mom that every child dreams of having. After 12 years of marriage and countless destroyed culinary “wonders”, I finally amassed an arsenal of recipes that could bring a man to his knees (or at least lure his workaholic behind home for dinner on time!) Then I decided I was going to tackle bread making. From scratch. Using only food storage ingredients. [Cue running & screaming from Tay’s burning kitchen.]
A year and a half later, my wheat grinder and I have learned how to turn a bucket of food storage wheat into delicious rolls and pastries. It wasn’t easy. The dog ate a LOT of bread. However, I found several simple, screw-up-proof recipes that even your five year-old “helper” couldn’t botch. Hence the Bread Kindergarten series. If you went to Kindergarten, you got this!
Ridiculously Easy French Bread
The ingredients are simple and shaping the loaf is eerily similar to pre-school playdough rolling. It tastes great and looks gorgeous, which will provide a big boost to your bread baking self-esteem! Here is what you need:
2 tbsp sugar
2 cups warm water
2 tbsp instant yeast
2 tbsp oil
2 tsp salt
4½ to 5 cups flour (half wheat flour okay)
Parchment Paper
To Begin: Proof yeast by mixing it with sugar & warm water and letting it foam for 5-10 mins. Add in remaining ingredients, using enough flour to make a dough ball that holds its shape and is not sticky. (Houston humidity may require up to 6 cups of flour to achieve this but don’t go over 6.) Cover & let rise in the mixing bowl for 30 minutes until doubled.
Easy Dough Rising Trick:
Set your oven to its lowest temp (170° for mine), let it preheat a couple minutes and then turn it off. Now set your dough to rise inside the warm oven. It gives fluffy, fail-proof results even on the coldest winter days…so long as you are certain that you turned the oven off! If it is summer, I simply place the covered bowl on the hood of my car in the garage to rise. At least the scalding Houston heat is good for something…
Once the dough has risen, divide it in half and roll one half into a 12×15 inch rectangle. Obviously it doesn’t have to be anywhere close to perfect:

Roll the dough up jelly roll/cinnamon roll style to make a loaf-looking shape (see: pre-school playdough rolling) and place it long ways on a parchment paper lined baking pan or cookie sheet.

Cut diagonal slits in the top of the dough using kitchen shears then repeat with second dough portion to create 2 French loaves:

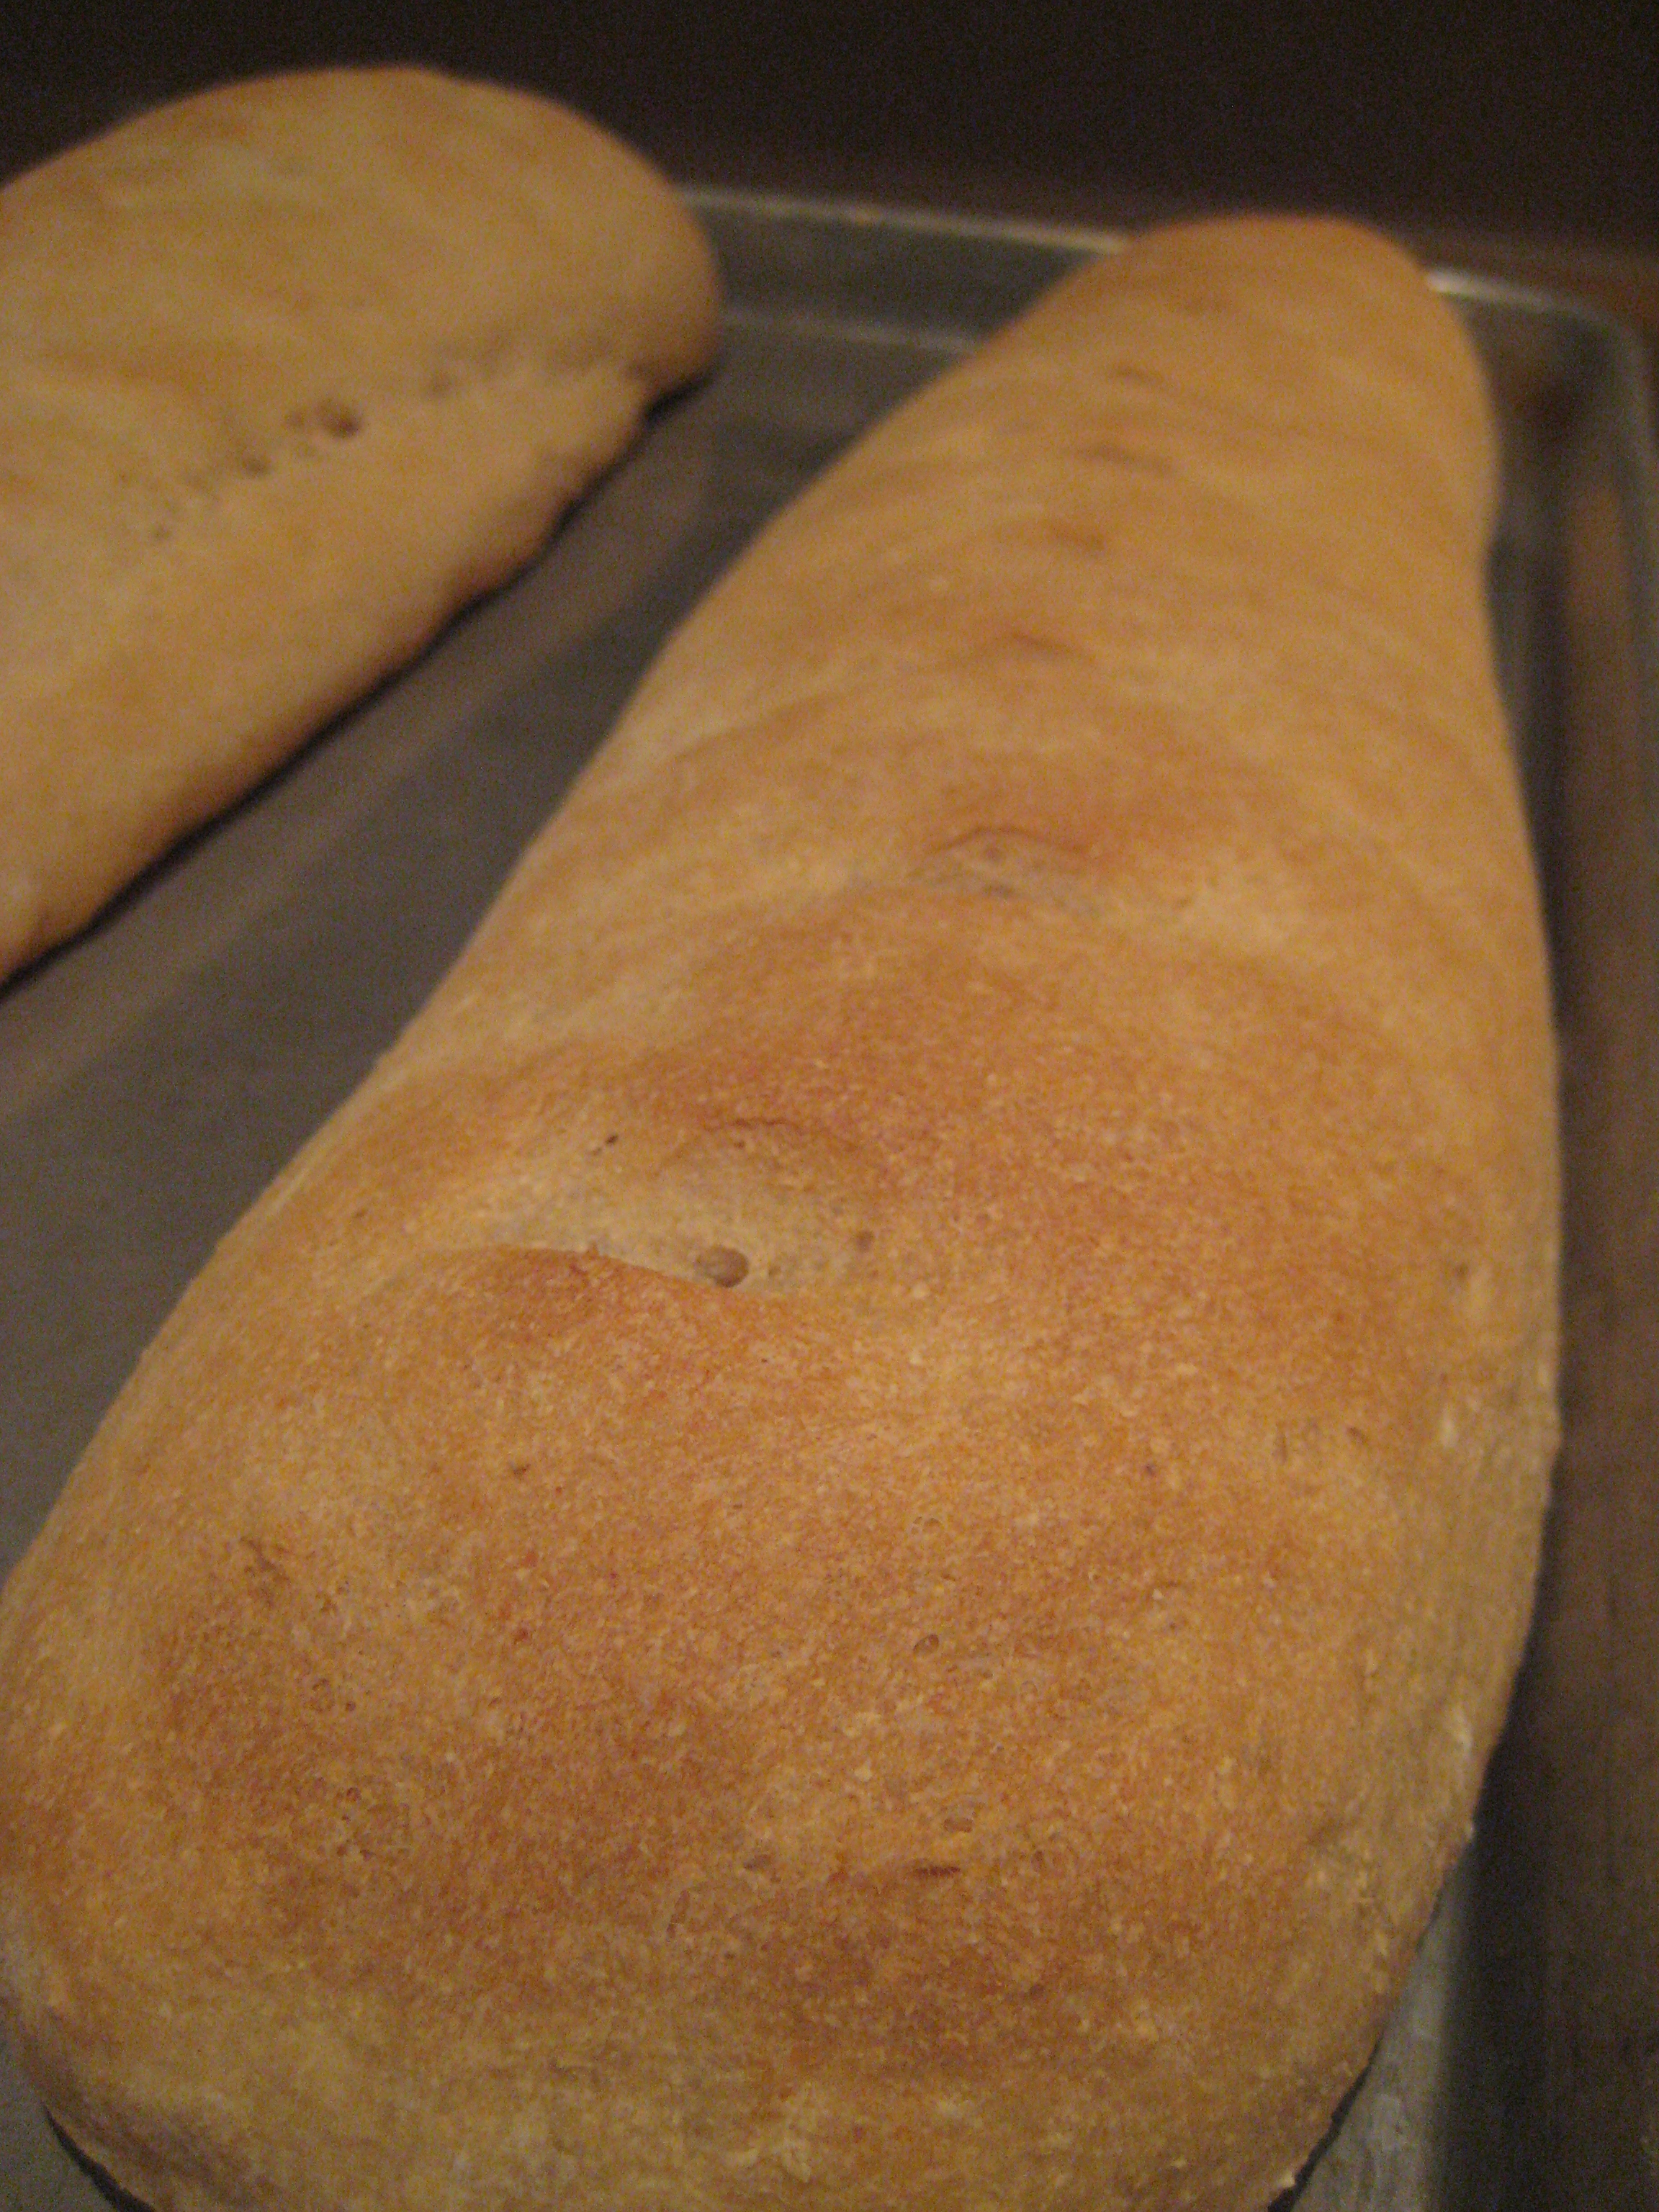
Cover & let rise in a warm spot for 30-45 minutes. They will get HUGE (thanks to all the yeast) and should look rustic and imperfect like this:

Brush the loaves with 1 egg beaten with 2 tbsp milk (if a professional finish is desired – I didn’t on this batch) then bake at 400° for 20 minutes until golden. Cool completely before slicing or break apart and serve warm. Makes 2 wide, baguette-type loaves – if using a 13×18 inch baking pan like mine – or three to four shorter (bâtard) loaves.
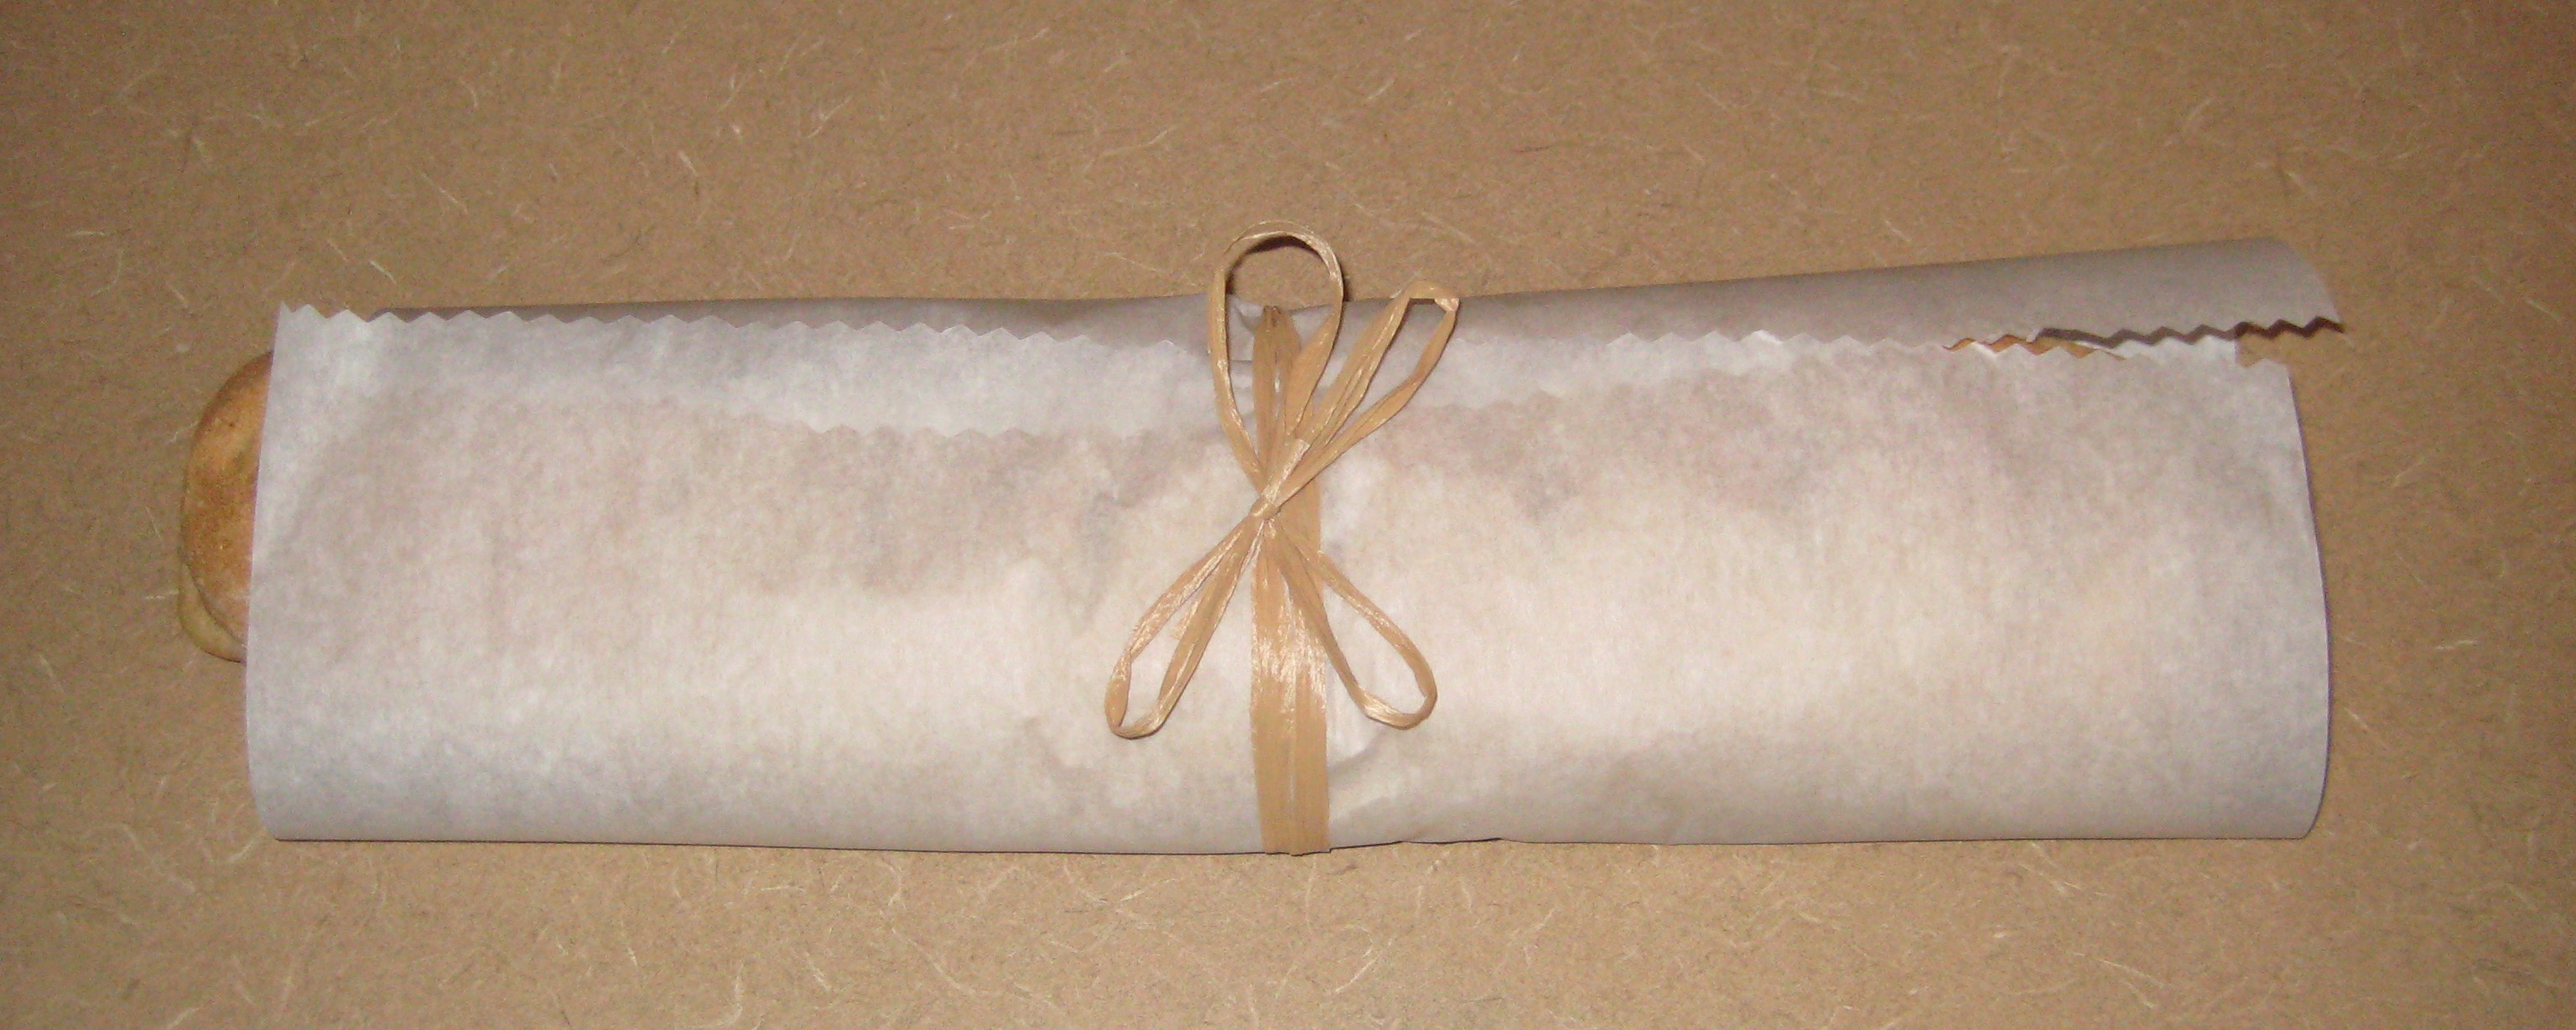
Optional: After making the dough but before letting it rise, you can half the dough ball and refrigerate half to make another loaf the next day. Otherwise there will be plenty to feed your family and have leftovers with jam for breakfast! Or you could wrap up a loaf and share with a friend :)

I love being the lucky recipient of Tay’s experiments! Absolutely delicous, I even caught my son double fisting french bread pieces and trying to sneak them to bed.
I hope you don’t mind, I stuck a picture of what I did with the loaf you gave me at the top. I may have slightly cooked it a tad too long, but it still tasted perfect. You are right, you can’t mess this recipe up!