The Aztec calendar ends today and some think the world will explode, while others view it as a new beginning, and then there are those who are just completely oblivious. Regardless of what you believe, being prepared for whatever doomsday you may face in life is important. Doomsday’s can come in the form of financial disasters, family tragedies, job loss, natural disasters, civil unrest, and much more. That’s why taking a little time beforehand to have necessities like food, water, and even a little money set aside for a rainy day is important.
“Doomsday Dame” is what my brother-in-law nick-named me while I was visiting. I get a little excited about food storage and couldn’t help but want to makeover their’s. So when they gave me the green light and their credit card this is what happened…
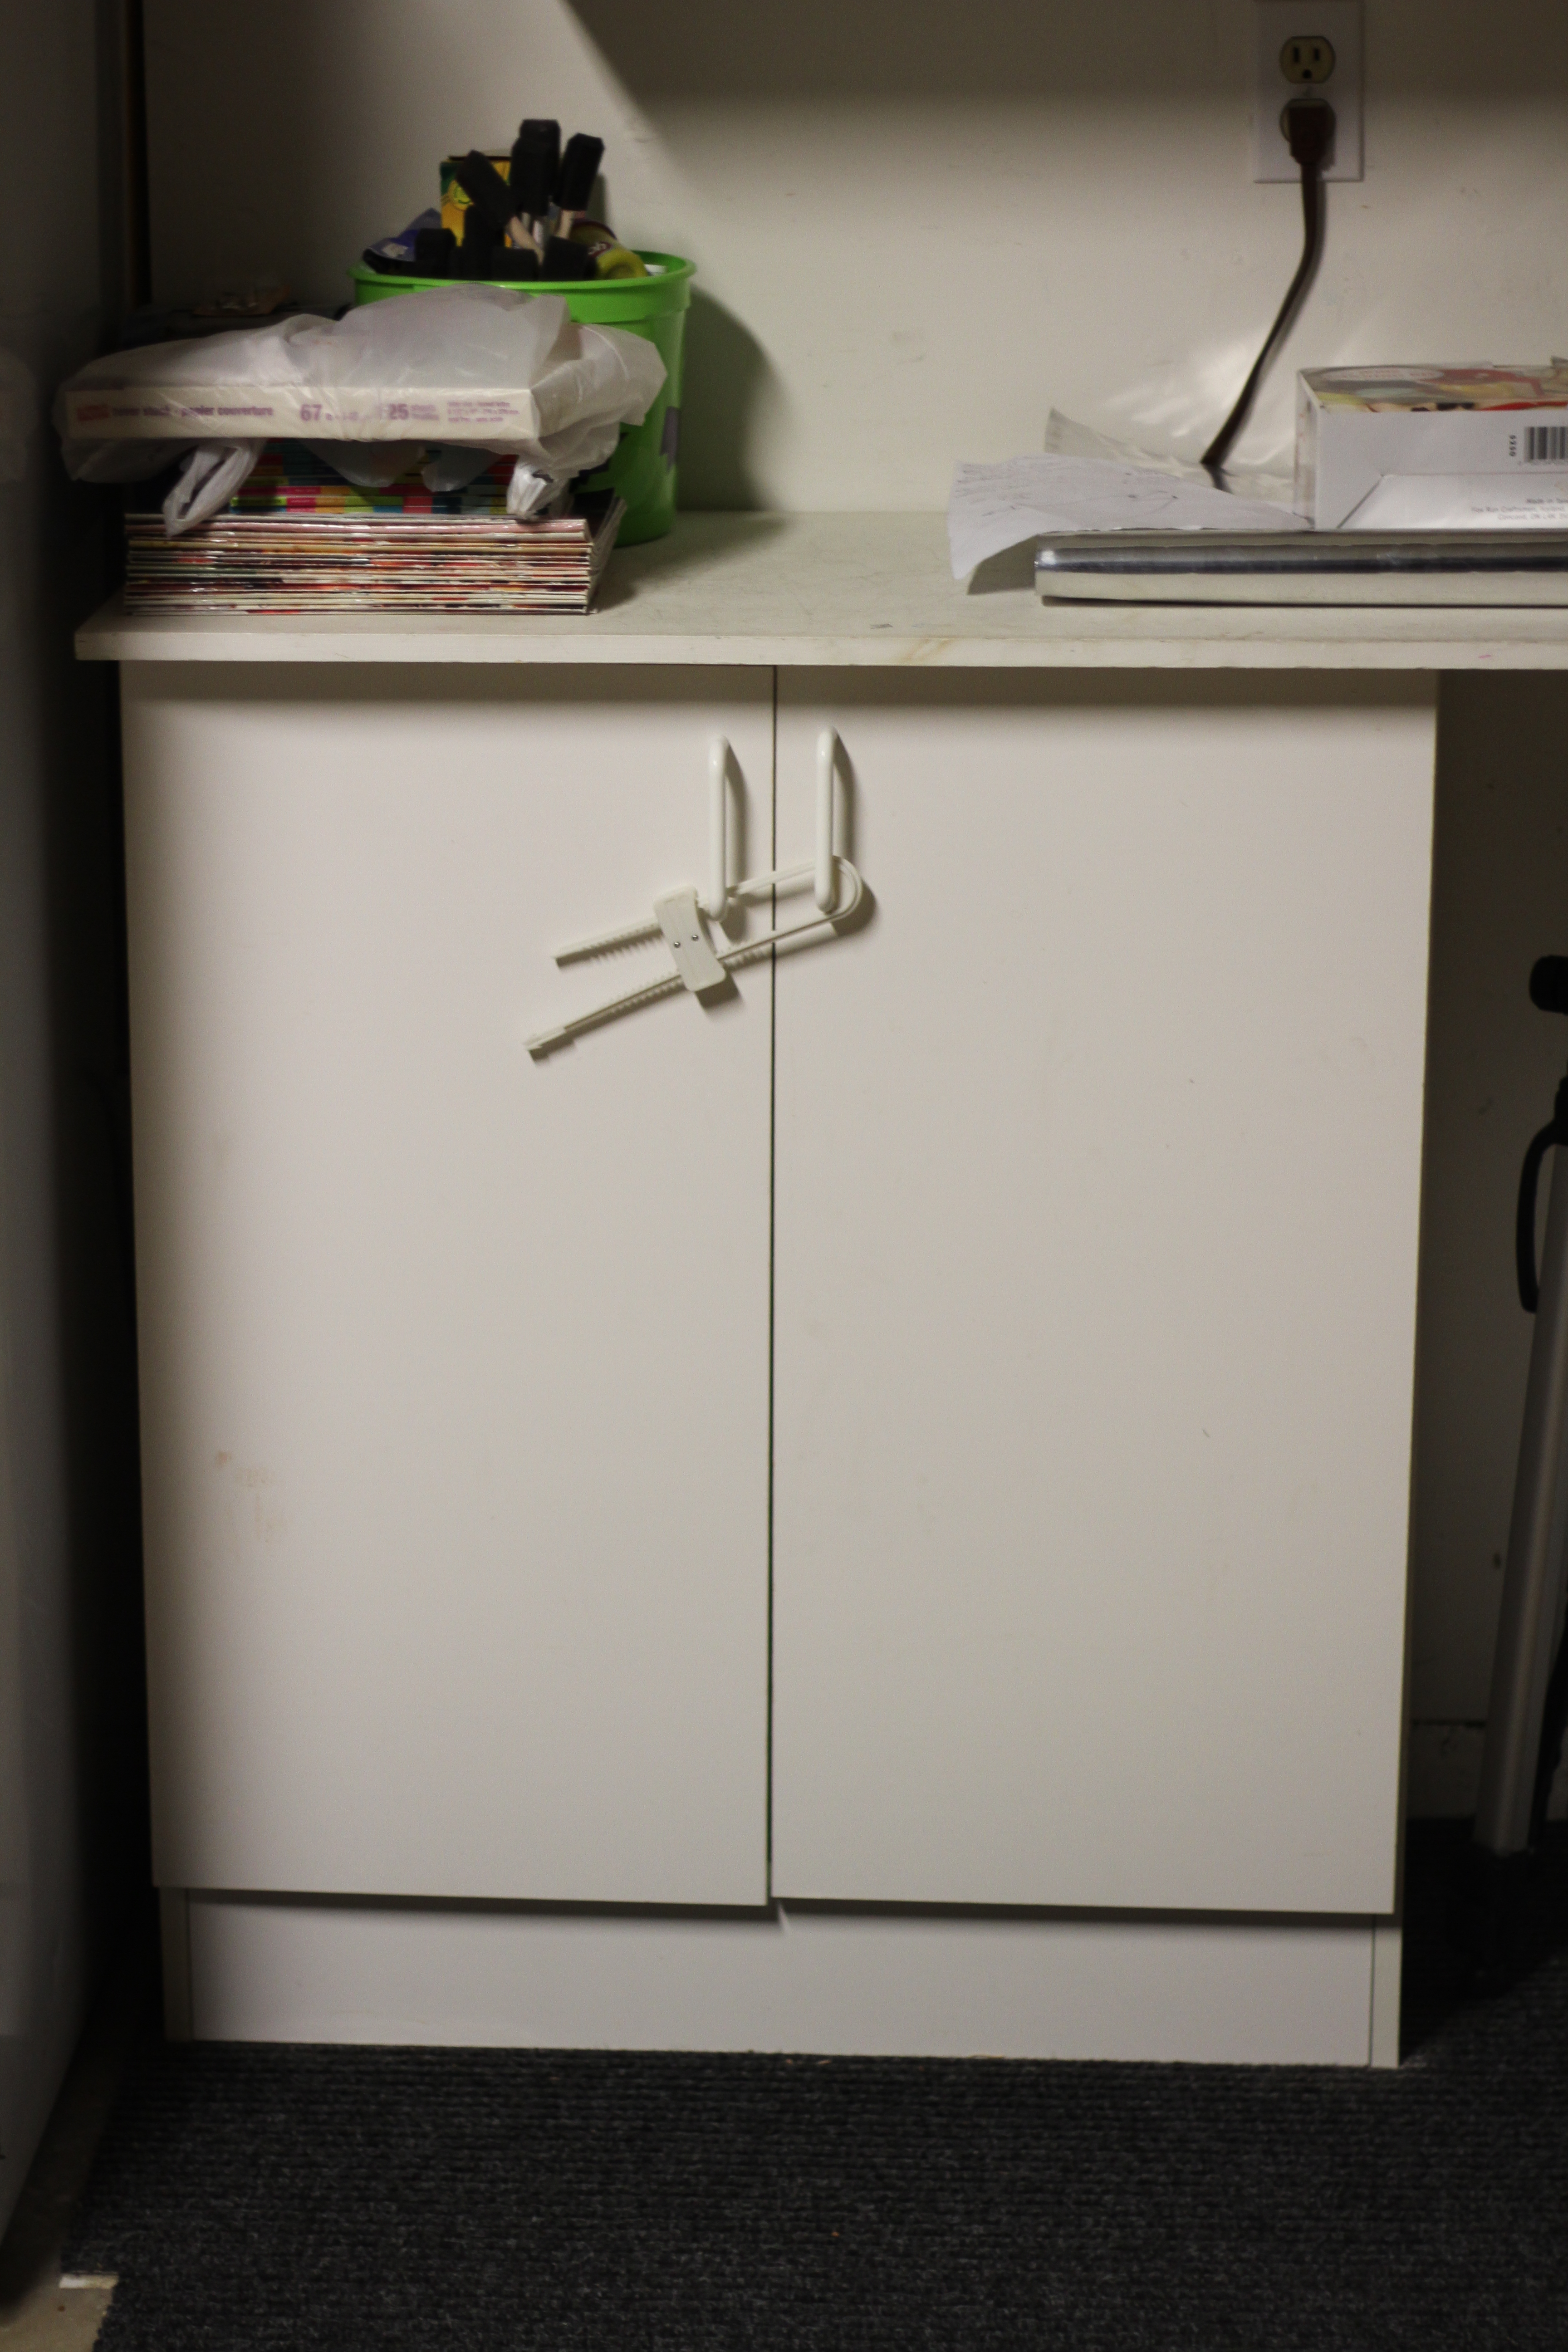
BEFORE

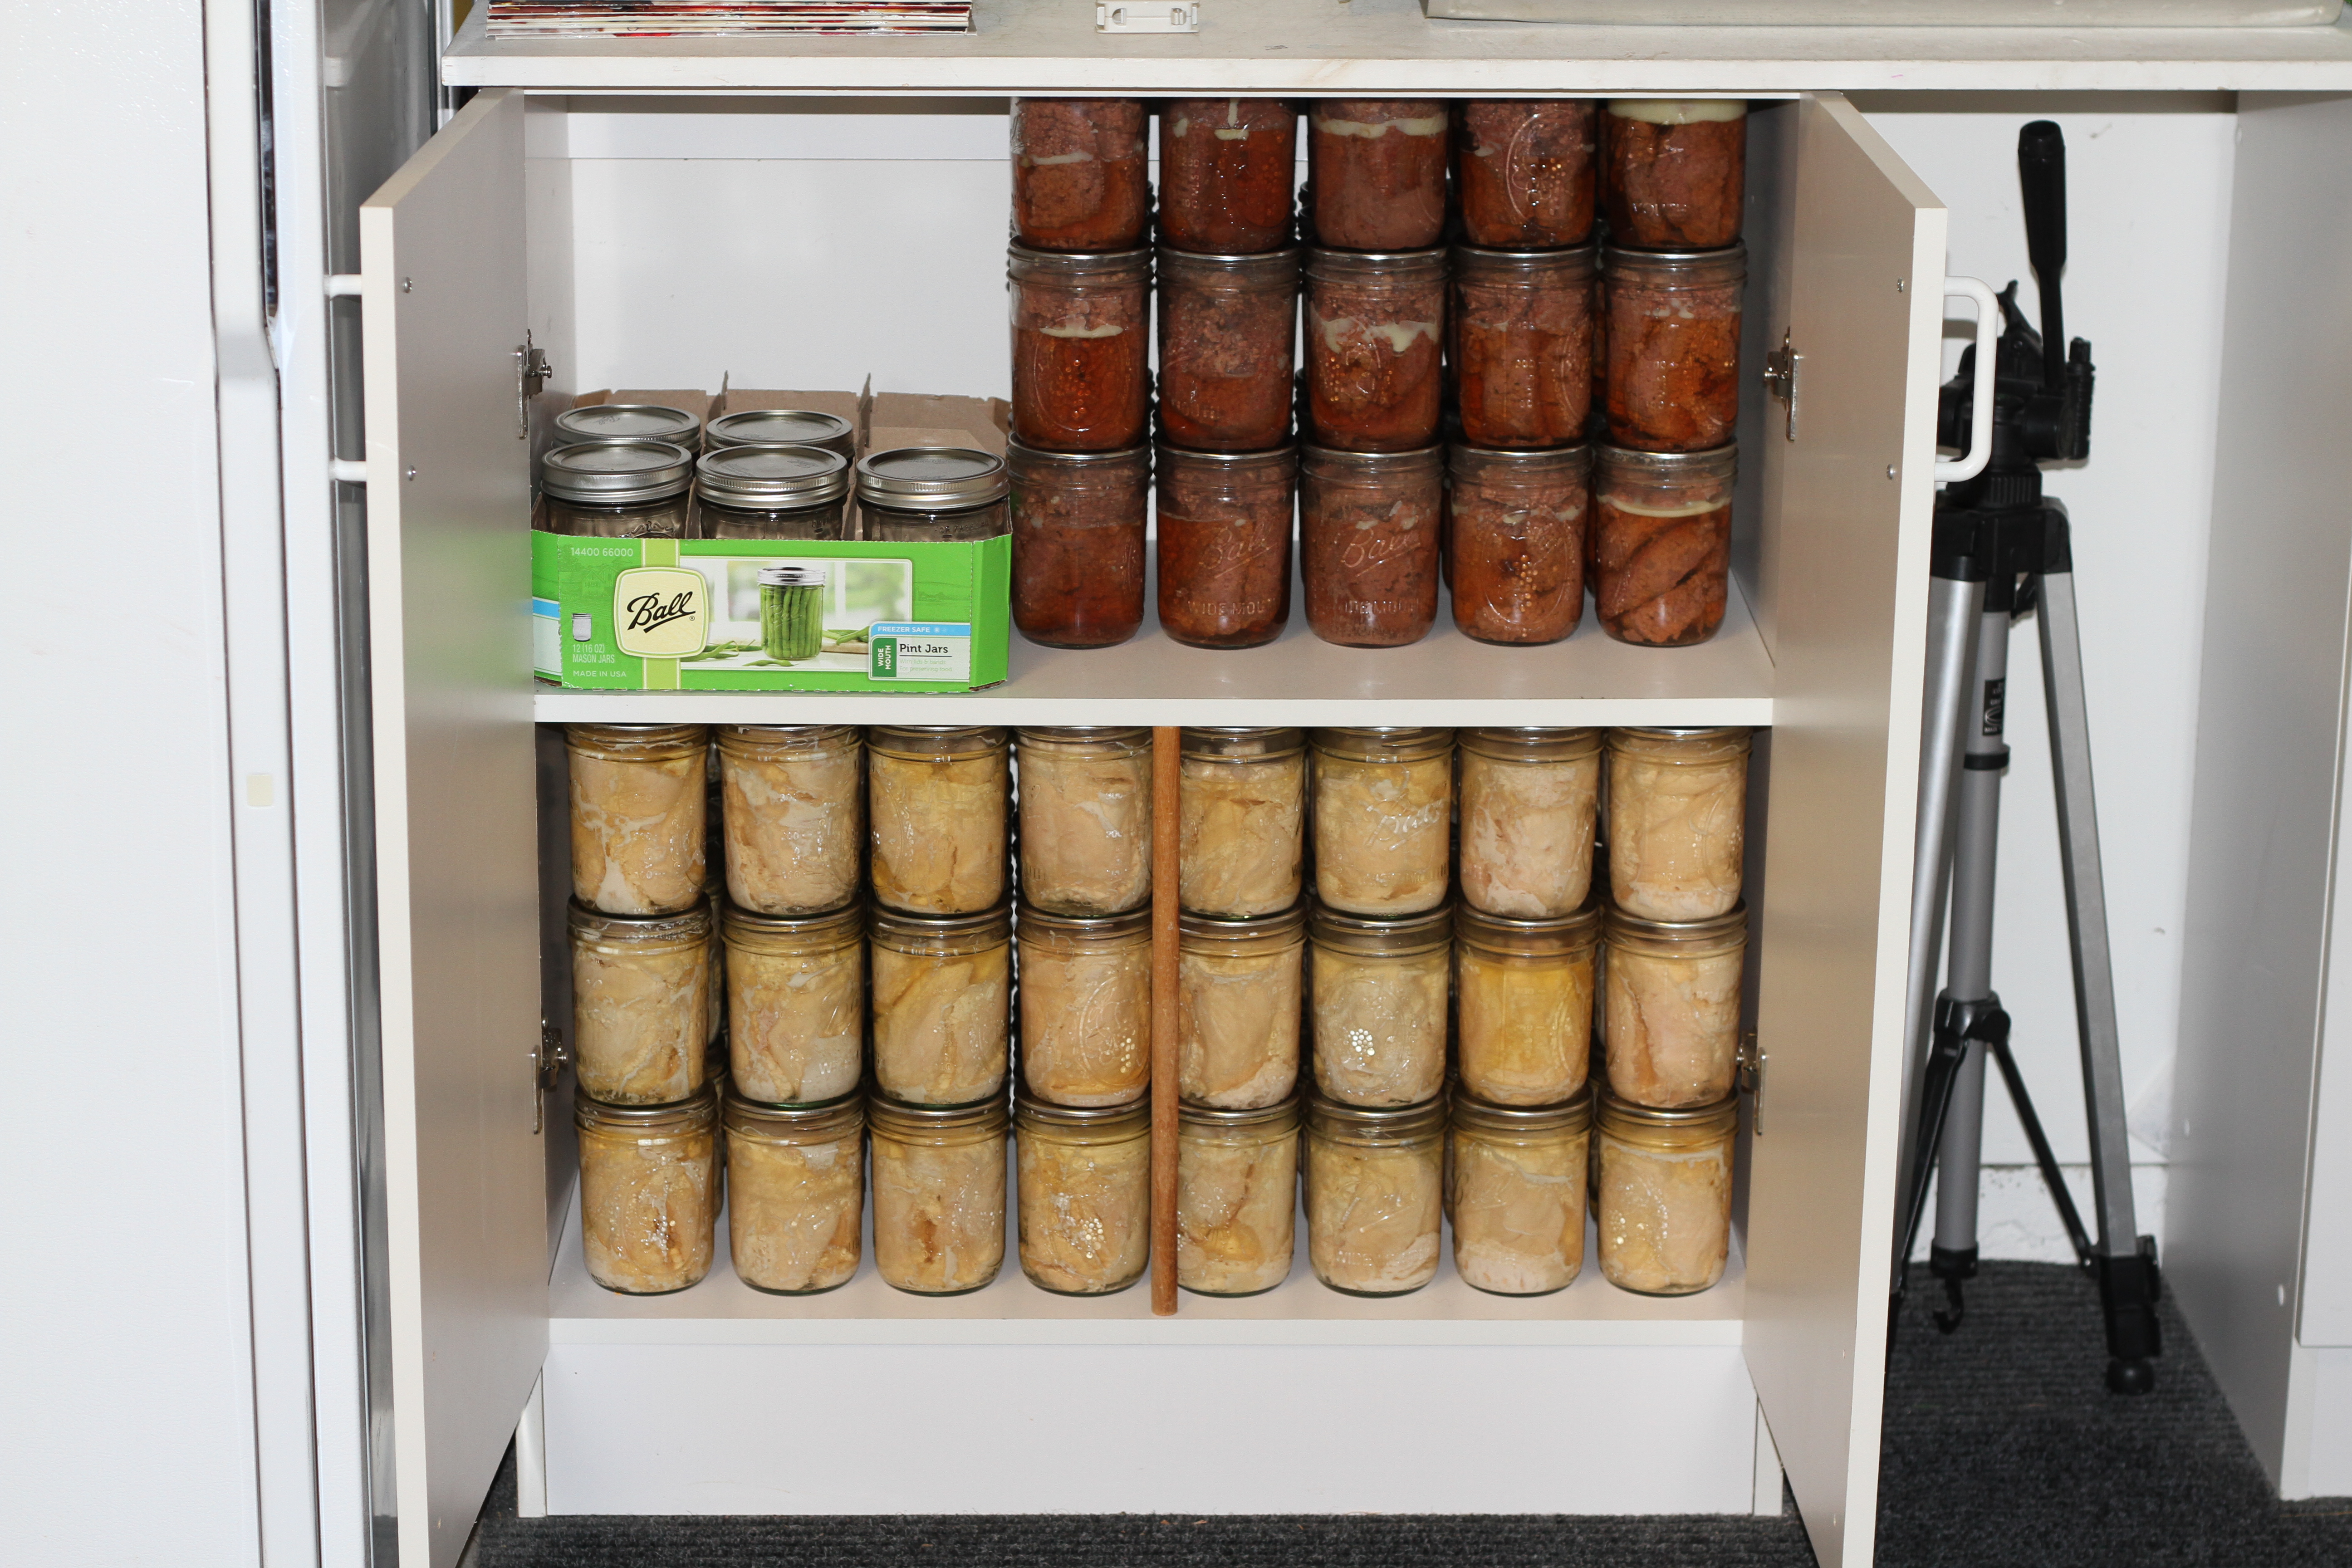
AFTER

(I tried stretching out the photo to make me look skinnier, but not sure it helped. And Yes, I wear that shirt like everyday :) – I know you were thinking it!)
I have never made-over someone’s one year food storage from start to finish in just 4 days, so this was a fun challenge to see if it was possible. They did already have a rotation system and buckets to work with so that was a huge help, but after their many moves from house to house, and little helping hands re-arranging things, it badly needed to be re-stocked and organized!
FYI – I only do food storage make-overs for people who give me awesome gifts on my birthday each year (crappy re-gifts don’t count), or ones who know how to write a check!
________________________________________________________
Step 1 – PLAN, PLAN, PLAN!!!
I can not stress this step enough, by far the MOST important step there is! No one wants to end up with a years worth of crap to eat. Ok, I know I should use a better word to describe it, but that is what you will eat if you don’t PLAN! I first sat down with them and discussed what meals they wanted incorporated into their food storage, what ingredients they prefered, what brands, concerns, budget, etc… Once you know exactly what you need, it makes the rest of the process a breeze!!!
Step 2 – BUY!
I so wish I had a picture of this! We took a trip to Costco and filled 2 entire carts and one of those flat carts (not sure what they are called). Needless to say EVERYONE was staring at us. I have become pretty accustomed to this and think I have heard every response by now… “Wow, you must be doing a lot of baking!”, “Are you feeding an Army?”, “Giving food to the Poor?”, “Are you in charge of the towns Thanksgiving Feast?”, “I can tell you aren’t a vegetarian!” and so on…
The sad part is, even though we filled the carts and car to the brim, it still wasn’t even half of what we needed for a year supply. It would end up taking multiple trips to stores all over the city, going to the cannery, ordering online, and leaving a shopping list to finish purchasing everything when I left. Even if you did have all the money in the world, I realized food storage isn’t something you can procrastinate doing until you are warned some disaster is about to strike, if you get a warning at all!
Some Problems I had when trying to buy it all:
- Out of Stock Items! – At the store or online there always seems to be items that are back-ordered, sold-out, or they just don’t carry anymore.
- Limited Supply – The grocery store seems to have an unlimited supply of food, but I found out that is NOT the case. I was trying to buy only about 10-12 of each item and I often bought all they had and many times I had to make a 2nd trip to the store after they re-stocked to buy the rest.
- Space! – Even if you had all the money & time, trying to fit everything in your cart or car will be MULTIPLE TRIPS!!! Getting everything is definitely not just one trip to the store! I especially couldn’t imagine trying to go right before a Hurricane or some other disaster when everyone else is too.

Step 3 – PRESERVE!!!
Over the next 3 days I worked on preserving all of the food we purchased so it would extend the shelf-life up to 3 -30 years! This is the most tedious, time-consuming step, but it’s the difference between eating fresh food or eating rancid food. I just wouldn’t recommend trying to do it all at once :)
Some of the things I preserved were:
- Chicken (100 lbs) & Beef (50 lbs)
- Chocolate Chips (75 cups) & Nuts (20 cups)
- Filled & Sealed 30 Buckets of Oats, Wheat, Sugar, & Flour.

Step 4 – ORGANIZE!
Now the fun part! Most people skip to this step first because it involves getting to make whatever they pinned on Pinterest that day and buying cute containers at the store. Even though you don’t have to do everything before you organize it, you at least need to have done the planning step! Otherwise, it becomes a big guessing game as far as how much space, bins, shelves and organizational systems you need.
Food Organizing Tips:
Clean out those Cupboards!
I get the excuse a lot that people have no space for food, but when I open their cupboards it’s filled with stacks of magazines, nick knacks, a few socks, stuffed animals, and pretty much everything I would immediately stick into File 13! So clean those cupboards out and put something useful in them, like 150 lbs of MEAT!
Find Ways to ROTATE!
Whenever you organize something you need to set-up a system to keep it that way! For the meat I put a box on the shelf to put the jars in after they are used. Once the box fills up or you have about 15 jars, I refill them. I can fit about 15 jars in a pressure cooker so that is my magic refill number. So figure out how often you want to rotate and when you will know it’s time to do so. I just warn you, if you wait until you need 150 jars filled, it will take 3 straight days from 7am – 1 am!
Be Creative!
No one ever said you had to stick just cans on a can rack, I put anything round on mine: Crisco, peanut butter, salt, spaghetti sauce, etc. So think outside the box and find other creative ways to store your food.

Simplify!
Make your life as easy as possible! One thing I do with my buckets is label it with the content on some paper and then on a piece of tape I put the date. After I use the food in the bucket I know what I need to refill it with and since my date is on a piece of tape it is easily removed and replaced with a new one.

Put in ZONES!
For instance, I tried putting all the pasta items on a shelf, the paper goods on a separate shelf, and the baking goods on another one. Just make sure all like items are in one place. Don’t put corn in a cupboard, under the bed and in your closet. Try to put foods in specific zones and keep all of them there.

Re-STOCK!
I organize my food in such a way that I can do a visual inventory by just looking at it! If a row is not completely filled I know to put that item on my grocery list and get it the next time I am out! Unless you have a husband that knows how to write items on a list when he takes something (let me know your secret if he does), then you may want to implement this too!

Step 5 – EAT!
Time to enjoy all of your hard work! Before I took off, I made them one of my favorite recipes using some of the beef I canned for their food storage. It’s so convenient having everything you need for a years worth of meals right at home!
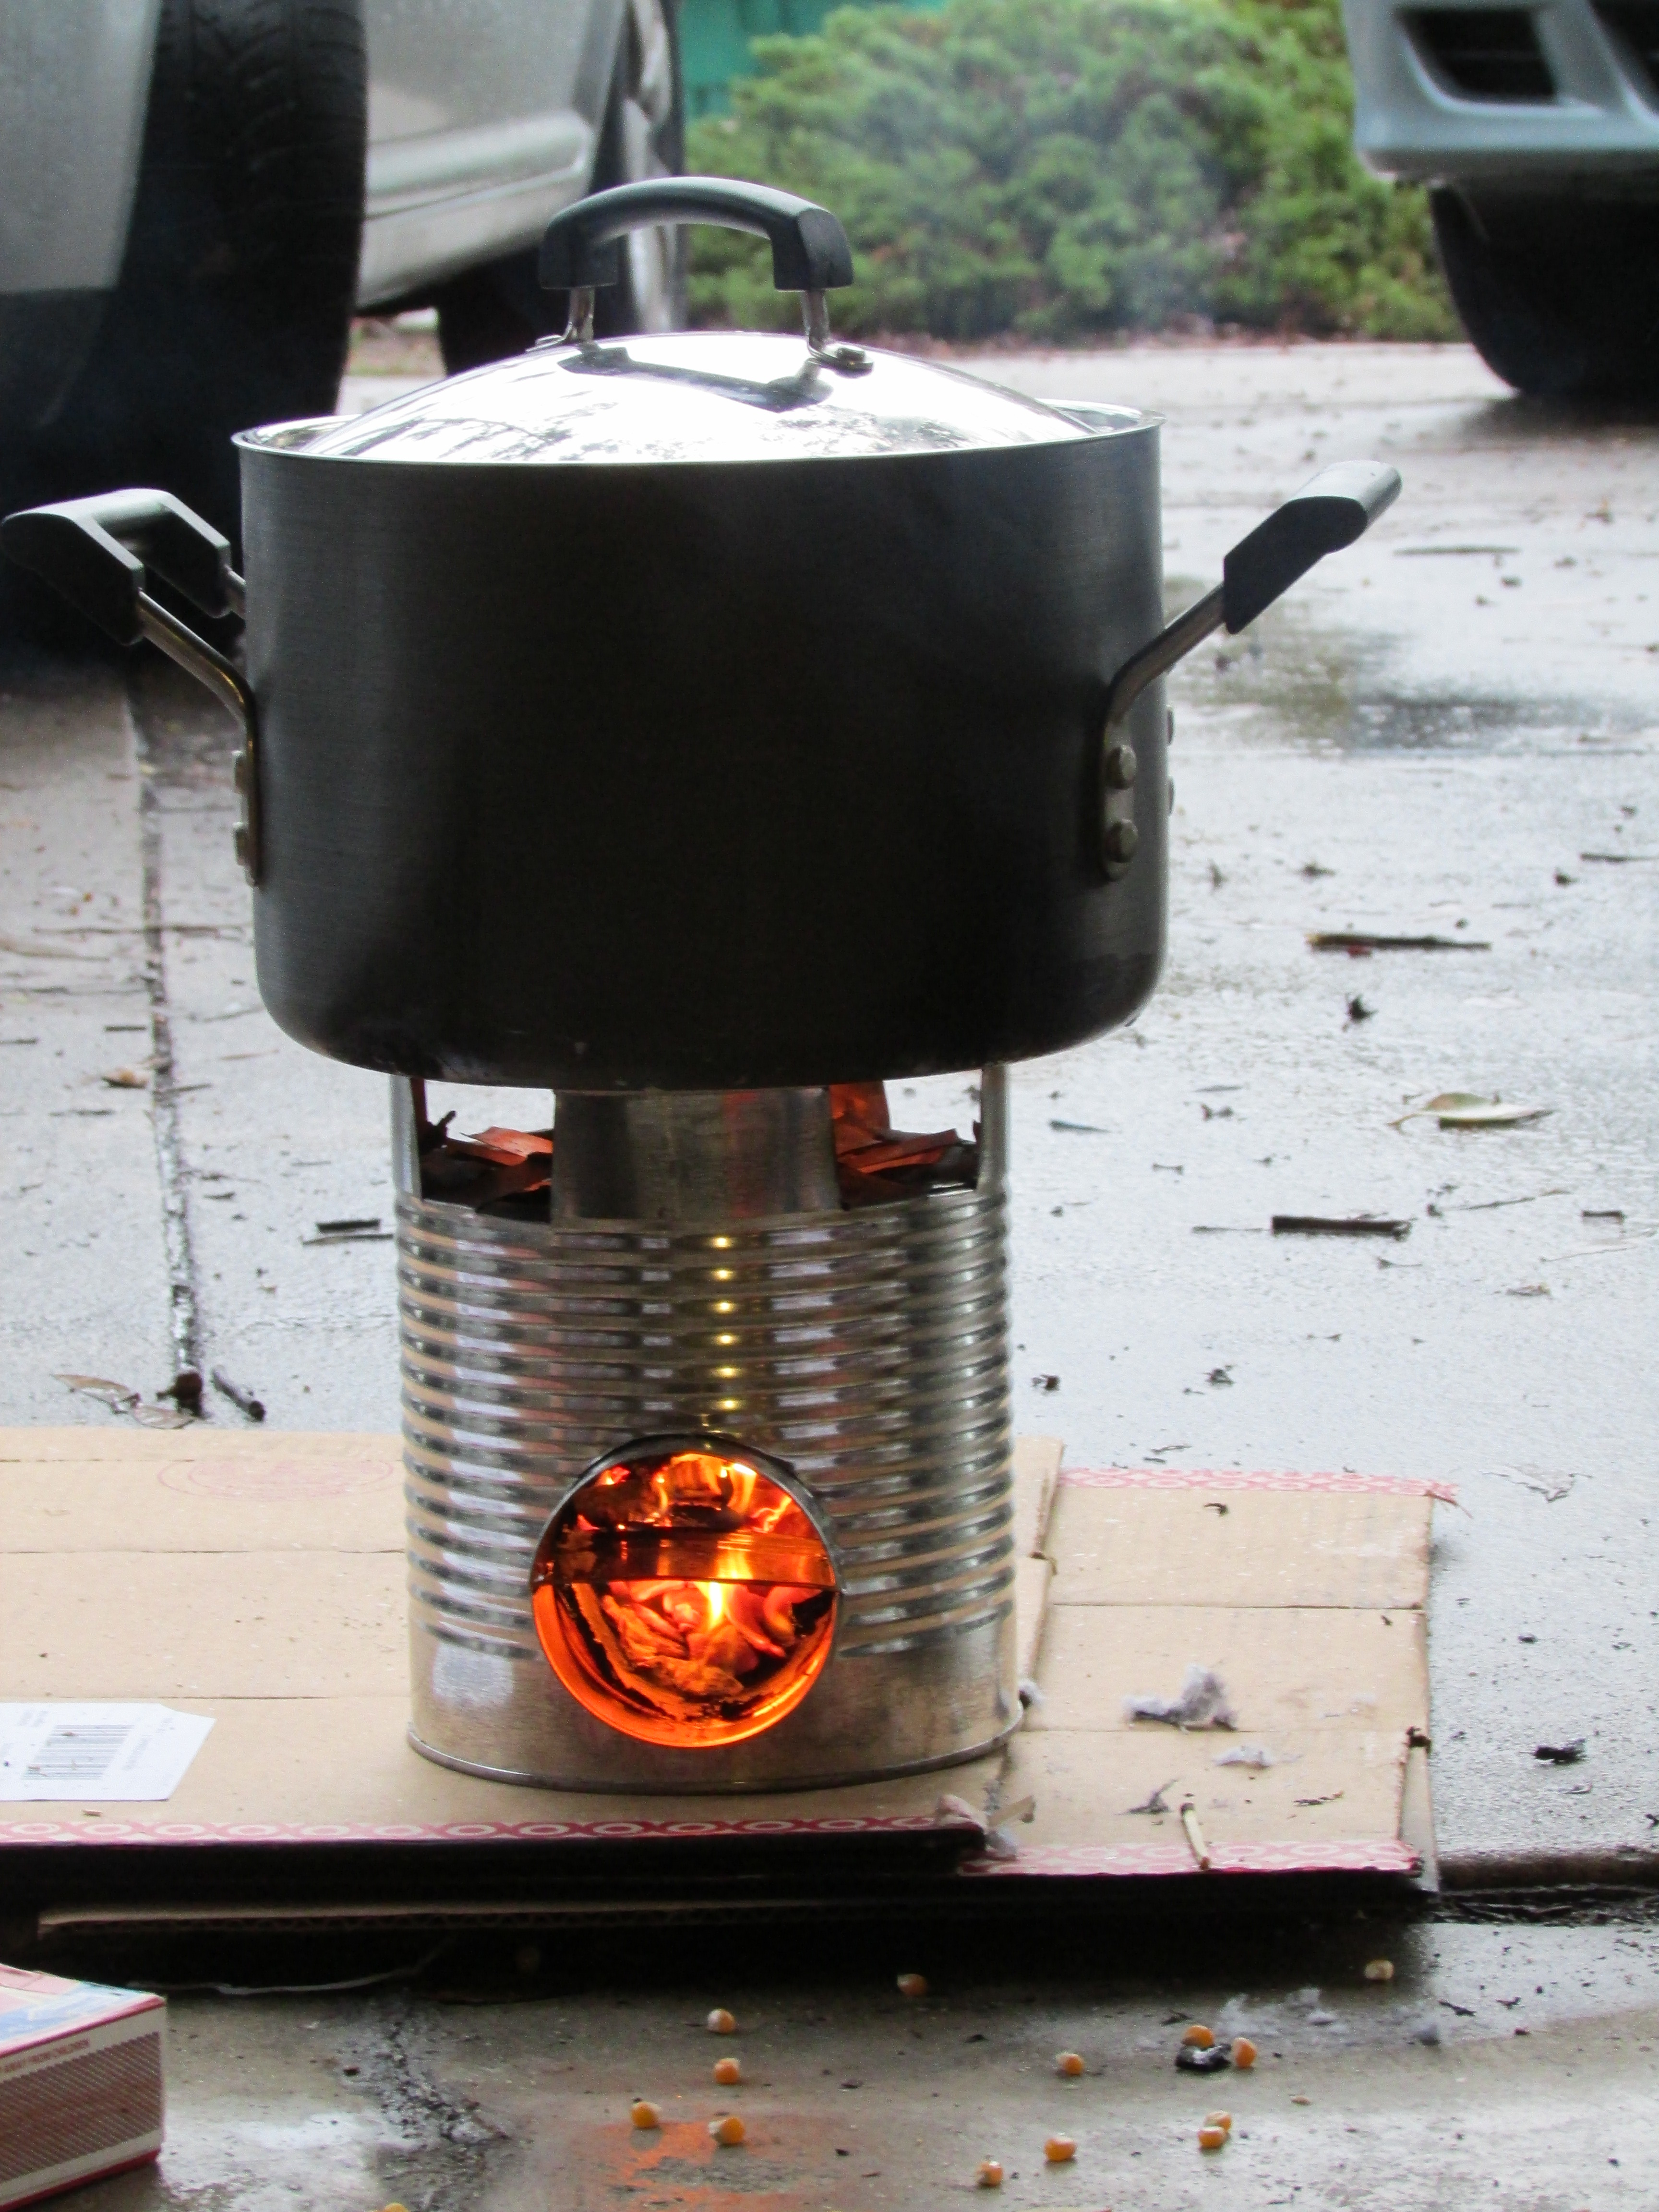
I also demonstrated one of my favorite alternative cooking methods – the ROCKET STOVE! We made Popcorn for breakfast with it, which was a huge hit with the boys!
_________________________________________________________
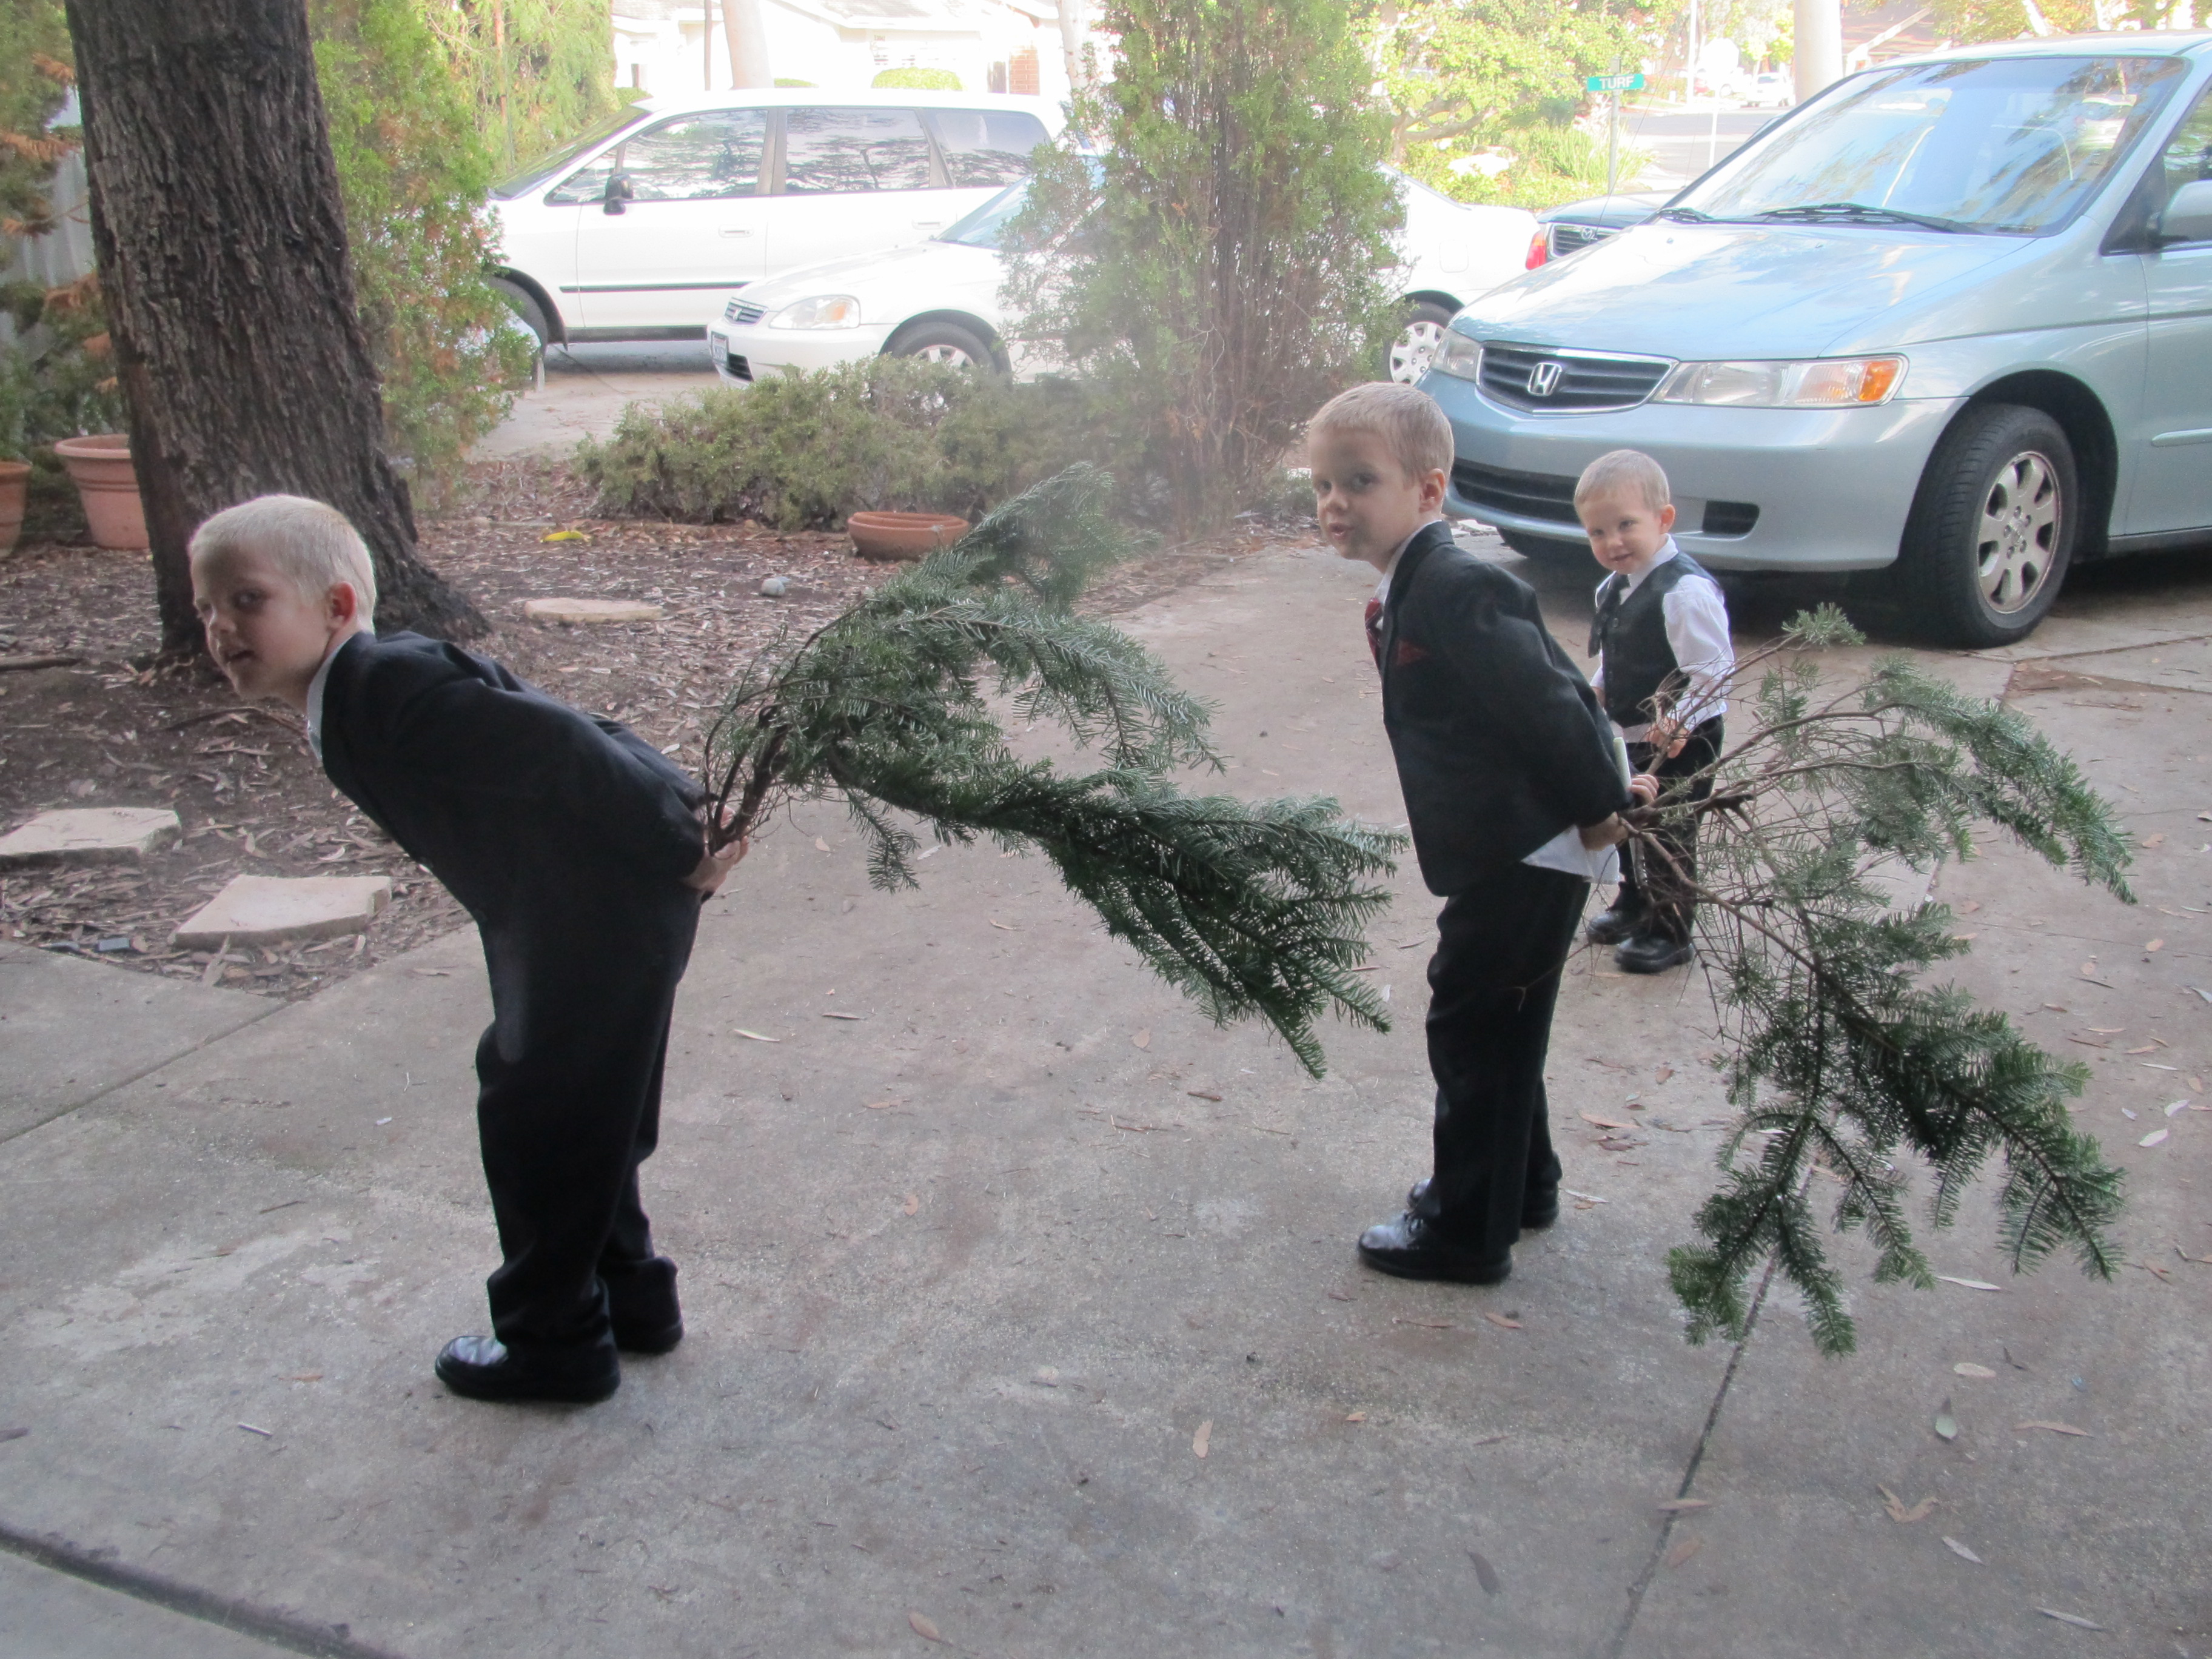
GOOD-BYE
Even though I was voted the Most Boring Aunt by my Nephews, we still got to enjoy some great times together before I had to say good-bye. They are such cute little turkeys, and I can’t wait to see them again.
Preparing and having enough food to feed ourselves and our families is important, but we can’t forget about feeding our Spirit. No matter how hard we work to become self-reliant and plan for every disaster or scenario that might happen, the only one that can truly feed us and protect us is our Savior, Jesus Christ.
John 6:35 – And Jesus said unto them, I am the bread of life: he that cometh to me shall never hunger; and he that believeth on me shall never thirst.
Enjoy your families and loved ones this Christmas Season, and as you become more self-reliant, try also to become more Christlike.
Matthew 5:6 – Blessed are they which do hunger and thirst after righteousness: for they shall be filled.

Not boring – you are a “ROCK STAR” – great article
Thanks for the ego boost :) Stop by my blog anytime, it’s always fun approving comments like that!
No problem
I LOVE this! Definitely need to do an interview on this one. Why don’t we just schedule an interview for every blog???
Let’s do it, just let me know when.
this is amazing. i need a step by step makeover too!! the planning is the hardest part for me – what tips do you have for planning?
Your blog is amazing I keep reading a new page each day love it
That makes me so happy ;) Thanks for the sweet comment and checking it out!
I’m curious if you have a cost estimate of this project for a years supply of the food shown?
That’s a great question. I think overall about $2000, but I’ll try and do post with a cost breakdown. That’s a total guesstimate ;)
Hi, We’re just starting our prep journey! Can you tell about your shelves that hold cans? I am finding your website to be very informative. Thanks so much!
I guess I should have just looked around some more – I found it! Thanks again!
Absolutely! Were you wanting to know more about the different can consolidators and racks I use, or something else?